


Are you new to the world of NFTs and wondering how to import NFT to MetaMask?
Look no further!
In this article, we will guide you through the process of importing NFTs into your MetaMask wallet in just a few simple steps.
Before we begin, it’s important to note that not all NFTs may display correctly in your wallet due to the way data is retrieved for third-party sources.
However, with the help of MetaMask’s integration with opensea.io and IPFS, most NFTs should appear without any issues.
So, let’s get started and import your NFTs into MetaMask!
Post Contents
Understanding NFTs and Metamask
If you’re new to the world of NFTs and Metamask, you may be wondering what these terms mean and how they relate to each other.
In simple terms, NFTs (non-fungible tokens) are unique digital assets that are stored on the blockchain.
They can represent anything from artwork to virtual real estate, and they are bought and sold on various marketplaces.
Metamask is a web3 wallet that allows you to store, manage, and interact with your digital assets, including NFTs.
It is a crypto wallet that is specifically designed for the Ethereum blockchain, and it allows you to securely manage your Ethereum-based tokens, including ERC-1155 and ERC-721 tokens.
When you import an NFT into Metamask, you are essentially adding it to your wallet so that you can view it and manage it alongside your other digital assets.
To do this, you need to have the NFT’s smart contract address and its unique token ID.
Smart contracts are self-executing contracts with the terms of the agreement between buyer and seller being directly written into lines of code.
They are an essential component of the Ethereum blockchain, and they are used to create and manage digital assets, including NFTs.
To import an NFT into Metamask, you need to be on the Ethereum mainnet, which is the main network for the Ethereum blockchain.
Once you have the NFT‘s smart contract address and token ID, you can add them to your Metamask wallet and view your NFT in the NFTs tab.
Setting Up Metamask
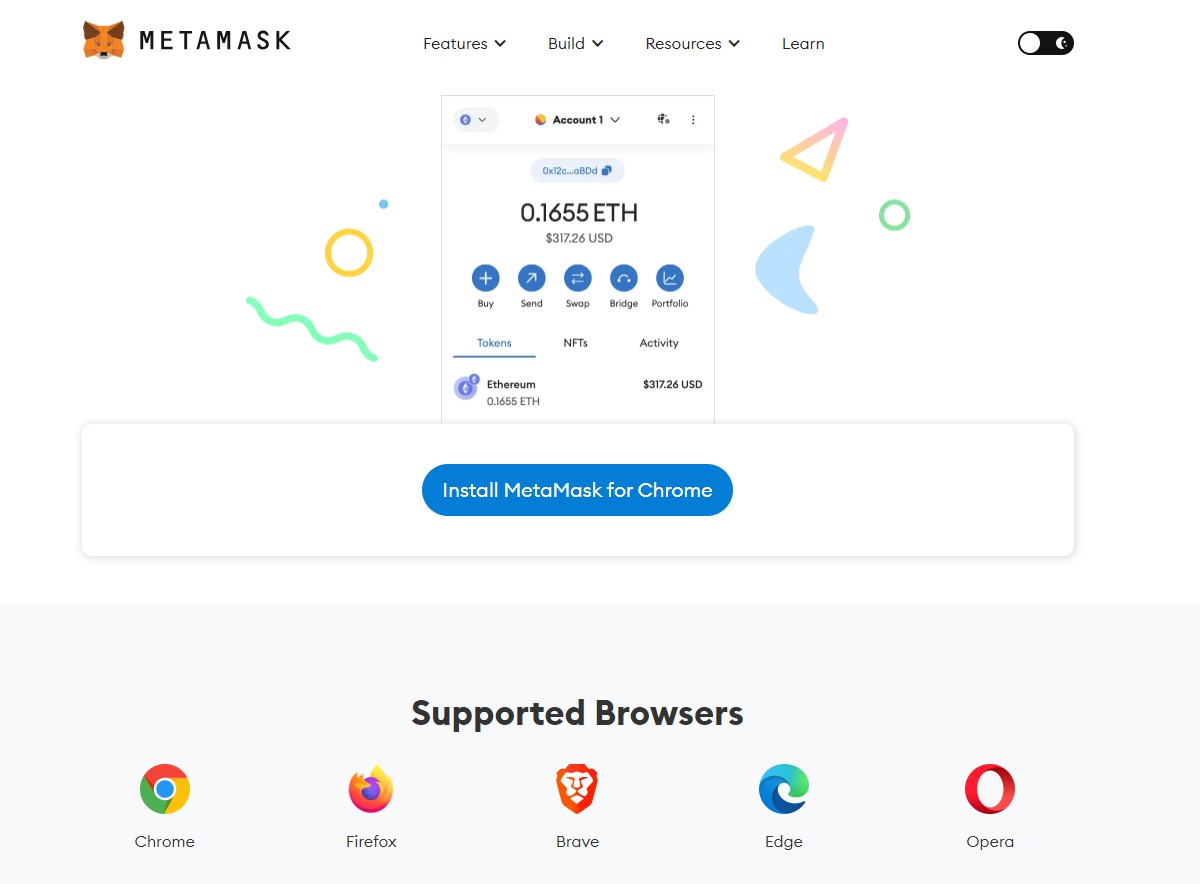
If you’re new to Metamask, the first step is to download and install the browser extension.
Metamask is available on Chrome, Firefox, Edge, and Brave browsers.
You can either go to the Metamask website to download the extension or access each browser’s extension store and search for Metamask.
Once you have installed the extension, you will need to create a new wallet.
Click on the Metamask icon in your browser, and select “Create a Wallet.”
Follow the instructions to set up your account and create a new seed phrase.
Make sure to write down your seed phrase and keep it in a safe place.
This phrase is important as it will allow you to recover your account if you forget your password or lose access to your device.
After creating your wallet, you can link it to any dapp that supports Metamask.
To do this, simply click on the extension icon in your browser, and select “Connect Hardware Wallet.”
Select Metamask from the list of wallets, and follow the instructions to link your account.
All the NFTs attributable to (owned by) the accounts that you link to the dapp should be displayed automatically.
Please note that not all NFTs may display correctly — this is to do with how we’re able to retrieve data about them for third-party sources.
How to Import NFT to Metamask
Importing NFTs to your Metamask wallet is a straightforward process that requires you to follow a few simple steps.
Here’s how to import NFTs to your Metamask wallet:
- Make sure you have the correct network selected: Before you import your NFTs, you need to make sure that you have the correct network selected in your Metamask wallet. To do this, click on the network dropdown menu and select the network where your NFT contract is located.
- Add the NFT contract address: Once you have the correct network selected, you need to add the NFT contract address to your Metamask wallet. To do this, click on the “Add Token” button and enter the NFT contract address.
- Enter the NFT token ID: After adding the NFT contract address, you need to enter the NFT token ID to your Metamask wallet. To do this, click on the “Add Token” button again and enter the NFT token ID.
- Check your NFT balance: Once you have added the NFT contract address and token ID, your NFT balance should be displayed in your Metamask wallet.
- Import NFTs from OpenSea: If you have purchased your NFTs from OpenSea, you can easily import them to your Metamask wallet. To do this, navigate to the “NFTs” tab in your Metamask wallet and click on the “Import NFTs” button.
- Autodetect NFTs: Metamask also has an autodetect feature that allows you to automatically import NFTs to your wallet. To use this feature, click on the “NFTs” tab in your Metamask wallet and wait for the autodetect feature to detect your NFTs.
- Add custom network: If your NFT contract is located on a custom network, you need to add the network to your Metamask wallet. To do this, click on the network dropdown menu and select “Custom RPC”. Enter the RPC URL and chain ID, and then click on “Save”.
By following the steps outlined above, you can easily import your NFTs to your Metamask wallet and manage them with ease.
Interacting with Dapps via MetaMask
If you want to interact with a dapp using MetaMask, you need to make sure that the dapp is compatible with MetaMask.
Once you have confirmed that the dapp is compatible, you can follow these steps:
- Open the dapp in your preferred web browser.
- If the dapp requires a custom token, you will need to add it to your MetaMask wallet. To do this, click on the MetaMask icon in your browser toolbar and select “Add Token.” Enter the token’s contract address, symbol, and decimal places, and then click “Add.”
- If the dapp requires you to be on a specific POS (Proof of Stake) network, make sure that you have selected the correct network in your MetaMask settings.
- If the dapp requires you to connect to a specific wallet, you can do this by clicking on the MetaMask icon in your browser toolbar and selecting “Connect Wallet.” Follow the prompts to connect your wallet to the dapp.
- If the dapp requires you to interact with an ERC-20 token, you can do this by clicking on the MetaMask icon in your browser toolbar and selecting the token from your list of assets. From there, you can send and receive the token as needed.
When interacting with dapps via MetaMask, it’s important to be aware of potential scams.
Always make sure that you are using the official dapp browser and that you are only interacting with trusted dapps.
Additionally, be cautious when approving token requests, as some scammers may try to trick you into approving a large number of tokens.
With a few simple steps, you can easily connect your MetaMask wallet to a wide range of dapps and custom tokens.
Understanding Gas Fees and Transactions
When it comes to importing NFTs to MetaMask, it’s important to understand gas fees and transactions.
In the world of blockchain, gas fees refer to the cost of performing a transaction on the network.
These fees are paid in the native token of the network, which in the case of Ethereum is Ether (ETH).
Gas fees are determined by the demand for network resources at any given time.
When the network is congested, gas fees tend to be higher, while during periods of low demand, gas fees tend to be lower.
It’s important to keep an eye on gas fees when importing NFTs to MetaMask, as they can add up quickly.
To view the current gas fees for the Ethereum network, you can visit Etherscan, a popular blockchain explorer.
Here you can see the current gas price in Gwei, as well as the average and maximum gas prices over the past 24 hours.
When importing an NFT to MetaMask, you’ll need to perform a transaction on the Ethereum network.
This transaction will involve interacting with a smart contract, which is a self-executing contract with the terms of the agreement between buyer and seller being directly written into lines of code.
To perform the transaction, you’ll need to have enough Ether in your MetaMask wallet to cover the gas fees.
The amount of gas required for a transaction will depend on the complexity of the smart contract and the current gas price on the network.
Key Takeaways
Importing NFTs to MetaMask is a simple process that requires a few steps.
Here are some key takeaways to keep in mind when importing your NFTs to MetaMask:
- Make sure you are on the Ethereum mainnet before importing your NFTs to MetaMask.
- Find the NFT’s smart contract address and add it to your wallet.
- Find the NFT’s unique token ID and add it to your wallet.
- If you encounter any issues during the import process, try refreshing your MetaMask wallet or checking your internet connection.
- Always keep your private key or seed phrase associated with your NFT safe and secure.
By following these key takeaways, you can easily import your NFTs to MetaMask and view them on the blockchain.
Remember to always double-check the information you are entering when importing your NFTs to ensure accuracy and avoid any errors.
With MetaMask, you can easily manage your NFTs and other cryptocurrencies in one convenient location.