


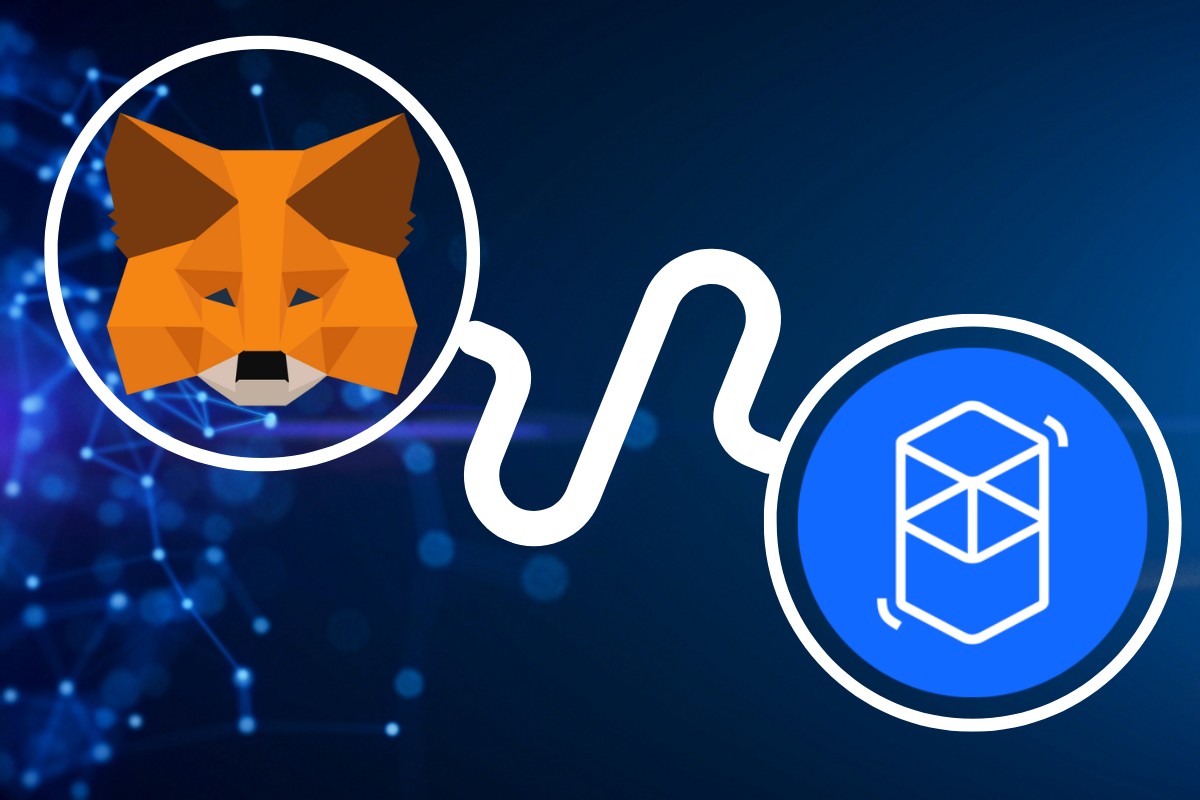
Are you interested in how to add Fantom to MetaMask?
If so, you’ve come to the right place.
Adding Fantom to your MetaMask wallet is a straightforward process that requires only a few simple steps.
In this article, we’ll guide you through the process of adding Fantom to your MetaMask wallet, so you can start using the Fantom blockchain network for low-fee transactions and smart contracts.
To begin, you’ll need to log in to your MetaMask wallet and add a new network.
You can access this option by clicking on the network dropdown menu and selecting “Custom RPC.”
From there, you’ll need to enter the network details for Fantom, including the RPC URL, chain ID, symbol, and blockchain explorer URL.
You can find this information on the Fantom docs website or through FTMScan.
Once you’ve entered the network details, you’re ready to start using your MetaMask wallet with the Fantom network.
With Fantom added to your MetaMask wallet, you’ll be able to take advantage of the low-fee transactions and smart contract capabilities of the Fantom blockchain network.
So, let’s get started and add Fantom to your MetaMask wallet today!
Post Contents
- 1 Understanding Metamask and Fantom
- 2 Installing Metamask
- 3 Creating and Managing Wallet in Metamask
- 4 Understanding Fantom Network
- 5 How to Add Fantom to Metamask
- 6 Understanding EVM and Its Compatibility with Fantom
- 7 Transacting on Fantom Network Using MetaMask
- 8 Security Measures While Using Metamask and Fantom
- 9 Benefits of Using Fantom Network on MetaMask
- 10 Key Takeaways
Understanding Metamask and Fantom
If you’re looking to add Fantom to your MetaMask wallet, it’s important to understand what both of these entities are and how they work together.
MetaMask is a popular browser extension that functions as a crypto wallet and dApp browser.
It allows you to interact with the Ethereum blockchain and various decentralized applications (dApps) without needing to use a separate wallet or browser.
With MetaMask, you can store, send, and receive Ethereum-based assets, including NFTs.
Fantom, on the other hand, is a low-fee, EVM-compatible blockchain designed for peer-to-peer and smart contract transactions.
It’s a fast and efficient network that’s gaining popularity among developers and users alike.
By adding Fantom to your MetaMask wallet, you can easily access and interact with Fantom-based dApps and assets.
To add Fantom to your MetaMask wallet, you’ll need to follow a few simple steps.
These steps may vary depending on your version of MetaMask and the device you’re using, but the general process should be similar across the board.
You can add Fantom to MetaMask by entering the network details manually, via FTMScan, or through MetaMask on mobile.
Once you’ve added Fantom to your MetaMask wallet, you’ll be able to access and interact with a range of Fantom-based dApps and assets.
This includes things like FTM tokens, which can be used for staking, governance, and other purposes within the Fantom ecosystem.
Installing Metamask
Adding Fantom to your MetaMask wallet requires first installing the MetaMask extension.
You can download the MetaMask extension from the official website for your web browser.
MetaMask extension works on Chrome, Microsoft Edge, Brave, Opera, and Firefox browsers.
To install MetaMask on your desktop browser, follow these simple steps:
- Visit the official MetaMask website to download the extension.
- Click on the “Get Chrome Extension” button if you are using Chrome or the “Get Firefox Extension” button if you are using Firefox.
- Click on the “Add to Chrome” or “Add to Firefox” button to add the extension to your browser.
- Once the extension is installed, click on the MetaMask icon in the top right corner of your browser window to set up your account.
If you prefer to use MetaMask on your mobile device, you can download the MetaMask app from the App Store or Google Play Store.
The mobile app is available for both iOS and Android devices.
After installing MetaMask, you can proceed to connect it to the Fantom network by adding the FTM Mainnet to your MetaMask.
Creating and Managing Wallet in Metamask
If you don’t already have a wallet in MetaMask, you can create one easily.
Here’s how:
- Download and install the MetaMask extension on your browser.
- Click on the MetaMask icon in your browser toolbar and select “Create a Wallet”.
- Create a strong password and save it somewhere safe. This password will be used to unlock your wallet.
- Write down your seed phrase and keep it in a secure location. This phrase is important because it can be used to restore your wallet if you lose access to your password. Never share your seed phrase with anyone.
- Click on “I’ve copied it somewhere safe” after writing down your seed phrase.
- Confirm your seed phrase in the correct order.
- Create a name for your wallet and click on “Create”.
Once you have created your wallet, you can manage it in MetaMask.
Here’s how:
- Click on the MetaMask icon in your browser toolbar and select your wallet.
- Click on “Account Details” to view your wallet address and balance.
- You can also send and receive tokens by clicking on “Send” or “Receive”.
- To add a new wallet, click on the MetaMask icon in your browser toolbar and select “Create a Wallet” or “Import Wallet”.
- If you choose to import a wallet, you will need to enter your seed phrase and create a new password.
Remember to keep your password and seed phrase safe and secure.
With MetaMask, you can easily create and manage multiple wallets, making it a great option for those who want to store and manage their cryptocurrencies securely.
Understanding Fantom Network
If you’re new to the world of blockchain and cryptocurrencies, it’s essential to understand the basics of Fantom Network before adding it to MetaMask.
Fantom Network is a decentralized, open-source blockchain platform that allows developers to create and deploy smart contracts and decentralized applications (dApps).
Fantom Network uses its native cryptocurrency, FTM, as a means of payment and transaction fees.
FTM is a digital asset that can be used to perform various functions on the Fantom Network, such as staking, governance, and more.
Fantom Network is built on top of the Opera network, which is a high-performance blockchain that uses a Proof-of-Stake (PoS) consensus mechanism.
The Opera network is compatible with the Ethereum Virtual Machine (EVM), which means that developers can easily port their dApps and smart contracts from the Ethereum mainnet to the Fantom mainnet with minimal effort.
To interact with the Fantom Network, you need to connect to the Fantom chain via a custom RPC endpoint.
You can find the RPC endpoint details on the official Fantom website or the Fantom block explorer, ftmscan.com.
Once you have the RPC endpoint details, you can add the Fantom Network to MetaMask and start using it to interact with dApps and smart contracts on the Fantom Network.
How to Add Fantom to Metamask
Adding Fantom to your Metamask wallet is a straightforward process that can be done in a few simple steps.
Here’s how to do it:
- Open Metamask and click on the Networks tab on the left side of the screen.
- Click on “Add a Network” at the bottom of the network list.
- Enter the network details for Fantom as follows:
- Network Name: Fantom
- New RPC URL: https://rpcapi.fantom.network
- Chain ID: 250
- Symbol: FTM
- Block Explorer URL: https://ftmscan.com/
- Click on “Save” to add the Fantom network to your Metamask wallet.
Once you have added the Fantom network to your Metamask wallet, you can start using it to connect to the Fantom blockchain and interact with decentralized applications (dApps) built on Fantom.
If you want to add a custom token to your Metamask wallet for a specific Fantom-based token, you can do so by following these steps:
- Click on the Fantom network in your Metamask wallet to connect to it.
- Click on the “Add Token” button in the “Assets” tab.
- Enter the token contract address, token symbol, and decimal places for the token you want to add.
- Click on “Add” to add the token to your Metamask wallet.
You can also connect to the Fantom Mainnet via a custom RPC endpoint by selecting “Custom RPC” in the network settings and entering the appropriate RPC URL and chain ID.
Understanding EVM and Its Compatibility with Fantom
If you’re new to the world of blockchain, you may have heard the term “EVM” thrown around a lot.
EVM stands for Ethereum Virtual Machine, and it’s the runtime environment for smart contracts in the Ethereum blockchain.
Essentially, the EVM is a computer that runs code written in Solidity, the programming language used for Ethereum smart contracts.
Fantom is an EVM-compatible blockchain, which means that it can run smart contracts written in Solidity, just like Ethereum.
This is great news for developers who have already created smart contracts on Ethereum or other EVM blockchains, as they can easily port their applications over to the Fantom network without having to rewrite their code.
Furthermore, Fantom’s EVM compatibility extends to ERC-20 tokens, which are the most common type of token on the Ethereum blockchain.
This means that if you have ERC-20 tokens in your Ethereum wallet, you can easily transfer them to your Fantom wallet and use them on the Fantom network.
Transacting on Fantom Network Using MetaMask
Now that you have added the Fantom network to your MetaMask wallet, you can start transacting on the network.
Here’s how you can do it:
Import Tokens
To receive tokens on the Fantom network, you need to import them into your MetaMask wallet.
You can do this by clicking on the “Add Token” button and entering the token’s contract address, symbol, and decimal value.
Once you have imported the token, you can view your balance on the wallet’s main page.
Send and Receive Tokens
To send tokens on the Fantom network, you need to have some tokens in your wallet.
To send tokens, click on the “Send” button, enter the recipient’s wallet address, the amount of tokens you want to send, and click on “Next.”
Confirm the transaction details and click on “Confirm” to complete the transaction.
To receive tokens on the Fantom network, you need to provide the sender with your wallet address.
You can find your wallet address by clicking on the account drop-down menu and selecting “Copy Address to Clipboard.”
Share this address with the sender to receive tokens.
Swap Tokens
You can also swap tokens on the Fantom network using MetaMask.
To do this, click on the “Swap” button and select the tokens you want to swap.
Enter the amount of tokens you want to swap and click on “Preview Swap.”
Confirm the transaction details and click on “Confirm” to complete the transaction.
Withdraw Tokens
If you want to withdraw tokens from the Fantom network to another network, you can do so using MetaMask.
To do this, click on the “Withdraw” button and enter the amount of tokens you want to withdraw.
Enter the recipient’s wallet address and select the network you want to withdraw the tokens to.
Confirm the transaction details and click on “Confirm” to complete the transaction.
Custom RPC Endpoint
If you want to use a custom RPC endpoint on the Fantom network, you can do so by clicking on the network drop-down menu and selecting “Custom RPC.”
Enter the RPC URL and chain ID for the network and click on “Save.”
You can now transact on the custom network using MetaMask.
That’s it!
You can now transact on the Fantom network using MetaMask.
The network offers high transaction throughput and low costs, making it an attractive option for users looking to transact with digital assets.
Security Measures While Using Metamask and Fantom
When using Metamask and Fantom, it is important to take certain security measures to ensure the safety of your funds and personal information.
Here are a few tips to help you stay secure:
- Use a strong password: Your password should be unique and difficult to guess. Avoid using common passwords or easily guessable information, such as your name or birthdate.
- Enable two-factor authentication: Two-factor authentication adds an extra layer of security to your account by requiring a code in addition to your password. This can help prevent unauthorized access to your account.
- Backup your seed phrase: Your seed phrase is a series of words that can be used to recover your account if you lose access to your device or forget your password. Make sure to write down your seed phrase and store it in a safe place.
- Be cautious of phishing scams: Phishing scams are attempts to steal your personal information or funds by posing as a legitimate service or company. Always double-check the URL and ensure you are on the correct website before entering any sensitive information.
- Only use trusted applications: When interacting with DeFi protocols or other applications, make sure to only use trusted applications that have been audited for security.
- Test on a testnet: Before using any new protocol or application, it is recommended to test it on a testnet first. This can help you identify any potential security issues before risking real funds.
By following these simple security measures, you can help ensure the safety of your funds and personal information while using Metamask and Fantom.
Benefits of Using Fantom Network on MetaMask
Adding Fantom to your MetaMask wallet provides several benefits that make it an excellent choice for your cryptocurrency transactions.
Here are some of the advantages of using Fantom on MetaMask:
Speed and Scalability
Fantom is designed to be a fast and scalable blockchain network.
It uses a Proof-of-Stake consensus mechanism that allows for faster transaction processing times and lower fees compared to other blockchain networks.
This means that you can perform transactions on the Fantom network quickly and at a lower cost.
Low Fees
One of the most significant advantages of using Fantom on MetaMask is its low transaction fees.
The Fantom network offers a low-fee environment that allows users to transact with minimal fees.
This makes it an ideal choice for users who want to save on transaction costs.
Lower Costs
Fantom’s low-fee environment also translates to lower costs for users.
With lower transaction fees, users can save money on their transactions, making it an attractive option for those who want to reduce their costs.
Proof-of-Stake
Fantom uses a Proof-of-Stake consensus mechanism, which allows users to participate in the network by staking their FTM tokens.
This means that users can earn rewards by holding and staking their tokens, making it an excellent choice for users who want to earn passive income.
Key Takeaways
Adding Fantom to MetaMask is a simple process that requires only a few steps.
With Fantom added to your MetaMask wallet, you’ll be able to buy, sell, and trade FTM tokens with ease.
Here are some key takeaways to keep in mind:
- To add Fantom to MetaMask, you can either enter the custom RPC details or visit the official block explorer at https://ftmscan.com/ and click the “Add Fantom Network” button at the bottom of the page.
- Before adding Fantom to MetaMask, you’ll need to download and install the MetaMask extension on your browser. Once you’ve done that, you can follow the step-by-step guides provided by various sources to add Fantom to your wallet.
- When adding Fantom to MetaMask, it’s important to make sure that you’re adding the correct network. There are two different networks for Fantom: the mainnet and the testnet. Be sure to add the network that you intend to use.
- Once you’ve added Fantom to your MetaMask wallet, you’ll be able to view your FTM tokens and use them for various transactions. You can also view your transaction history and manage your wallet settings through the MetaMask interface.
- Adding Fantom to MetaMask is just the first step in using this powerful cryptocurrency. Be sure to do your research and learn more about the benefits and risks of using Fantom before making any major investments or transactions.