


Are you interested in adding the Tron network to your Metamask wallet?
If so, you’re in the right place!
Adding Tron to your Metamask wallet allows you to store and send TRX tokens, as well as interact with decentralized applications (dApps) on the Tron blockchain, but how to add Tron network to MetaMask?
Adding the Tron network to Metamask is a simple process that can be completed in just a few steps.
First, you’ll need to install the Metamask browser extension if you haven’t already.
Once you have Metamask installed, you can add the Tron network by following a few easy steps.
In this article, we’ll walk you through the process of adding the Tron network to your Metamask wallet so that you can start storing, sending, and receiving TRX tokens.
Post Contents
- 1 Downloading and Installing Metamask
- 2 Setting Up Metamask Wallet
- 3 Understanding Networks in Metamask
- 4 How to Add Tron Network to Metamask
- 5 Understanding Tokens and Cryptocurrencies
- 6 Transferring and Receiving Tokens
- 7 Understanding and Using Binance Bridge
- 8 Exploring Other Features
- 9 Using Metamask on Mobile
- 10 Alternatives to Metamask
- 11 Key Takeaways
Downloading and Installing Metamask
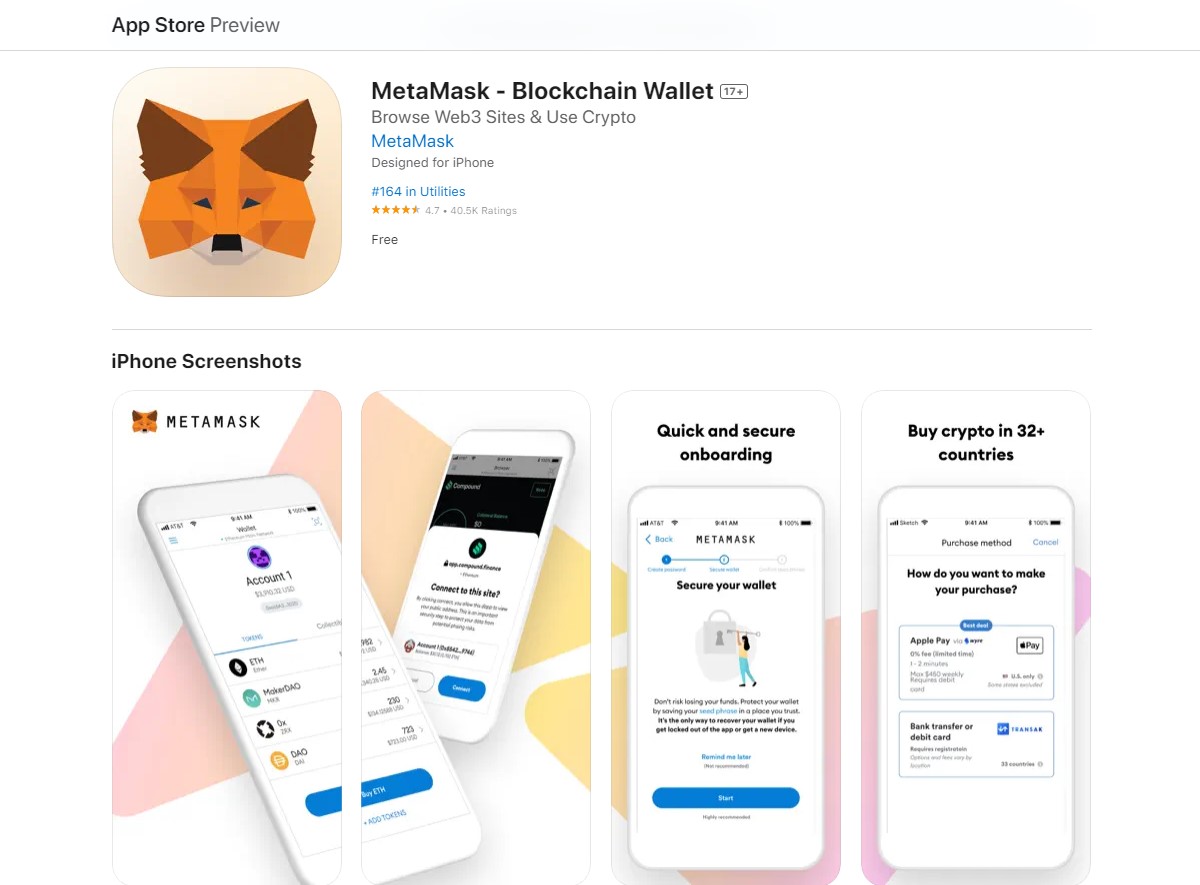
If you want to add Tron Network to your Metamask wallet, the first step is to download and install the Metamask browser extension.
Metamask is available for Chrome, Firefox, and Brave browsers, as well as Android and iOS devices.
To download Metamask, go to the official Metamask website and click on the “Download” button.
You will be directed to the download page where you can select the appropriate browser extension for your device.
Once you have downloaded the Metamask browser extension, you can install it by following the on-screen instructions.
The installation process is straightforward and should only take a few minutes to complete.
After the installation is complete, you will see the Metamask icon in the upper-right corner of your browser.
Click on the icon to open Metamask and create a new wallet or import an existing one.
It is important to note that Metamask is a browser extension and not a standalone wallet.
This means that your private keys are stored in the browser extension and not on your device.
Make sure to keep your browser and Metamask up-to-date and secure to protect your assets.
Setting Up Metamask Wallet
If you want to add Tron Network to your Metamask wallet, the first step is to set up a Metamask wallet.
Metamask is a popular open-sourced, non-custodial crypto wallet that allows you to store, manage, and interact with your digital assets on the Ethereum blockchain and other compatible networks.
To get started, you need to visit the Metamask website and download the wallet extension for your preferred browser.
Once you have installed the extension, you can create a new wallet by following these simple steps:
- Click on the Metamask icon in your browser toolbar and select “Create a Wallet.”
- Set up a secure password and click “Create” to generate a new wallet.
- Follow the instructions to back up your seed phrase and store it in a secure location.
- Your wallet is now ready to use, and you can start adding tokens, interacting with dApps, and sending and receiving transactions.
Your Metamask wallet address is a unique identifier that allows you to receive payments and store your digital assets securely.
You can find your wallet address by clicking on the three dots in the top right corner of your wallet and selecting “Account Details.”
From there, you can copy your wallet address and share it with others for transactions.
It’s important to note that while Metamask provides secure storage for your digital assets, it’s still essential to follow best practices for crypto wallet security.
This includes keeping your seed phrase and private keys in a secure location, using two-factor authentication, and avoiding sharing sensitive information with others.
Understanding Networks in Metamask
When you use Metamask, you are connected to a network that allows you to interact with Ethereum and other compatible blockchains.
Each network has its own set of rules for validating transactions and storing data.
It’s essential to understand networks in Metamask to ensure that you’re sending and receiving tokens on the correct network.
Ethereum Network
The Ethereum network is the default network in Metamask.
It’s the network where you can send and receive Ether and ERC-20 tokens.
This network is identified by the network name “Ethereum Mainnet” in Metamask.
Binance Smart Chain (BSC)
Binance Smart Chain is a parallel blockchain to Binance Chain that enables the creation of smart contracts.
It’s one of the compatible blockchains in Metamask.
To add BSC to your Metamask, you need to add a new RPC URL.
You can find the RPC URL for BSC on the Binance Smart Chain documentation website.
Tron Network
Tron Network is another compatible blockchain in Metamask.
To add Tron Network to your Metamask, you need to add a custom RPC.
You can find the RPC URL for Tron Network on the TronScan website.
Adding a Network
To add a new network to Metamask, follow these steps:
- Open Metamask and click on the network dropdown.
- Click on “Custom RPC.”
- Enter the network name and RPC URL.
- Click “Save.”
Make sure to verify the RPC URL before adding it to Metamask.
You can do this by checking the website of the network you want to add.
Other Compatible Blockchains
Metamask also supports other compatible blockchains like Polygon and Avalanche.
To add these networks to Metamask, follow the same steps as adding a custom RPC.
In summary, understanding networks in Metamask is crucial for sending and receiving tokens on the correct network.
Make sure to verify the RPC URL before adding it to Metamask.
Metamask supports various compatible blockchains like Binance Smart Chain, Tron Network, Polygon, and Avalanche.
How to Add Tron Network to Metamask
If you want to add Tron Network to your Metamask wallet, follow these simple steps:
- Open Metamask and click on the network dropdown menu.
- Select “Custom RPC” from the dropdown menu.
- Fill in the following details in the “New RPC URL” section:
- Network Name: Tron Mainnet
- New RPC URL: https://api.trongrid.io
- Chain ID: 1
- Click on the “Save” button to save the changes.
That’s it!
You have successfully added the Tron Network to your Metamask wallet.
Now you can send and receive TRX tokens on the Tron Network.
If you want to view your TRX transactions, you can use a Tron block explorer URL like tronscan.org.
Remember, always be careful when adding custom networks to your Metamask wallet.
Make sure you are using accurate information and double-check all the details before saving any changes.
Understanding Tokens and Cryptocurrencies
Tokens and cryptocurrencies are digital assets that enable peer-to-peer transactions without the need for intermediaries.
They are secured by cryptography and are decentralized, meaning they are not controlled by any central authority.
In this section, we will cover some basic concepts related to tokens and cryptocurrencies that are relevant to adding Tron network to Metamask.
Native Tokens
Native tokens are the primary currency of a blockchain network.
They are used to pay for transaction fees and other network services.
In the case of Tron, the native token is called TRX.
TRX is used to pay for transaction fees and to participate in the governance of the Tron network.
Tron Tokens
Tron tokens are digital assets that are built on top of the Tron network.
They can be used for a variety of purposes, including payments, rewards, and governance.
Tron tokens are divided into three categories: TRC-10, TRC-20, and native tokens.
TRC-10 tokens are similar to ERC-20 tokens on the Ethereum network.
They are fungible tokens that can be traded on exchanges and used in decentralized applications (dApps).
TRC-20 tokens are similar to ERC-20 tokens but have additional features like the ability to freeze and unfreeze tokens.
They are used for more complex applications like tokenization of assets.
Native tokens are tokens that are built on the Tron network and have the same capabilities as TRX.
They can be used for payments, rewards, and governance.
Binance-Pegged TRX
Binance-Pegged TRX is a version of TRX that is built on the Binance Smart Chain.
It is used to enable cross-chain transactions between the Tron and Binance networks.
To add Binance-Pegged TRX to your Metamask wallet, you need to add the Binance Smart Chain network to your Metamask.
Token Symbol and Ticker
Token symbol and ticker are two terms that are used interchangeably to refer to the abbreviation or code that represents a token or cryptocurrency.
For example, the token symbol for TRX is TRX, and the ticker is TRX.
Transferring and Receiving Tokens
Once you have added the Tron network to your MetaMask wallet, you can now send, receive, and manage your TRX tokens.
Here’s how to do it:
Sending Tokens
To send TRX tokens to an external wallet or crypto exchange, follow these steps:
- Open your MetaMask wallet and click on the “Send” button.
- Enter the wallet address of the recipient in the “To” field. Make sure to double-check the address to avoid sending your tokens to the wrong address.
- Enter the amount of TRX tokens you want to send in the “Amount” field.
- Review the transaction details, including the gas fees, before clicking on the “Confirm” button.
- Wait for the transaction to be confirmed on the Tron network.
Receiving Tokens
To receive TRX tokens from an external wallet or crypto exchange, follow these steps:
- Open your MetaMask wallet and click on the account name at the top of the window to copy your wallet address.
- Share your wallet address with the sender, or paste it in the recipient field in the application where you are receiving your TRX tokens from.
- Wait for the transaction to be confirmed on the Tron network.
Importing Tokens
If you have TRX tokens in an external wallet or crypto exchange, you can import them into your MetaMask wallet by adding the TRX token using the Binance Smart Chain network.
Here’s how to do it:
- Go to the “Add Token” section in your MetaMask wallet.
- Select “Custom Token” and enter the following information:
- Token Contract Address: 0x85eac5ac2f758618dfa09bdbe0cf174e7d574d5b
- Token Symbol: TRX
- Decimals of Precision: 18
- Click on “Add Token” to complete the process.
Transaction Fees
Every time you send TRX tokens, you need to pay a transaction fee, also known as gas fees.
The amount of gas fees depends on the current network congestion and the complexity of the transaction.
Make sure to review the gas fees before confirming the transaction to avoid paying more than necessary.
That’s it!
You now know how to send, receive, and import TRX tokens using your MetaMask wallet on the Tron network.
Understanding and Using Binance Bridge
If you want to add the Tron network to your MetaMask wallet, you can use the Binance Bridge.
Binance Bridge is a cross-chain bridge that allows you to move assets between different blockchains, including the Binance Smart Chain (BSC) and the Ethereum network.
To use Binance Bridge, you need to have a Binance account and some Binance Coin (BNB) in your wallet.
Binance Coin is the native cryptocurrency of the Binance chain and is used to pay for transaction fees on the Binance Smart Chain.
Here’s how you can use Binance Bridge to add the Tron network to your MetaMask wallet:
- Go to the Binance Bridge website and connect your MetaMask wallet.
- Select the asset you want to transfer. In this case, it would be the Binance-pegged TRX.
- Enter the amount you wish to transfer and click on “Next”.
- Confirm the details of the transaction and click on “Confirm”.
- Wait for the transaction to be completed. This may take a few minutes.
Once the transaction is completed, you will see the Tron network added to your MetaMask wallet.
You can now use your Tron assets on the Tron network.
It’s important to note that Binance Bridge is a trusted third-party service, and you should always exercise caution when using it.
Make sure to verify the details of your transaction before confirming it.
Exploring Other Features
Now that you have successfully added the Tron network to your Metamask wallet, you can explore various other features that the Tron ecosystem has to offer.
Here are some of the features that you can explore:
Dapps
Tron has a thriving dapp ecosystem, and you can access many of these dapps through your Metamask wallet.
Some of the popular dapps on Tron include TronTrade, JustSwap, and Sun.io.
These dapps allow you to trade cryptocurrencies, stake your tokens, and earn rewards.
Stake
Staking is a popular feature in the Tron ecosystem, and you can stake your TRX tokens to earn rewards.
You can stake your tokens on various platforms such as TronStake and Sesameseed.
With staking, you can earn passive income by simply holding your tokens.
Storage
Tron also has a decentralized storage platform called BitTorrent File System (BTFS).
You can use BTFS to store your files securely and access them from anywhere in the world.
With BTFS, you can also earn rewards by sharing your unused storage space.
Tron Ecosystem
The Tron ecosystem is vast, and you can explore various other projects and platforms that are built on the Tron blockchain.
Some of the popular projects include Wink, WINkLink, and TronBet.
These platforms offer various services such as gaming, gambling, and more.
Tron Blockchain Explorer
You can use the Tron blockchain explorer to explore the Tron blockchain and view various transactions and smart contracts.
The block explorer URL for Tron is https://tronscan.org/.
With the block explorer, you can view the details of any transaction or smart contract on the Tron blockchain.
Smart Contracts
Tron is an EVM-compatible network, which means that you can use your existing Ethereum smart contracts on the Tron blockchain.
This opens up a world of possibilities for developers who can now build and deploy their smart contracts on the Tron blockchain.
NFTs
Tron also has a thriving NFT ecosystem, and you can explore various NFT marketplaces such as Nifty Gateway and SuperRare.
These marketplaces allow you to buy, sell, and trade NFTs, which are unique digital assets that represent ownership of a particular item or artwork.
Using Metamask on Mobile
Metamask is not only available as a browser extension but also as a mobile app.
This means that you can use Metamask on your Android or iOS device and access your Tron network from anywhere, anytime.
Here’s how you can use Metamask on your mobile device:
- Download and Install the Metamask Mobile App: The first step is to download and install the Metamask mobile app on your Android or iOS device. You can find the app on the Google Play Store or Apple App Store.
- Set Up Your Metamask Account: Once you have installed the app, you need to set up your Metamask account. You can either create a new account or import an existing one by using your seed phrase.
- Add the Tron Network to Your Metamask: To add the Tron network to your Metamask on mobile, follow the same steps as you would on the desktop version. Click on the network dropdown menu and select “Custom RPC.” Enter the Tron network information, including the RPC URL, Chain ID, and Symbol.
- Connect to DApps: With Metamask on your mobile device, you can easily connect to decentralized applications (DApps) that are compatible with the Tron network. Simply navigate to the DApp’s website and click on the “Connect Wallet” button. Select Metamask as your wallet provider and enter your password to connect.
- Send and Receive TRX: You can also send and receive TRX using Metamask on your mobile device. To send TRX, click on the “Send” button, enter the recipient’s address and the amount you want to send, and confirm the transaction. To receive TRX, click on the “Receive” button and share your wallet address with the sender.
Using Metamask on your mobile device is a convenient way to access your Tron network on the go.
Just make sure to keep your device secure and never share your seed phrase with anyone.
Alternatives to Metamask
While Metamask is a popular crypto wallet that supports various blockchain networks, there are other alternatives that you can consider if you want to add Tron (TRX) to your wallet.
Here are some of the alternatives you can explore:
TronLink
TronLink is a popular wallet for Tron (TRX) users that supports all the key features and functions you expect from a crypto wallet.
With TronLink, you can access your existing Tron wallets, receive and store TRX coins, send payments, check account balances, and more.
It is available as a browser extension and a mobile app, and it is easy to use and secure.
Trust Wallet
Trust Wallet is a software wallet that supports various blockchain networks, including Tron (TRX).
It is available as a mobile app and a browser extension, and it allows you to store, send, and receive TRX coins easily.
Trust Wallet is known for its user-friendly interface and strong security features, making it a popular choice among crypto enthusiasts.
Hot Wallets
Hot wallets are crypto wallets that are connected to the internet, making them convenient to use but less secure than hardware wallets.
There are various hot wallets that support Tron (TRX), such as Atomic Wallet, Exodus, and Guarda Wallet.
These wallets offer easy access to your TRX coins and allow you to manage your portfolio on the go.
Hardware Wallets
Hardware wallets are physical devices that store your private keys offline, providing the highest level of security for your crypto assets.
There are various hardware wallets that support Tron (TRX), such as Ledger and Trezor.
These wallets offer robust security features and are ideal for long-term storage of your TRX coins.
Key Takeaways
Adding the Tron network to your Metamask wallet is a simple process that can be completed in just a few steps.
Here are some key takeaways to keep in mind:
- You will need to have Metamask installed and set up before you can add the Tron network.
- The Tron network is not EVM-compatible, so you will need to add it as a custom network in Metamask.
- You can add Tron (TRX) to your Metamask wallet by adding the Binance-Pegged TRX token using the correct contract address.
- Once you have added the Tron network and TRX token to your Metamask wallet, you can send and receive TRX just like any other cryptocurrency.
Overall, adding the Tron network to your Metamask wallet can expand your options for managing your cryptocurrency holdings.
By following the simple steps outlined in this guide, you can easily add TRX to your wallet and start using it for transactions on the Tron network.