


Are you struggling with how to schedule a post on Facebook?
Do you find it hard to remember to post at the right time?
Scheduling your posts on Facebook can save you time and energy, ensuring that your content is posted at the right time and reaches your target audience.
Scheduling a post on Facebook is a simple process that can be done in just a few easy steps.
You can either use Facebook’s built-in posting scheduler or third-party scheduling tools like Hootsuite.
With these tools, you can create a post and schedule it to publish on your page at a later time.
You can also manage your scheduled posts and make changes to them as needed.
By scheduling your posts, you can keep your audience engaged and maintain a consistent posting schedule without having to be online all the time.
Post Contents
- 1 Understanding Facebook Scheduling
- 2 How to Schedule a Post on Facebook
- 3 Using Facebook Business Suite for Scheduling
- 4 Scheduling Posts on Facebook Groups
- 5 Scheduling Different Types of Content
- 6 Scheduling Posts on Instagram via Facebook
- 7 Editing Scheduled Posts
- 8 Using Third-Party Tools for Scheduling
- 9 Advanced Scheduling Tips
- 10 Key Takeaways
Understanding Facebook Scheduling

If you’re looking to manage your Facebook Page more efficiently, scheduling your posts can be a great way to save time and streamline your workflow.
With Facebook’s scheduling feature, you can create and schedule posts to be published at a later time or date.
To schedule a post on Facebook, you’ll need to have a Facebook Page.
Once you’ve created your Page, you can start creating content and scheduling posts.
When you schedule a post on Facebook, you can choose the exact date and time that you want it to be published.
You can also edit or delete scheduled posts at any time.
This can be especially helpful if you have a busy schedule or if you want to plan your content in advance.
To schedule a post on Facebook, simply create your post as you normally would, and then click on the dropdown arrow next to the “Publish” button.
From there, you can select the date and time that you want your post to be published.
It’s important to note that scheduled posts on Facebook are not visible to the public until they are published.
This means that you can make changes or edits to your post before it goes live.
How to Schedule a Post on Facebook
If you want to post content on your Facebook page but don’t want to do it in real-time, scheduling a post is an excellent option.
This way, you can create a post in advance and schedule it to publish later.
Here’s how you can schedule a post on Facebook.
Scheduling on Desktop
- Log in to your Facebook account and go to your Facebook page.
- Click on the “Create Post” button.
- Write your post’s content in the text box and add any media, links, or tags you want to include.
- Click on the “Schedule” button, located next to the “Publish” button.
- Select the date and time when you want your post to be published.
- Click on the “Schedule” button to schedule your post.
Scheduling on Mobile
- Open the Facebook app and go to your Facebook page.
- Tap on “Create Post.”
- Type in your post’s content and add any media, links, or tags you want to include.
- Tap on the “Schedule” button.
- Select the date and time when you want your post to be published.
- Tap on the “Schedule” button to schedule your post.
Keep in mind that you can only schedule a post up to six months in advance.
Also, scheduled posts can be edited or deleted at any time before they are published.
To manage your scheduled posts, go to the “Publishing Tools” section of your Facebook page.
Here, you can view, edit, and delete your scheduled posts.
Using Facebook Business Suite for Scheduling

If you want to schedule a post on Facebook, you can use the Facebook Business Suite.
This is a free tool that allows you to manage your Facebook and Instagram accounts from a single place.
To schedule a post, you need to have a Facebook Business Suite account.
You can access this tool from the Facebook website or the Business Suite app.
Once you are logged in, you can create a post and schedule it to be published at a later time.
Here are the steps to schedule a post using Facebook Business Suite:
- Go to the Facebook Business Suite website or app and log in to your account.
- Click on the “Create Post” button.
- Choose whether you want to create a post for Facebook, Instagram, or both.
- Write your post and add any images or videos you want to include.
- Click on the “Schedule” button.
- Choose the date and time you want your post to be published.
- Click on the “Schedule” button again to confirm.
It’s important to note that scheduled posts correspond to your current time zone.
So, if you are in a different time zone than your audience, you may want to adjust the scheduled time accordingly.
In addition to scheduling posts, Facebook Business Suite also allows you to view your previous posts, sort them by published, scheduled, and draft, and search for them by ID or caption.
You can also filter your posts by where they were published (Facebook, Instagram, or both) and by date.
Scheduling Posts on Facebook Groups
Scheduling posts on Facebook groups is a great way to save time and increase engagement.
As a group admin or moderator, you can schedule a post to publish at a specific time, which will help you stay consistent with your content and keep your group members engaged.
To schedule a post on a Facebook group, follow these simple steps:
- Go to your group’s page and click on the “Write Something” box.
- Write your post and add any images or videos that you want to include.
- Click on the clock icon located at the bottom left corner of the post box.
- Choose the date and time that you want your post to be published.
- Click on “Schedule” to schedule your post.
It’s important to note that only group admins and moderators can schedule group posts.
Additionally, scheduled posts can be created and edited by people who have these roles or access to the group.
Scheduling posts on Facebook groups can be particularly useful for businesses or organizations that want to promote events or sales.
By scheduling posts in advance, you can ensure that your group members are aware of upcoming events or promotions.
Scheduling Different Types of Content
Scheduling posts on Facebook is a great way to save time and ensure that your content reaches your audience at the right time.
But what about different types of content?
Can you schedule everything in the same way?
Here’s what you need to know:
Text Posts
Scheduling a text post is straightforward.
Simply write your post, select the date and time you want it to be published, and hit “Schedule.”
You can also add emojis and format your text using bold or italic.
Media Posts
If you want to schedule a post with a photo or video, you can do that too.
When creating your post, click on “Add Photo/Video” and select the file you want to upload.
You can then add a caption, select the date and time you want it to be published, and hit “Schedule.”
Link Posts
Link posts are a great way to share articles or other content with your audience.
To schedule a link post, simply paste the link into your post and wait for Facebook to generate a preview.
You can then add a caption, select the date and time you want it to be published, and hit “Schedule.”
Feeling/Activity Posts
Feeling and activity posts are a fun way to engage with your audience.
To schedule a feeling or activity post, click on “Feeling/Activity” when creating your post and select the option that best describes how you’re feeling or what you’re doing.
You can then add a caption, select the date and time you want it to be published, and hit “Schedule.”
Scheduling Posts on Instagram via Facebook
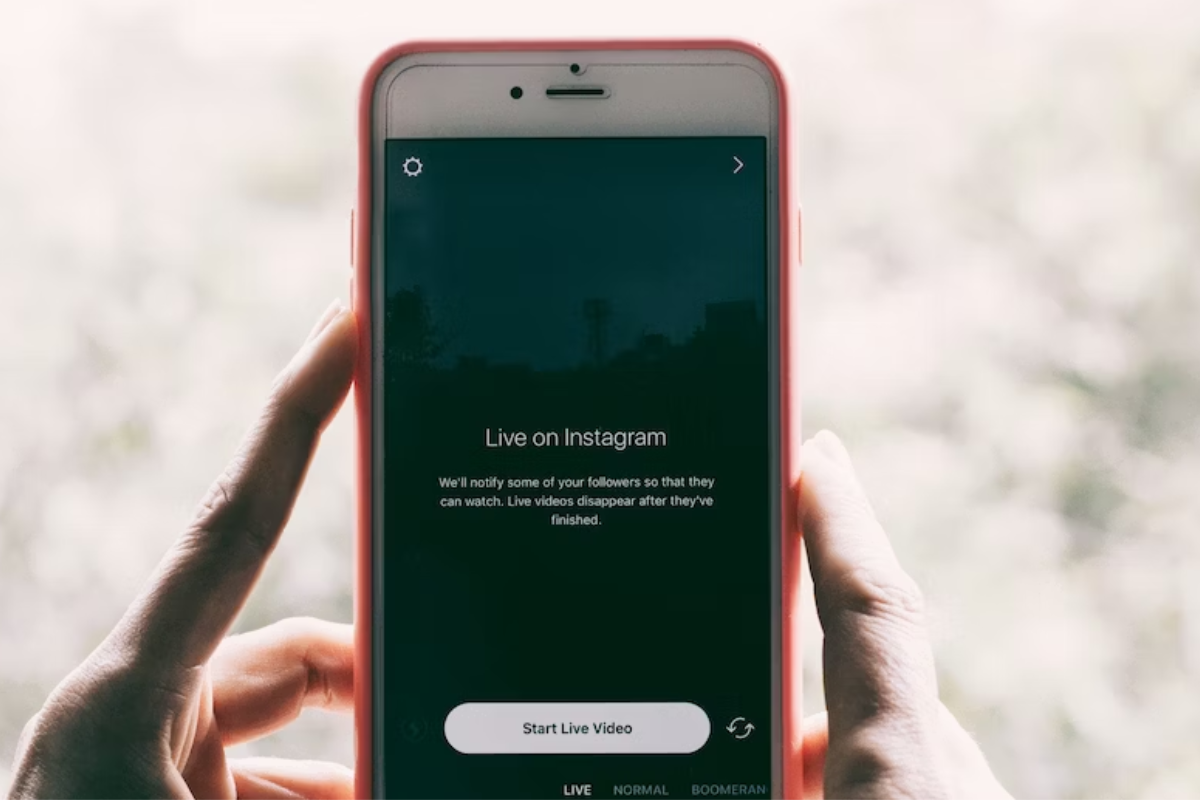
If you have an Instagram account linked to your Facebook page, you can easily schedule posts for both platforms via Facebook.
Here’s how:
- Log in to your Facebook account and navigate to your Page.
- Click on “Publishing Tools” at the top of the page.
- Select “Create Post” and choose “Instagram Feed” from the dropdown menu.
- Compose your post, add any media, and customize the post’s appearance as desired.
- Click on the calendar icon to schedule the post for a specific date and time.
- Choose the date and time you want the post to go live, and click “Schedule.”
That’s it!
Your post will now be scheduled to go live on Instagram at the time and date you selected.
It’s important to note that you can only schedule Instagram posts via Facebook if your Instagram account is linked to your Facebook Page.
Additionally, you can only schedule single-image posts – multi-image posts (carousels) and Instagram Stories cannot be scheduled via Facebook at this time.
Editing Scheduled Posts
If you need to make changes to a post that you have scheduled to publish on your Facebook page, you can easily edit it.
Here’s how:
- Go to your Facebook page and click on “Publishing Tools” at the top of the page.
- Click on “Scheduled Posts” in the left-hand menu.
- Find the post that you want to edit and click on the downward-facing arrow in the top-right corner of the post.
- Select “Edit Post” from the dropdown menu.
From here, you can make any necessary changes to the post, including the text, images, and scheduled date and time.
Once you’ve made your changes, click “Save” to update the post.
It’s important to note that if you change the scheduled date and time of a post, it will be moved to the new date and time that you select.
This means that if you originally scheduled the post for a peak engagement time, you may want to consider scheduling it for a similar time to ensure maximum visibility.
Additionally, if you edit a post that has already been shared on your page, the changes will not be reflected in the shared post.
The edited version will only be visible on your page.
Using Third-Party Tools for Scheduling
If you’re looking for more advanced scheduling options for your Facebook posts, third-party tools can be a great option.
These tools offer features like bulk scheduling, social media content calendars, and more.
Here are a few popular third-party tools for scheduling Facebook posts:
Hootsuite
Hootsuite is a social media management tool that allows you to schedule posts on multiple platforms, including Facebook.
With Hootsuite, you can schedule posts in advance, manage multiple accounts, and track your social media performance.
You can also use their social media content calendar to plan and organize your posts.
Social Media Content Calendar
A social media content calendar is a tool that helps you plan and organize your social media posts in advance.
With a content calendar, you can schedule posts for specific dates and times, plan out your content strategy, and ensure that you’re posting consistently.
There are many different social media content calendars available, including free templates and paid tools.
Using third-party tools for scheduling Facebook posts can help you save time, stay organized, and improve your social media strategy.
Whether you choose a tool like Hootsuite or a social media content calendar, make sure to choose a tool that fits your needs and budget.
Advanced Scheduling Tips
Now that you know how to schedule a post on Facebook, let’s take a look at some advanced scheduling tips that can help you optimize your social media strategy.
Optimal Times
Knowing the best times to post on Facebook can help you reach a wider audience and increase engagement.
Use Facebook Insights to determine when your followers are most active and schedule your posts accordingly.
Keep in mind that optimal posting times can vary depending on your target audience and industry.
Save Time
Save time by using Facebook’s “Save as Draft” feature.
This allows you to create a post and save it as a draft without publishing it.
You can then come back to it later and schedule it for a specific date and time.
New Post Window
When creating a new post, use the “New Post Window” to schedule multiple posts at once.
This can be especially helpful if you have a busy schedule or want to plan your social media content in advance.
Scheduling Options
Take advantage of Facebook’s scheduling options to ensure that your posts are published at the right time.
You can choose to publish your post immediately, schedule it for a specific date and time, or add it to your queue.
Planner
Use a social media planner to stay organized and keep track of your scheduled posts.
This can help you avoid posting too frequently or neglecting your social media pages.
Post Scheduling
Finally, remember that post scheduling is just one part of a successful social media strategy.
Be sure to create engaging content, interact with your followers, and monitor your analytics to continuously improve your social media presence.
Key Takeaways
Now that you know how to schedule a post on Facebook, here are a few key takeaways to keep in mind:
- Creating a post on Facebook is simple and can be done natively on the platform or through the Facebook mobile app.
- Scheduling a post on Facebook is a great way to save time and ensure that your content is published at the best possible time for your audience.
- Facebook’s built-in scheduler, Meta Business Suite, is a powerful tool that allows you to schedule posts for your Facebook page in advance.
- When scheduling a post, be sure to choose a date and time that is best for your audience. Consider factors such as time zone, work schedules, and peak engagement times.
- Remember that you can only schedule posts for Facebook pages, not personal accounts.
- If you’re using a third-party scheduling tool like SocialPilot, be sure to take advantage of the advanced features that can help you optimize your content and improve your social media strategy.
By following these tips and using the right tools, you can easily schedule posts on Facebook and make the most of your social media presence.