


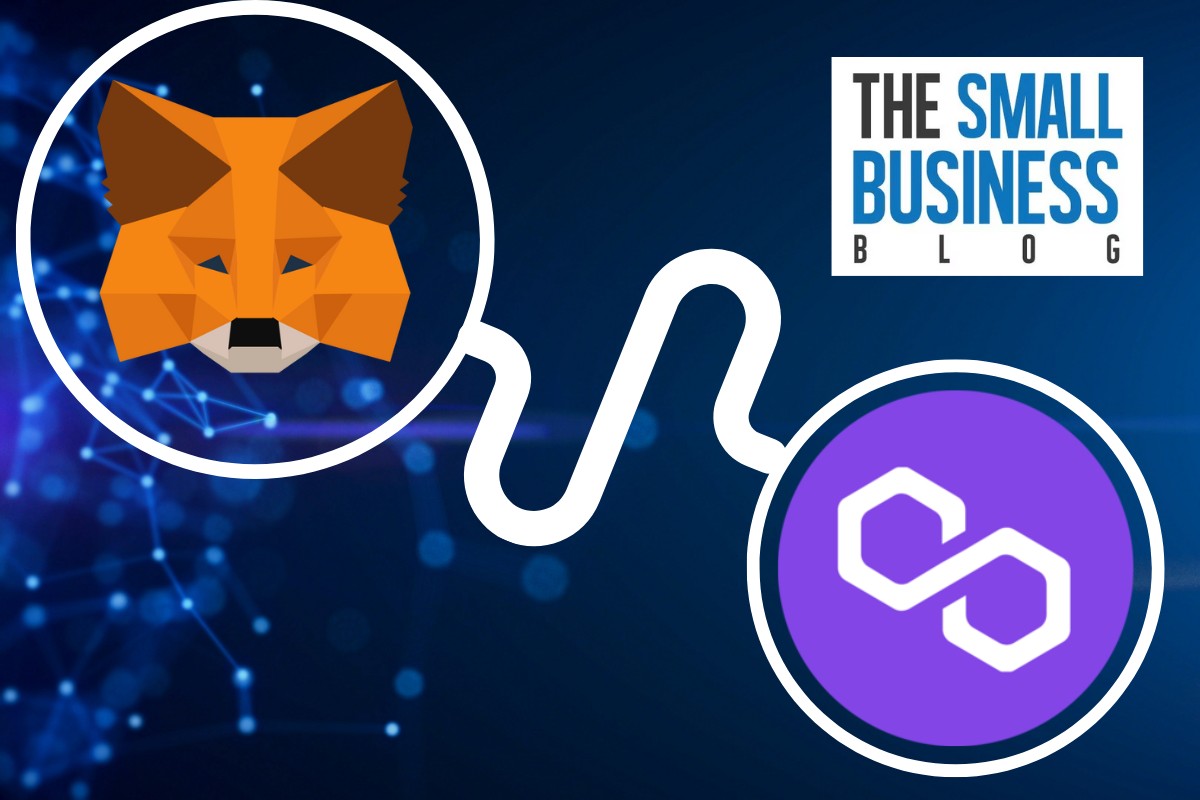


How to add Polygon to Metamask?
Adding Polygon to your MetaMask wallet is a simple process that can be completed in just a few steps.
If you’re not familiar with Polygon, it is a layer 2 scaling solution for Ethereum that offers faster transaction speeds and lower fees.
By adding Polygon to your MetaMask wallet, you can easily interact with the Polygon blockchain and use Polygon-based dApps and tokens.
To add Polygon to your MetaMask wallet, you’ll need to follow a few simple steps.
First, you’ll need to install the MetaMask wallet if you haven’t already done so.
Once you have MetaMask installed, you can add the Polygon network to your wallet by entering the network’s name, RPC URL, chain ID, currency symbol, and block explorer URL.
You can find this information on the Polygon website or through a quick online search.
Once you’ve added the Polygon network to your MetaMask wallet, you can start using Polygon-based dApps and tokens.
You can also transfer tokens to and from the Polygon network using your MetaMask wallet.
Overall, adding Polygon to your MetaMask wallet is a quick and easy process that can greatly expand your options for interacting with the Ethereum ecosystem.
Post Contents
Understanding Polygon and MetaMask
If you’re new to the world of cryptocurrency and blockchain, you may be wondering what Polygon and MetaMask are.
In simple terms, Polygon is a scaling solution for the Ethereum blockchain, designed to improve its speed and efficiency.
MetaMask, on the other hand, is a popular browser extension wallet that allows you to interact with decentralized applications (dApps) on the Ethereum blockchain.
By adding Polygon to MetaMask, you can access the Polygon ecosystem and use dApps that are built on this network.
This will enable you to take advantage of the faster transaction speeds and lower fees that Polygon offers.
When you add Polygon to MetaMask, you are essentially adding a new network to your wallet.
This network is separate from the Ethereum network, but it is still built on top of the Ethereum blockchain.
This means that you can use the same wallet address and private key for both Ethereum and Polygon.
To add Polygon to MetaMask, you will need to follow a few simple steps.
The exact process may vary depending on the version of MetaMask you are using, but generally, it involves adding a custom network to your wallet and entering the correct RPC details.
Once you have added Polygon to MetaMask, you can start exploring the ecosystem and using dApps that are built on this network.
Some of the popular dApps on Polygon include Aave, QuickSwap, and SushiSwap.
Setting Up Metamask Wallet
If you are new to the world of cryptocurrency and looking to add Polygon to your MetaMask wallet, you will need to start by setting up your wallet.
Here are the steps you need to follow:
Download and Installation
First, you need to download the MetaMask wallet as a browser extension.
You can find the extension on the official MetaMask website.
Once downloaded, follow the installation instructions to add it to your Chrome browser.
If you prefer to use your mobile device, you can download the MetaMask app on iOS or Android.
Simply search for the app on your device’s app store and follow the instructions to install it.
Creating a Wallet
Once you have installed the MetaMask wallet, you can create a new wallet by clicking on the MetaMask icon in your browser and selecting “Create a Wallet.”
Follow the prompts to set up a password and create a new wallet.
Make sure to write down your seed phrase and store it in a safe place.
This seed phrase is essential for recovering your wallet if you lose access to your password or device.
Backup and Security
To ensure the security of your wallet, MetaMask requires you to set up a PIN code.
You can do this by clicking on the MetaMask icon and selecting “Security & Privacy” and then “Lock” to set up a new PIN.
In addition, you should back up your wallet regularly to ensure that you can recover your funds if something goes wrong.
To do this, click on the MetaMask icon and select “Security & Privacy” and then “Backup Seed Phrase.”
Follow the prompts to back up your seed phrase.
By following these simple steps, you can set up your MetaMask wallet and ensure that it is secure and ready to use.
How to Add Polygon to Metamask
If you’re looking to add Polygon to your Metamask wallet, you have a couple of options available to you.
In this section, we’ll cover two methods: manual addition and using the network dropdown.
Manual Addition
The first method involves manually adding the Polygon network to your Metamask wallet.
Here are the steps you need to follow:
- Open your Metamask wallet and click on the networks dropdown.
- Click on “Custom RPC”.
- In the “New RPC URL” field, enter the RPC URL for the Polygon network. You can find this information on the Polygon website.
- In the “Network Name” field, enter a name for the network (e.g. “Polygon”).
- In the “Chain ID” field, enter the chain ID for the Polygon network.
- In the “Currency Symbol” field, enter the currency symbol for the Polygon network (e.g. “MATIC”).
- In the “Block Explorer URL” field, enter the block explorer URL for the Polygon network. You can find this information on the Polygon website.
- Click “Save”.
And that’s it!
You should now see the Polygon network added to your Metamask wallet.
Using the Network Dropdown
The second method involves using the network dropdown in Metamask to add the Polygon network.
Here are the steps you need to follow:
- Open your Metamask wallet and click on the networks dropdown.
- Click on “Add Network”.
- In the “Network Name” field, enter a name for the network (e.g. “Polygon”).
- In the “RPC URL” field, enter the RPC URL for the Polygon network. You can find this information on the Polygon website.
- In the “Chain ID” field, enter the chain ID for the Polygon network.
- In the “Symbol” field, enter the currency symbol for the Polygon network (e.g. “MATIC”).
- Click “Save”.
And that’s it! You should now see the Polygon network added to your Metamask wallet.
By following these steps, you’ll be able to easily add the Polygon network to your Metamask wallet and start using it for your transactions.
Handling Polygon Tokens in Metamask
If you have added the Polygon network to your Metamask wallet, you can now manage your Polygon tokens easily.
Here are some of the things you can do with your Polygon tokens in Metamask.
Sending and Receiving Tokens
To send or receive Polygon tokens, you can use the same process as you would with any other Ethereum-based token.
Simply select the Polygon network from the network selection dropdown in Metamask, and then enter the recipient’s address and the amount of tokens you want to send.
You can also receive Polygon tokens by providing your address to the sender.
Adding Custom Tokens
If you have a custom Polygon-based token that is not listed in Metamask, you can add it manually by following these steps:
- Click on the Metamask icon to open the wallet interface.
- Scroll to the bottom of the page and click on the “Add Token” button.
- Enter the contract address and decimal value for the custom token you want to add.
- Click on “Next” and then “Add Tokens” to complete the process.
Importing Tokens
If you have received Polygon-based tokens from a third-party wallet or exchange, you may need to import them into your Metamask wallet.
Here’s how to do it:
- Click on the Metamask icon to open the wallet interface.
- Scroll to the bottom of the page and click on the “Import Tokens” button.
- Enter the contract address and decimal value for the token you want to import.
- Click on “Next” and then “Add Tokens” to complete the process.
Remember, when importing custom or third-party tokens, it is important to double-check the contract address and decimal value to ensure that you are importing the correct token.
That’s it!
With these simple steps, you can easily manage your Polygon tokens in Metamask and take advantage of the benefits of the Polygon network.
Exploring Polygon Ecosystem with Metamask
If you’re new to the Polygon ecosystem, you might be wondering how to explore it with your Metamask wallet.
Fortunately, it’s easy to get started.
In this section, we’ll explore some of the ways you can interact with Polygon using Metamask.
Interacting with Dapps
One of the most exciting things about the Polygon ecosystem is the wide variety of decentralized applications (dapps) available.
To interact with these dapps using Metamask, you’ll first need to add the Polygon network to your wallet (see previous section for instructions).
Once you’ve added Polygon to Metamask, you can browse the various dapps available on the network.
Some popular options include Aave, SushiSwap, and QuickSwap.
To use these dapps, simply connect your Metamask wallet to the dapp and follow the on-screen instructions.
Trading on Decentralized Exchanges
Decentralized exchanges (DEXs) are a key part of the Polygon ecosystem.
These platforms allow you to trade cryptocurrencies without relying on a centralized exchange.
To trade on a DEX using Metamask, you’ll first need to add the relevant token to your wallet.
Once you’ve added the token, you can connect your Metamask wallet to the DEX and start trading.
Some popular options on the Polygon network include QuickSwap and SushiSwap.
Exploring NFTs on Opensea
If you’re interested in non-fungible tokens (NFTs), the Polygon ecosystem has plenty to offer.
One popular platform for buying and selling NFTs is Opensea.
To explore NFTs on Opensea with Metamask, you’ll first need to add the Polygon network to your wallet.
Once you’ve added Polygon to Metamask, you can browse the various NFTs available on Opensea.
To purchase an NFT, simply connect your Metamask wallet to the platform and follow the on-screen instructions.
Understanding Transactions on Polygon Network
When using Polygon Network, it is important to understand how transactions work.
This section will cover transaction fees and how to check transactions on Polyscan.
Transaction Fees
Transaction fees on Polygon Network are paid in gas fees, just like on the Ethereum network.
However, the gas fees on Polygon Network are much lower than on Ethereum.
This is because Polygon uses a Proof of Stake (PoS) consensus mechanism, which is more energy-efficient than Ethereum’s Proof of Work (PoW) mechanism.
To check the current gas fee on Polygon Network, you can use a gas fee tracker such as GasNow.
When making a transaction on Polygon Network, you can adjust the gas fee to prioritize the speed of the transaction or the cost.
Checking Transactions on Polyscan
Polyscan is a block explorer for Polygon Network.
It allows you to view all the transactions on the network, as well as the current state of the blockchain.
To check a transaction on Polyscan, follow these steps:
- Go to Polyscan website.
- Enter the transaction hash or the address of the sender or receiver in the search bar.
- Click on “Search” to view the transaction details.
The transaction details will include the transaction hash, the sender and receiver addresses, the amount transferred, the gas fee paid, and the status of the transaction.
You can use this information to verify that your transaction was successful or to troubleshoot any issues.
Connecting to Other Networks with Metamask
If you’ve been using the Ethereum network for a while, you may be interested in exploring other networks.
Luckily, Metamask makes it easy to connect to other networks so that you can use different dApps and explore new projects.
In this section, we will go over how to connect to some of the most popular networks, including Binance Smart Chain, Avalanche, Testnet, and Edge.
Binance Smart Chain
To connect to Binance Smart Chain (BSC) with Metamask, you will need to add a custom network.
Follow these steps:
- Click on the network dropdown in the top right corner of your Metamask wallet.
- Select “Custom RPC”.
- In the “New RPC URL” field, enter “https://bsc-dataseed.binance.org/”.
- In the “Chain ID” field, enter “56”.
- In the “Symbol” field, enter “BNB”.
- Click “Save”.
Once you have added the BSC network to Metamask, you can switch between Ethereum and BSC by clicking on the network dropdown.
Avalanche
To connect to Avalanche with Metamask, you will need to add a custom network.
Follow these steps:
- Click on the network dropdown in the top right corner of your Metamask wallet.
- Select “Custom RPC”.
- In the “New RPC URL” field, enter “https://api.avax.network/ext/bc/C/rpc“.
- In the “Chain ID” field, enter “43114”.
- In the “Symbol” field, enter “AVAX”.
- Click “Save”.
Once you have added the Avalanche network to Metamask, you can switch between Ethereum and Avalanche by clicking on the network dropdown.
Testnet
Metamask also allows you to connect to testnets, which are used for testing purposes.
To connect to a testnet with Metamask, follow these steps:
- Click on the network dropdown in the top right corner of your Metamask wallet.
- Select “Custom RPC”.
- Enter the RPC URL and Chain ID for the testnet you want to connect to. You can find this information on the testnet’s website.
- Click “Save”.
Once you have added the testnet to Metamask, you can switch between Ethereum and the testnet by clicking on the network dropdown.
Edge
Edge is a decentralized storage network that allows developers to build and deploy dApps.
To connect to Edge with Metamask, follow these steps:
- Click on the network dropdown in the top right corner of your Metamask wallet.
- Select “Custom RPC”.
- In the “New RPC URL” field, enter “https://api.edge.network/v1“.
- In the “Chain ID” field, enter “1”.
- In the “Symbol” field, enter “EDGE”.
- Click “Save”.
Once you have added the Edge network to Metamask, you can switch between Ethereum and Edge by clicking on the network dropdown.
That’s it!
Now you know how to connect to other networks with Metamask.
Keep in mind that not all dApps and projects will be available on every network, so make sure to do your research before using a new network.
Key Takeaways
Adding Polygon to your MetaMask wallet is a straightforward process that can be done in just a few minutes.
Here are some key takeaways to keep in mind:
- Polygon is a layer-2 scaling solution for Ethereum that offers faster transaction speeds and lower fees.
- MetaMask is a popular browser wallet that allows you to interact with the Ethereum network and other compatible blockchains.
- To add Polygon to MetaMask, you need to create a custom network and enter the correct network settings, including the RPC URL, chain ID, currency symbol, and block explorer URL.
- You can find the necessary network settings on the Polygon website or by using a blockchain explorer like Polygonscan.
- Once you have added Polygon to MetaMask, you can use it to send and receive MATIC tokens and interact with decentralized applications (dApps) on the Polygon network.
Overall, adding Polygon to MetaMask is a simple and useful way to access the benefits of this innovative blockchain technology.
Whether you are a crypto enthusiast or just getting started with decentralized finance (DeFi), MetaMask and Polygon are two powerful tools that can help you achieve your goals.