


How to send ETH from MetaMask to Coinbase?
Sending Ethereum from MetaMask to Coinbase is a simple process that can be completed in just a few steps.
Whether you’re looking to cash out your Ethereum or simply move it to a different wallet, this guide will walk you through the process.
To get started, you’ll need to open both your MetaMask and Coinbase accounts.
If you don’t have a Coinbase account yet, you can sign up using our link to get $5 in free Bitcoin.
Once you’ve logged in to both accounts, you’ll need to navigate to your MetaMask wallet and select the option to send Ethereum.
From there, you’ll be prompted to enter the recipient’s wallet address, which in this case will be your Coinbase wallet address.
It’s important to double-check that you’ve entered the correct wallet address before proceeding with the transaction.
Once you’ve confirmed the address, you can enter the amount of Ethereum you wish to send and select the transaction fee.
After reviewing the details of your transaction, you can submit it for processing.
The transaction will then be broadcast to the Ethereum network, where it will be confirmed and added to the blockchain.
Post Contents
Understanding Metamask and Coinbase
When it comes to sending Ethereum from your Metamask wallet to your Coinbase account, it is essential to understand the basics of both platforms.
Here is a brief overview of Metamask and Coinbase:
Metamask
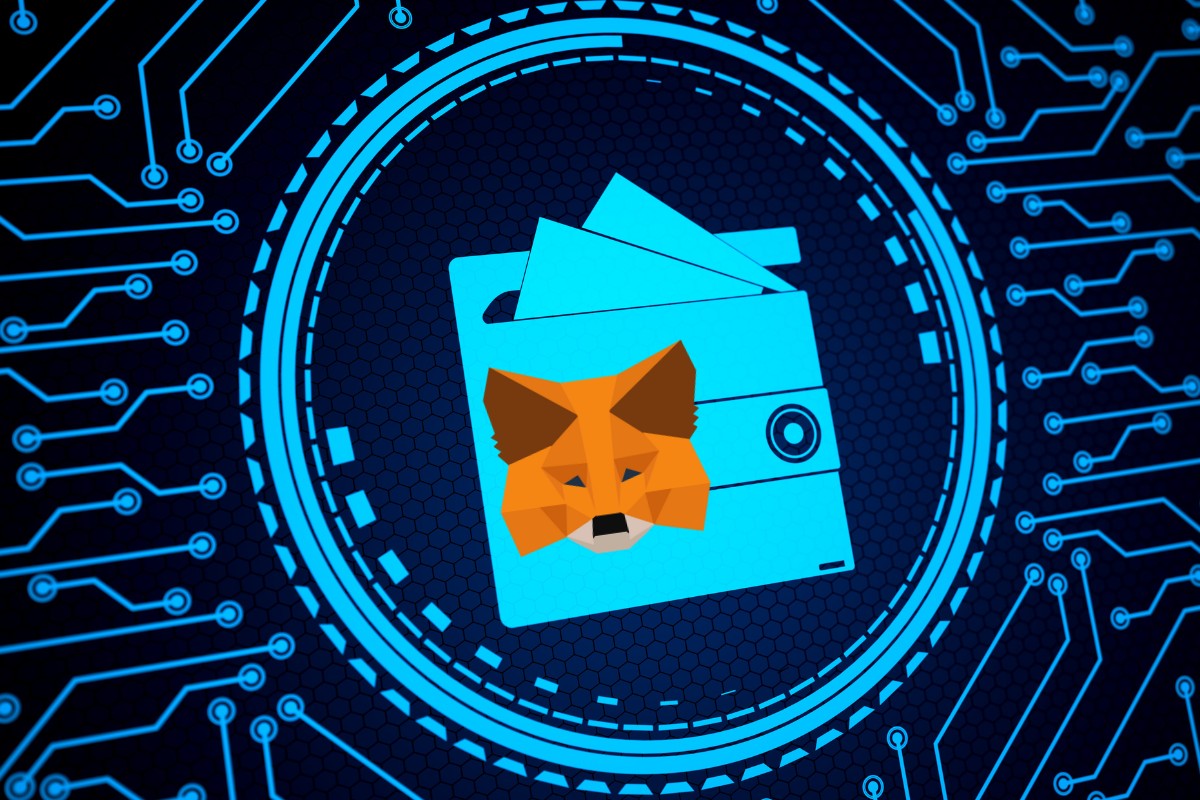
Metamask is a browser extension that allows you to manage your Ethereum and other cryptocurrencies.
It acts as a bridge between your browser and the Ethereum blockchain, allowing you to interact with decentralized applications (dApps) and manage your digital assets.
Metamask is a non-custodial wallet, which means that you have complete control over your private keys and funds.
It is available as a browser extension for Google Chrome, Firefox, and Brave.
Coinbase
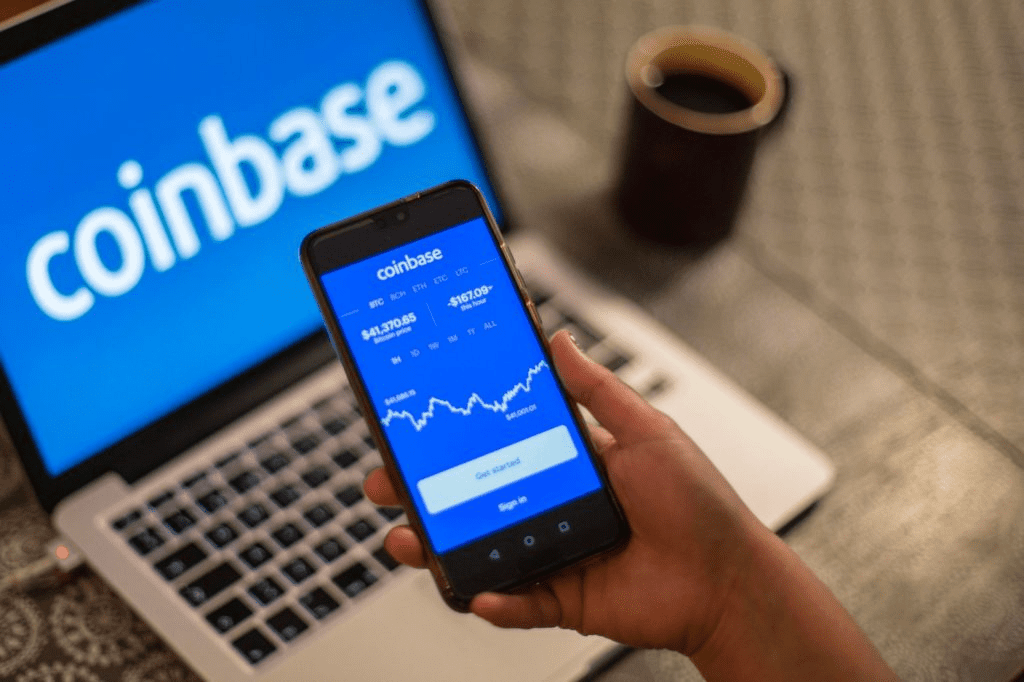
Coinbase is a popular cryptocurrency exchange that allows you to buy, sell, and store cryptocurrencies.
It is a centralized platform that offers a user-friendly interface and a variety of features, including a wallet, trading platform, and merchant tools.
Coinbase is a custodial wallet, which means that they hold your private keys and manage your funds on your behalf.
It is available as a mobile app and a web-based platform.
Ethereum
Ethereum is a decentralized blockchain platform that enables the creation of smart contracts and decentralized applications.
It is the second-largest cryptocurrency by market capitalization and is widely used for a variety of purposes, including token issuance, decentralized finance (DeFi), and non-fungible tokens (NFTs).
Cryptocurrencies
Cryptocurrencies are digital assets that use cryptography to secure transactions and control the creation of new units.
They are decentralized and operate independently of governments and financial institutions.
Metamask Wallet
The Metamask wallet is a non-custodial wallet that allows you to store, send, and receive Ethereum and other cryptocurrencies.
It is available as a browser extension and a mobile app and is widely used by the Ethereum community.
Coinbase Wallet
The Coinbase wallet is a custodial wallet that allows you to store, send, and receive cryptocurrencies.
It is available as a mobile app and a web-based platform and is widely used by beginners and experienced users alike.
Coinbase Account
A Coinbase account is a user account that allows you to access the Coinbase platform and its features, including buying, selling, and storing cryptocurrencies.
It is free to create an account, and you can link your bank account or credit card to buy cryptocurrencies.
Ethereum Mainnet
The Ethereum Mainnet is the primary network where Ethereum transactions take place.
It is the most widely used network and supports a variety of dApps, tokens, and smart contracts.
Metamask Extension
The Metamask extension is a browser extension that allows you to connect to the Ethereum network and interact with dApps and smart contracts.
It also allows you to manage your digital assets and send and receive cryptocurrencies.
Setting Up Your Wallets
Before you can send ETH from your MetaMask wallet to Coinbase, you need to make sure that both wallets are set up and ready to go.
MetaMask Wallet
If you don’t have a MetaMask wallet yet, you’ll need to create one.
Here’s how:
- Go to the MetaMask website and click “Download.”
- Follow the instructions to install the MetaMask extension in your browser.
- Click “Create a Wallet” and follow the prompts to set up your password and recovery phrase.
- Once your wallet is created, you’ll be taken to the main MetaMask interface. Take note of your wallet address and balance.
Coinbase Wallet
If you don’t have a Coinbase account yet, you’ll need to create one.
Here’s how:
- Go to the Coinbase website and click “Get started.”
- Follow the prompts to create your account and verify your identity.
- Once your account is set up, click “Accounts” and then “Wallets” to access your Coinbase wallet.
- Take note of your wallet address and balance.
Connecting Your Wallets
To send ETH from MetaMask to Coinbase, you’ll need to connect the two wallets.
Here’s how:
- Open your MetaMask wallet and click on the three dots in the top right corner.
- Click “Connect Hardware Wallet” and select “Coinbase Wallet” from the list of options.
- Follow the prompts to connect your Coinbase wallet to MetaMask.
- Once your wallets are connected, you can send ETH from MetaMask to Coinbase by entering the recipient’s wallet address and the amount you want to send.
Remember to double-check all information before sending your transaction, and make sure you have enough ETH in your MetaMask wallet to cover the transaction fees.
How to Send Eth from Metamask to Coinbase
If you want to send Ethereum (ETH) from your MetaMask wallet to your Coinbase account, follow these simple steps:
- Open your MetaMask wallet and make sure you have enough ETH in your account to cover the gas fee.
- Click on the “Send” button.
- Enter the recipient’s Coinbase deposit address in the “To” field. You can copy and paste the address or scan the QR code provided by Coinbase.
- Enter the amount of ETH you want to send.
- Double-check that you have entered the correct amount and address.
- Confirm the transaction by clicking on the “Submit” button.
- Wait for the transaction to be confirmed on the Ethereum network. This can take a few minutes, depending on the network congestion.
- Once the transaction is confirmed, you should see the ETH in your Coinbase account.
It’s important to note that you should only send ETH to a Coinbase deposit address that is specifically for ETH.
Sending other cryptocurrencies or tokens to this address may result in the loss of your funds.
Also, make sure you are sending ETH to the correct network.
If you are using a network other than Ethereum Mainnet, you need to ensure that you have the corresponding token needed for gas fees.
Understanding Gas Fees
When sending ETH from MetaMask to Coinbase, you may encounter gas fees.
Gas fees are the fees paid to miners to validate a transaction on the Ethereum network.
The amount of gas used in a transaction depends on its complexity, and the gas price is set by the network.
The gas fee is paid in ETH, and it can vary depending on the network congestion and the gas price.
To estimate the gas fee, you can use a block explorer such as etherscan.io.
A simple transaction, such as sending ETH to another address, usually requires 21,000 units of gas.
When sending tokens from your MetaMask wallet, you also need to pay transaction fees, which include gas fees.
The number of tokens and the transaction fees will not be deducted immediately, and the transaction status will be pending until it is confirmed by the network.
To avoid high gas fees, you can adjust the gas price and gas limit in your MetaMask settings.
The gas price is the amount of ETH you are willing to pay per unit of gas, and the gas limit is the maximum amount of gas you are willing to use for the transaction.
If you are using a network other than the Ethereum mainnet, such as Matic, the gas fees may be different.
Make sure to check the gas fees and transaction fees before sending any tokens or ETH.
Monitoring Your Transaction
Once you have initiated the transaction to send Ethereum from your MetaMask wallet to Coinbase, you can monitor its progress to ensure that it goes through successfully.
To do this, you can use a blockchain explorer like Etherscan.
Simply copy the transaction hash from your MetaMask wallet and paste it into the search bar on Etherscan.
This will allow you to view the details of your transaction, including the current status and the amount of gas used.
If your transaction is still pending, you can try to speed it up by increasing the gas fee.
However, keep in mind that this will also increase the transaction fees.
It’s also important to note that the number of tokens and transaction fees will not be deducted immediately.
The transaction status will be pending until it is confirmed by the blockchain network.
While waiting for confirmation, you can check the activity tab in your MetaMask wallet to see the status of your transaction.
If it has been confirmed, you should see the updated balance in your Coinbase wallet.
Troubleshooting Transfer Issues
Sending ETH from MetaMask to Coinbase is a relatively straightforward process, but sometimes things can go wrong.
Here are some common issues you might encounter and how to troubleshoot them.
Pending Transactions
If your transaction is stuck in pending, it could be due to network congestion or insufficient gas fees.
Check the current network fees and try increasing your gas limit and gas price.
You can also try speeding up the transaction by replacing it with a new one with higher gas fees.
Incorrect Wallet Address
If you accidentally sent ETH to the wrong wallet address, there’s not much you can do to recover it.
Double-check the receiving wallet address before sending any funds.
Network Issues
If you’re having trouble connecting to the Ethereum blockchain, check if there are any network issues.
You can also try restarting your browser or mobile application to see if that resolves the issue.
Verification Issues
If you’re unable to verify your Coinbase account, make sure you’ve provided all the necessary information and documentation.
You can also contact Coinbase support for further assistance.
Insufficient Funds
If you don’t have enough ETH in your MetaMask wallet to complete the transfer, you won’t be able to send the funds.
Make sure you have enough funds and consider the network fees before initiating the transfer.
Incorrect Asset Type
Make sure you’re sending the correct asset type to Coinbase.
If you’re sending ERC-20 tokens or NFTs, you’ll need to make sure Coinbase supports those assets.
Incorrect Deposit Address
If you’re trying to deposit ETH into Coinbase and you’ve entered the wrong deposit address, the funds won’t be credited to your account.
Double-check the deposit address before sending any funds.
Incorrect Password
If you’re having trouble logging into MetaMask, make sure you’re using the correct password.
If you’ve forgotten your password, you can use your recovery phrase to regain access to your wallet.
Network Fees
Make sure you’re aware of the network fees associated with sending ETH from MetaMask to Coinbase.
These fees can vary depending on network congestion and can significantly impact the total cost of the transfer.
By following these troubleshooting tips, you should be able to resolve most issues that arise when sending ETH from MetaMask to Coinbase.
Additional Information
When sending ETH from your MetaMask wallet to your Coinbase account, there are a few things to keep in mind to ensure a smooth and successful transfer.
First, make sure you have enough ETH in your MetaMask wallet to cover the amount you want to send, as well as the gas fee.
Gas fees are paid to miners on the Ethereum network to process your transaction, and can vary depending on network congestion.
You can check the current gas fee on a block explorer like Etherscan.
Next, double-check that you have entered the correct Coinbase wallet address in the “To” field.
Sending ETH to the wrong address can result in a loss of funds, so it’s important to verify the address before sending.
If you’re sending ERC-20 tokens or NFTs from your MetaMask wallet to Coinbase, the process is similar to sending ETH.
Just make sure you have enough tokens in your wallet to cover the amount you want to send, and that you’re sending them to the correct address.
If your transaction is pending for an extended period of time, you may be able to speed it up by increasing the gas fee.
However, this will also increase the cost of your transaction.
Finally, don’t forget to check your Coinbase account to make sure the funds have been received.
Depending on network congestion, it may take some time for the transfer to be processed and for the funds to appear in your account.
By following these tips, you can ensure a successful transfer of ETH or other cryptocurrencies from your MetaMask wallet to your Coinbase account.
Key Takeaways
Sending Ethereum from MetaMask to Coinbase is a simple process that can be done in just a few steps.
Here are some key takeaways to keep in mind when transferring ETH:
- Before you can transfer ETH from MetaMask to Coinbase, you need to have ETH in your MetaMask wallet. If you don’t have any ETH, you’ll need to purchase some from an exchange or another wallet and transfer it to your MetaMask wallet first.
- When you’re ready to transfer ETH from MetaMask to Coinbase, make sure you have your Coinbase wallet address handy. You’ll need to copy and paste it into the “To” field in MetaMask.
- Double-check that you have the correct Coinbase wallet address before you initiate the transfer. If you send ETH to the wrong address, you may not be able to recover your funds.
- When you initiate the transfer, you’ll need to confirm the transaction fees. These fees are paid in ETH and are used to pay miners who process the transaction on the Ethereum network.
- After you initiate the transfer, it may take a few minutes for the transaction to be processed and confirmed on the Ethereum network. You can check the status of your transaction by looking it up on a blockchain explorer like Etherscan.
- Once the transaction is confirmed, the ETH will be transferred from your MetaMask wallet to your Coinbase wallet. You can then use the ETH to trade for other cryptocurrencies or withdraw it to your bank account.
Overall, transferring ETH from MetaMask to Coinbase is a straightforward process that can be completed in just a few minutes.
By following these key takeaways, you can ensure that your transfer goes smoothly and your funds are safely transferred to your Coinbase wallet.