


Are you planning to let your friends know where you are by checking in on Facebook?
This social media platform offers a simple way to share your location with your friends and followers, but how to check in on Facebook?
By checking in, you can let others know where you are and what you’re doing in just a few clicks.
To check in on Facebook, you’ll need to log in to your account and navigate to your feed.
From there, you can click on the “Create Post” window and select the “Check In” option.
Facebook will then prompt you to search for your location by typing in the name of the place you want to check in to.
Once you’ve selected your location, you can add any additional details to your post before publishing it for others to see.
Whether you’re traveling to a new city or just hanging out with friends, checking in on Facebook is a fun and easy way to keep your followers updated on your whereabouts.
With just a few clicks, you can share your location and let others know what you’re up to in real-time.
So why not give it a try and see how many of your friends are nearby?
Post Contents
Understanding Facebook Check-In

If you’re new to Facebook or haven’t used the social media platform’s check-in feature before, you might be wondering what it is and how it works.
Simply put, Facebook check-in allows you to share your current location with your friends and followers.
When you check-in at a place, Facebook creates a post about your visit, and your friends and followers can see where you are and what you’re up to.
To check-in on Facebook, you need to have location services enabled on your device.
When you’re at a place you want to check-in to, open the Facebook app and tap on the “Check-In” button.
You’ll see a list of nearby locations, and you can choose the one you’re at.
You can also add a status update or photo to your check-in post if you want.
It’s important to note that when you use Facebook check-in, you’re sharing your location with others.
While this can be a fun way to let your friends know where you are and what you’re doing, it’s also important to be mindful of your privacy and safety.
Make sure you only check-in at places you feel comfortable sharing with others, and consider adjusting your privacy settings to limit who can see your check-ins.
Preparation Before Checking In
Before you start checking in on Facebook, there are a few things you should do to prepare.
Setting up your Facebook account and understanding the differences between using Facebook on desktop versus mobile are essential steps for a smooth check-in process.
Setting Up Your Facebook Account
To check in on Facebook, you need to have a Facebook account.
If you don’t have an account yet, you can create one by going to the Facebook website and clicking on the “Sign Up” button.
You’ll need to provide your name, email address, or phone number, and create a password.
Once you have a Facebook account, you can log in to the website or app.
If you’re using the app, make sure to download it from a trusted source like the Google Play Store or Apple App Store.
To log in, enter your email or phone number and password.
If you’re logging in from a computer, you can also use your Facebook username instead of your email or phone number.
Using Facebook on Desktop vs Mobile
Facebook can be accessed from a desktop computer or a mobile device.
The desktop version of Facebook is accessed through a web browser, while the mobile version can be accessed through the Facebook app or a mobile web browser.
When using Facebook on a desktop computer, you can access all of the features of the website, including checking in.
To check in, click on the “Create Post” button at the top of your feed, and then click on the “Check In” option.
When using Facebook on a mobile device, you can access all of the features of the website through the Facebook app or a mobile web browser.
To check in, open the app or web browser, and click on the “Create Post” button.
Then, click on the “Check In” option.
Keep in mind that the process of checking in on Facebook may vary slightly depending on the device you’re using and the version of the app you have installed.
It’s always a good idea to familiarize yourself with the features of Facebook on your device before attempting to check in.
How to Check-In on Facebook

Checking in on Facebook is a great way to let your friends know where you are and what you’re up to.
Here’s how you can do it in just a few simple steps.
Searching for Your Desired Location
To check in on Facebook, you first need to find the location you want to check in to.
You can do this by typing the name of the location into the “Create Post” box, or by clicking on the map pin icon in the same box and searching for the location on the map.
Once you’ve found the location you want to check in to, click on it to select it.
You can also add a description or tag friends to your post at this point.
Adding Photos to Your Post
If you want to add photos to your check-in post, simply click on the camera icon in the “Create Post” box and select the photos you want to add.
You can also add a caption to your photos if you want to.
Tagging Friends in Your Post
To tag friends in your check-in post, simply type the “@” symbol followed by their name.
Facebook will automatically suggest friends for you to tag based on your friends list and the location you’re checking in to.
You can also tag friends in your photos by clicking on the photo and selecting the “Tag Friends” option.
Sharing Your Check-In on Facebook Page
Once you have checked in to a location on Facebook, you may want to share your check-in on your Facebook page.
This is a great way to let your followers know where you are and what you are up to.
To share your check-in on your Facebook page, follow these simple steps:
- After you have checked in, click on the “Share” button below your check-in post.
- Select “Share on a Page you manage” from the drop-down menu.
- Choose the Facebook page where you would like to share your check-in.
- Add a message to your post if you would like to.
- Click “Post” to share your check-in on your Facebook page.
Sharing your check-in on your Facebook page is a great way to increase engagement with your followers.
It can also help promote your location if you are a business owner.
If you have a website, you can also embed your check-in post on your website.
This is a great way to showcase your check-ins and promote your location to your website visitors.
To embed your check-in post on your website, follow these steps:
- Click on the three dots in the top right corner of your check-in post.
- Select “Embed” from the drop-down menu.
- Copy the code that appears.
- Paste the code into the HTML of your website where you would like the post to appear.
Using Check-In During Emergencies
During emergencies like natural disasters or terrorist attacks, Facebook’s Check-In feature can be a useful tool to let your friends and family know that you are safe.
Here’s how to use it:
- Open the Facebook app on your mobile device or go to the Facebook website on your desktop computer.
- Click on the “What’s on your mind?” box to create a new post.
- Click on the “Check In” option, which is represented by a map pin icon.
- Type in the name of the location where you are currently located. If you are not sure of the name, you can use the “Search for Location” option to find it.
- Add any additional information you want to share, such as your current status or any updates on the situation.
- Click on the “Post” button to share your Check-In with your friends.
By using the Check-In feature, you can quickly and easily let your loved ones know that you are safe during an emergency.
It’s important to note that the Check-In feature is not a replacement for official emergency alerts or communication channels, so be sure to follow any instructions given by emergency personnel.
In addition to using Check-In to let others know you are safe, you can also use it to check on the safety of your friends and family members who may be in affected areas.
Simply search for their location and see if they have checked in or posted any updates.
Remember, during emergencies, it’s important to stay calm and follow official instructions.
By using Facebook’s Check-In feature, you can help ease the anxiety of your loved ones and provide them with peace of mind.
Additional Features and Help
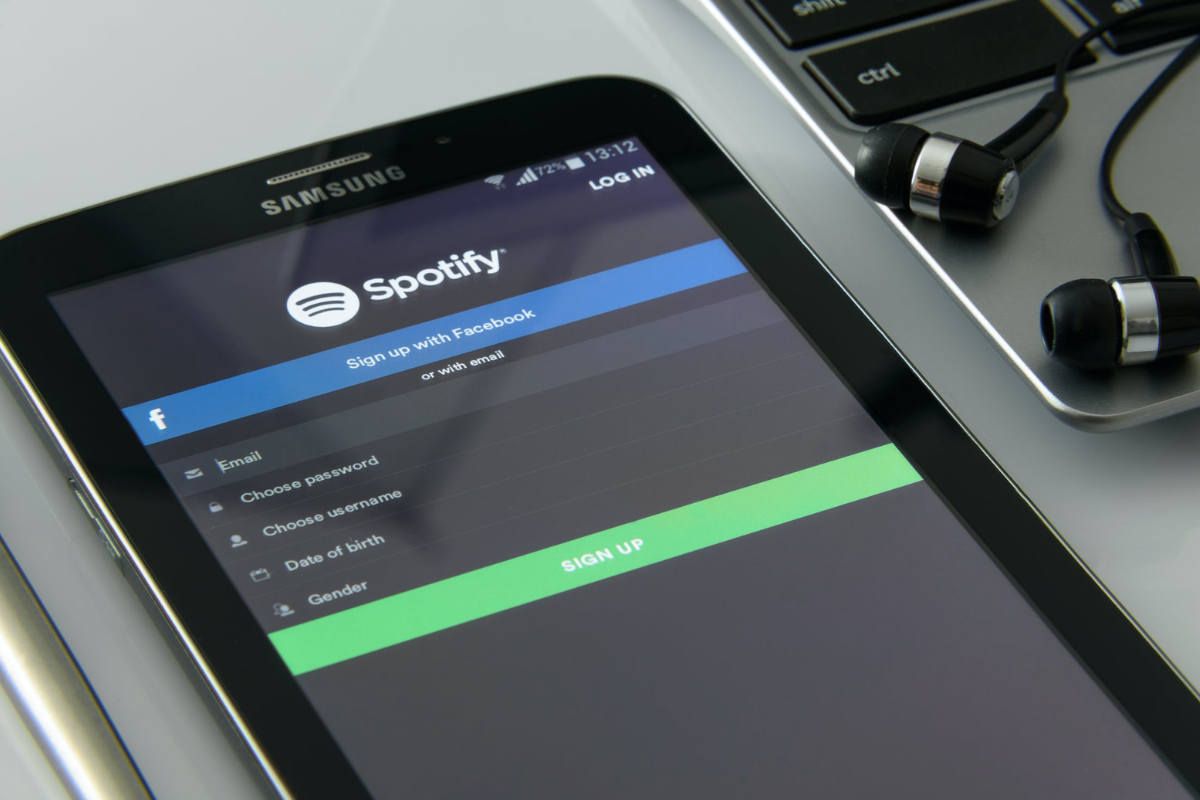
Using Check-In with Spotify
Did you know that you can share your favorite music with your Facebook friends when you check in?
By connecting your Spotify account to Facebook, you can share what you’re listening to when you check in at a location.
Here’s how to do it:
- Open the Spotify app on your mobile device or desktop.
- Click on the settings menu and select “Social” from the list.
- Connect your Spotify account to Facebook.
- Go to the Facebook app and check in at a location.
- Click the music note icon and select the song you want to share.
Getting Help from Facebook
If you’re having trouble with check-ins or any other feature on Facebook, don’t worry!
Facebook has a comprehensive Help Center that can assist you with any issues you may encounter.
Here are a few ways to get help:
- Visit the Facebook Help Center website and search for your issue.
- Click on the “Help” button on the Facebook app or website and select “Support Inbox” to send a message to Facebook’s support team.
- Join the Facebook Help Community to ask questions and get help from other Facebook users.
Remember, Facebook is constantly updating its features and improving its user experience.
If you can’t find the answer to your question, don’t hesitate to reach out for help.
Key Takeaways
Checking in on Facebook is a great way to let your friends know where you are and what you’re up to.
Here are some key takeaways to keep in mind when you check in on Facebook:
- Make sure your location services are enabled on your phone or computer and that you have granted Facebook access to that location data.
- When you’re ready to check in, navigate to the Facebook website or app and sign in to your account.
- Click the “What’s on your mind?” box and choose the default audience you want to make your post for.
- When the new post window appears, click the “Check In” option (a map pin icon) next to “Add to Your Post.”
- Facebook will open a “Search for Location” window. Type the name of the place you want to check in to and select the desired location from the search results.
- You can also add a photo or tag friends to your check-in post to make it more fun and engaging.
Remember that checking in on Facebook is completely optional, and you should only do it if you feel comfortable sharing your location with your friends.
If you’re ever unsure about how to check in or have any questions, don’t hesitate to reach out to Facebook’s support team for help.