


To start using Facebook Pay, you need to set it up on your account.
By doing so, you can easily send or receive money through the app, but how to set up Facebook pay?
Setting up Facebook Pay is easy and can be done in a few simple steps.
First, go to your Facebook settings and click on “Facebook Pay.”
From there, you will be prompted to add a payment method, such as a credit card or PayPal account.
Once you have added your payment method, you can then choose to add a PIN for added security.
With Facebook Pay set up, you can now send and receive money to your friends and family through Facebook Messenger.
Post Contents
- 1 Understanding Facebook Pay
- 2 How to Set Up Facebook Pay
- 3 Adding Payment Methods
- 4 Using Facebook Pay on Different Platforms
- 5 Making Purchases with Facebook Pay
- 6 Sending and Receiving Money
- 7 Using Facebook Pay for Business
- 8 Protecting Your Account Information
- 9 Managing Your Facebook Pay
- 10 Facebook Pay and Fundraisers
- 11 Key Takeaways
Understanding Facebook Pay
If you’re looking for a secure and convenient way to make payments on Facebook, then Facebook Pay is the perfect solution for you.
Facebook Pay is a payment service that lets you make payments and purchases across Facebook, Messenger, Instagram, and WhatsApp.
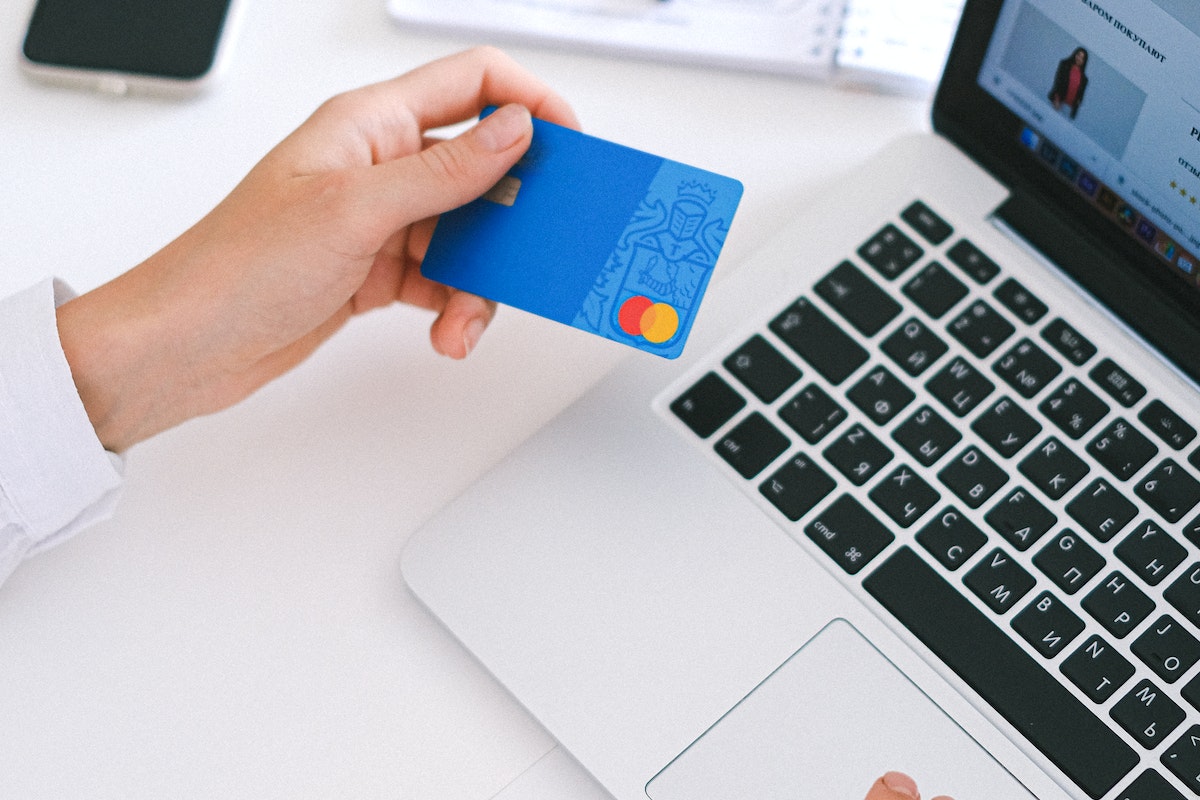
With Facebook Pay, you can add your preferred payment method, such as a credit card, debit card, or PayPal, and make payments without having to enter your payment information every time.
Facebook Pay also provides an extra layer of security to your payments, ensuring that your financial information is safe and protected.
One of the benefits of using Facebook Pay is that it’s a fast and easy way to make payments.
You can use Facebook Pay to send money to friends and family, make purchases on Facebook Marketplace, and even donate to your favorite charities.
To set up Facebook Pay, you’ll need to link your preferred payment method to your Facebook account.
You can do this by going to the “Settings & Privacy” section of your account and selecting “Facebook Pay.”
From there, you can add your payment information and set up a PIN for added security.
How to Set Up Facebook Pay

Setting up Facebook Pay is a simple process that allows you to make payments on Facebook, Instagram, Messenger, and WhatsApp.
Here’s a step-by-step guide to help you get started:
- Navigate to your account settings: To set up Facebook Pay, open the Facebook app and tap on the three horizontal lines in the bottom right corner. Then, scroll down and tap on “Settings & Privacy” and select “Settings.”
- Select “Facebook Pay”: Scroll down to the “Facebook Pay” section and tap on it.
- Add a default payment method: To add a default payment method, tap on “Add Payment Method” and select your preferred payment method. You can choose from credit or debit cards, PayPal, or your bank account.
- Add additional payment methods: If you want to add additional payment methods, tap on “Add Payment Method” again and select another payment option.
- Set up your security: You can add an extra layer of security to your Facebook Pay account by enabling a PIN or using biometric authentication.
- Confirm your information: Once you’ve added your payment method, confirm your information and tap on “Save.”
- Start using Facebook Pay: With Facebook Pay set up, you can now use it to make purchases on Facebook, Instagram, Messenger, and WhatsApp.
It’s important to note that Facebook Pay is currently only available in the US.
If you’re not located in the US, you won’t be able to use Facebook Pay at this time.
Adding Payment Methods
If you want to use Facebook Pay to make payments, you first need to add a payment method.
There are two ways to do this: using a credit or debit card, or adding a PayPal account.
Using Credit or Debit Card
To add a credit or debit card as your payment method, follow these steps:
- Open Facebook and go to the “Settings & Privacy” section.
- Click on “Settings” and then select “Payments”.
- Click on “Add Payment Method”.
- Enter your card information, including the card number, expiration date, and security code.
- Click on “Save”.
Once you’ve added your credit or debit card, you can choose it as your default payment method or add another payment method.
Adding PayPal Account
If you prefer to use PayPal as your payment method, you can add your PayPal account by following these steps:
- Open Facebook and go to the “Settings & Privacy” section.
- Click on “Settings” and then select “Payments”.
- Click on “Add Payment Method”.
- Select “PayPal” and enter your PayPal login information.
- Click on “Log In” and then click “Agree & Connect”.
Once you’ve connected your PayPal account, you can use it to make payments on Facebook.
It’s important to note that some payment methods may not be available in all countries or regions. Additionally, Facebook Pay may not be available to all users.
If you’re having trouble adding a payment method or using Facebook Pay, contact Facebook support for assistance.
Using Facebook Pay on Different Platforms

If you have set up Facebook Pay, you can use it on different platforms, including mobile and desktop.
Here’s how to use Facebook Pay on these platforms:
On Mobile
To use Facebook Pay on mobile, you can use the Facebook, Messenger, WhatsApp, or Instagram app.
Here are the steps to use Facebook Pay on these apps:
- Facebook app: When you make a purchase on Facebook, you can choose Facebook Pay as your payment method. You can also use Facebook Pay to send money to friends and family on Messenger.
- Messenger app: You can use Facebook Pay to send and receive money on Messenger. To do this, open a conversation with the person you want to send money to, tap on the dollar sign icon, and enter the amount you want to send.
- WhatsApp app: Currently, Facebook Pay is not available on WhatsApp. However, Facebook plans to integrate Facebook Pay into WhatsApp in the future.
- Instagram app: You can use Facebook Pay to make purchases on Instagram. When you make a purchase, you can choose Facebook Pay as your payment method.
On Desktop
To use Facebook Pay on desktop, you can use the Facebook website.
Here are the steps to use Facebook Pay on desktop:
- Go to the Facebook website and click on the three horizontal lines in the top right corner.
- Click on “Settings & Privacy” and then click on “Settings.”
- Click on “Facebook Pay” and then click on “Add Payment Method.”
- Enter your payment information and then click on “Add.”
Once you have set up Facebook Pay on desktop, you can use it to make purchases on Facebook.
Making Purchases with Facebook Pay
Once you’ve set up Facebook Pay, you can use it to make purchases on various Facebook platforms like Facebook, Messenger, Instagram, and participating online stores.
Here’s how you can use Facebook Pay to shop, buy tickets for events, and play games.
Shopping on Facebook
You can use Facebook Pay to shop on Facebook by visiting Facebook Shop or Facebook Shops.
Here’s how you can do it:
- Visit Facebook Shop or Facebook Shops.
- Browse through the products you want to purchase.
- Select the product you want to buy.
- Click on the “Buy” button.
- Choose Facebook Pay as your payment method.
- Enter your payment details and click on “Confirm Purchase.”
Buying Tickets for Events
You can use Facebook Pay to buy tickets for events on Facebook.
Here’s how you can do it:
- Visit the event page.
- Click on the “Tickets” button.
- Choose the type of ticket you want to purchase.
- Click on the “Buy” button.
- Choose Facebook Pay as your payment method.
- Enter your payment details and click on “Confirm Purchase.”
Playing Games
You can use Facebook Pay to make in-game purchases for games that support Facebook Pay.
Here’s how you can do it:
- Open the game you want to play.
- Find the in-game item you want to purchase.
- Click on the “Buy” button.
- Choose Facebook Pay as your payment method.
- Enter your payment details and click on “Confirm Purchase.”
That’s it!
Sending and Receiving Money

Facebook Pay makes it easy to send and receive money with your friends and family.
Here’s how you can use it:
- To send money, open the Messenger app and start a conversation with the person you want to send money to. Then, tap on the “$” icon and enter the amount you want to send. You can add a note to the payment if you want to.
- If you haven’t set up Facebook Pay yet, you’ll be prompted to enter your payment information. You can add a debit card, credit card, or PayPal account to your Facebook Pay account.
- Once you’ve entered your payment information, you can send the money. The person you’re sending money to will receive a notification that they’ve received a payment.
- To receive money, make sure you’ve set up Facebook Pay. Then, when someone sends you money, you’ll receive a notification. You can choose to accept or decline the payment.
- You can also use Facebook Pay to donate to charities and nonprofits. Simply go to the organization’s Facebook page and click on the “Donate” button. You can choose to make a one-time donation or set up a recurring donation.
Remember to always be careful when sending money to people you don’t know.
Only send money to people you trust.
If you ever have a problem with a payment, you can contact Facebook Pay support for help.
Using Facebook Pay for Business
If you’re a business owner, you can use Facebook Pay to receive payments from customers on your website.
This can help streamline the payment process and increase sales conversions.
Here’s how to set it up:
- Enable Meta Pay on Your Business Website: To start accepting payments, you’ll need to enable Meta Pay on your website. Meta Pay integrates with payment processors and platform providers, so there is little for you to do. This provides a low friction experience with no login required when customers are signed into Facebook or Instagram.
- Set Up and Manage Your Payouts: Once you have enabled Meta Pay on your website, you can set up and manage your payouts. This involves selecting Monetization and then selecting Payout settings. Here you’ll see a list of all payout accounts associated with the eligible Pages that you’ve selected in the Page picker at the top of your screen.
- Getting Started with Meta Pay: Meta Pay is an easy, secure way to pay in more places than ever. Simply open Facebook, add your payment information, create a PIN, and you’re good to go. Visit Orders and Payments to manage your payment methods and to view your transaction history – a list of the payments you’ve made with Meta Pay on your connected apps.
- Adding a Payment Method in Business Manager: If you want to add a payment method in Business Manager, you can follow these simple steps: Open Business settings, click Payments, click + Add, enter your payment information, click Continue, then follow the instructions to add your payment method.
By using Facebook Pay for your business, you can help streamline the payment process and increase sales conversions.
With its seamless and secure payment system, you can rest assured that your transactions are safe and secure.
Protecting Your Account Information
When it comes to online payments, security is a top priority.
That’s why Facebook Pay takes measures to protect your account information.
Here are some ways Facebook Pay keeps your account secure:
PIN and Fingerprint Authentication
Facebook Pay allows you to set up a PIN or use fingerprint authentication to confirm your identity before making a payment.
This adds an extra layer of protection to your account and helps prevent unauthorized transactions.
Encryption
Facebook Pay uses encryption to protect your payment information.
Encryption scrambles your data so that it can only be read by authorized parties.
This means that your payment information is secure, even if it is intercepted by hackers or other unauthorized users.
Anti-Fraud Technology
Facebook Pay uses anti-fraud technology to detect and prevent fraudulent transactions.
This technology analyzes your payment activity and looks for suspicious patterns or behaviors.
If something looks off, Facebook Pay may flag the transaction for review or decline it altogether.
Keeping Your Account Information Safe
To keep your account information safe, it’s important to take some basic precautions.
Here are some tips:
- Use a strong, unique password for your Facebook account and Facebook Pay.
- Don’t share your account information with anyone.
- Be wary of phishing scams and other attempts to steal your information.
- Keep your device and software up-to-date to ensure that you have the latest security patches.
- Monitor your account activity regularly to detect any unauthorized transactions.
By following these tips and using Facebook Pay’s security features, you can help protect your account information and make online payments with confidence.
Managing Your Facebook Pay
Once you have set up your Facebook Pay, it’s important to know how to manage it.
Here are some tips to help you manage your Facebook Pay account:
Payment History
You can view your payment history by going to the “Orders and Payments” section in your Facebook settings.
This will show you a list of all the payments you have made using Facebook Pay.
You can also see the status of each payment and any associated shipping information.
Notifications
You can enable notifications for your Facebook Pay account to receive alerts when you make a payment, when a payment is received, or when there is an issue with a payment.
This can help you stay on top of your payments and ensure that everything is running smoothly.
Payment Card
You can add or remove payment cards from your Facebook Pay account at any time.
To do this, go to the “Payment Methods” section in your Facebook settings and select “Add” or “Remove” next to the payment card you want to manage.
You can also set a default payment card for your account.
Payment Card Numbers
For security reasons, Facebook Pay does not show your full payment card number in your account.
Instead, it shows only the last four digits of your card number.
This helps protect your payment information from being stolen or misused.
Shipping
If you are making a payment for a physical product, you may need to enter shipping information.
You can do this by selecting the appropriate shipping address from your Facebook account or by entering a new shipping address at the time of payment.
Facebook Pay and Fundraisers
If you’re looking to raise money for a charitable cause, Facebook Pay can be a great tool to help you collect donations.
With Facebook Pay, you can easily set up a personal fundraiser on Facebook and start raising money in just a few simple steps.
To get started, navigate to your Facebook profile and click on the “Create” button.
From there, select “Fundraiser” and choose the type of fundraiser you want to create.
You can create a fundraiser for a non-profit organization or a personal cause.
Once you’ve selected the type of fundraiser, you’ll need to describe your cause to help donors understand why you’re raising money.
Be sure to include pictures and details to help others connect with you and your story.
When it comes to collecting donations, Facebook Pay makes the process simple and secure.
Donors can easily make a donation using their credit card or PayPal account.
Facebook Pay also allows you to track your donations and see how much money you’ve raised.
It’s important to note that Facebook charges a fee for using their fundraising tools.
The fee varies depending on the type of fundraiser you’re running.
For personal fundraisers, Facebook charges a 6.9% + $0.30 fee on each donation.
For non-profit fundraisers, the fee is 5% + $0.50 per transaction.
In terms of payouts, Facebook will automatically send the funds you’ve raised to your selected payout organization.
For personal fundraisers, you can choose to receive the funds yourself or have them sent directly to the person or organization you’re raising money for.
For non-profit fundraisers, the default payout organization in the US is Network for Good’s Donor Advised Fund.
Key Takeaways
Setting up Facebook Pay is a straightforward process that can be done in a few simple steps.
Here are some key takeaways to keep in mind:
- You can set up Facebook Pay on any of the three apps – Facebook, Instagram, or Messenger. Once set up on Facebook and Messenger, Facebook Pay can be used across Instagram without having to re-enter payment information.
- To set up Facebook Pay, go to the Payments settings in your account and enter your payment method and account information. Facebook Pay supports most major credit and debit cards, as well as PayPal and bank accounts.
- Facebook Pay can be used for a variety of purposes, including sending and receiving money with friends on Messenger, making in-app purchases, and paying for purchases on websites that accept Facebook Pay.
- When using Facebook Pay, it’s important to keep your information secure. Make sure to use a strong and unique password, enable two-factor authentication, and regularly review your transaction history to ensure there are no unauthorized charges.
- If you ever need help with Facebook Pay, you can visit the Facebook Help Center for answers to frequently asked questions and troubleshooting tips.
Overall, Facebook Pay is a convenient and secure way to make payments across the Facebook family of apps.
By following these key takeaways, you can easily set up Facebook Pay and start using it to make purchases and send money to friends and family.