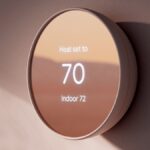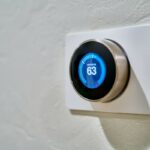


It is important to follow the proper steps on how to remove Nest Thermostat to avoid damaging the device or your home’s wiring.
Whether you’re moving to a new home, painting the walls, or simply upgrading your thermostat, removing a Nest device can seem daunting at first.
However, with the right tools and a little know-how, you can safely remove your Nest thermostat in just a few minutes.
The first step in removing your Nest thermostat is to turn off the power to the device. This will prevent any electrical shocks or damage to the wiring.
Once you’ve turned off the power, you can carefully remove the thermostat from its base and disconnect the wires.
From there, you can unscrew the base and remove any trim plates or other accessories that may be attached to the wall.
With the device fully removed, you can reset it and remove it from your Nest account to ensure that it’s no longer connected to your home’s network.
Post Contents
How to Remove Nest Thermostat
If you need to remove your Nest Thermostat from the wall, it’s a simple process that you can do yourself. Just follow the steps below:
Remove the Nest Thermostat from the Wall Mount
The first step is to remove the Nest Thermostat from the wall mount. To do this, follow these steps:
- Turn off the power to your HVAC system at the circuit breaker.
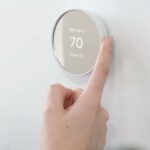
- Gently pull the Nest Thermostat away from the wall to remove it from the wall mount.
Note that the Nest Thermostat should come off easily. If it doesn’t, don’t force it. Check to make sure the power is off, and try again.
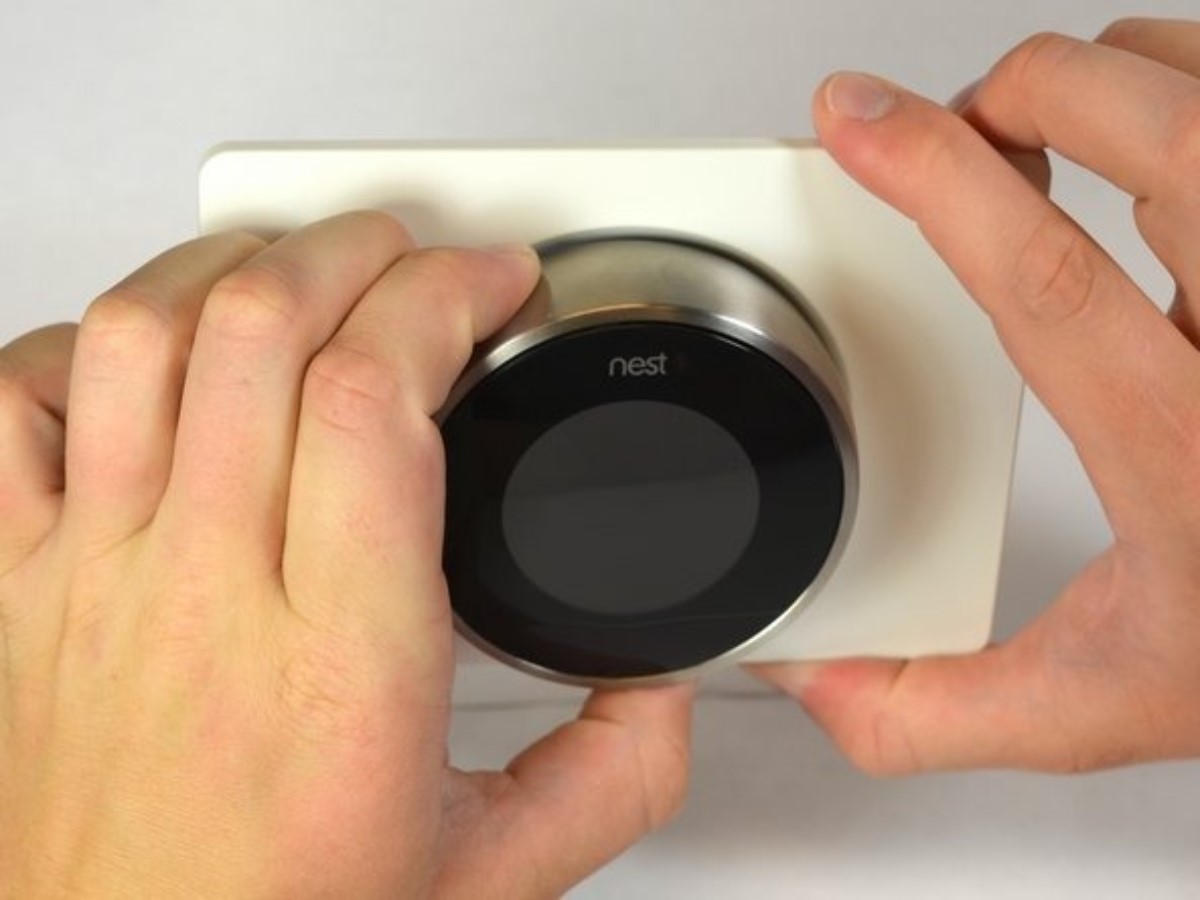
Disconnect the Wires from the Nest Thermostat
Once you have removed the Nest Thermostat from the wall mount, you will need to disconnect the wires from the back of the thermostat. Follow these steps:
- Use a screwdriver to remove the screws holding the wires in place on the back of the thermostat.
- Gently pull the wires out of the back of the thermostat.
Be sure to label the wires so you know which one goes where when you reinstall the thermostat. This will make the process much easier later on.
Turning Off Power to the Nest Thermostat
Before you start removing your Nest thermostat, you need to turn off the power to your HVAC system to avoid any electrical accidents. Here are the steps to follow:
Locate Your Circuit Breaker Box
The circuit breaker box is usually located in the basement, garage, or utility room. It contains switches or fuses that control the power to different parts of your home, including your HVAC system.
To locate your circuit breaker box, look for a metal box with a hinged door. It may be labeled “circuit breaker” or “electrical panel.”
Once you find it, open the door and locate the switch or fuse that controls the power to your HVAC system.
Turn off the Power to Your HVAC System
Once you have located the switch or fuse that controls the power to your HVAC system, turn it off.
This will ensure that there is no power running through the wires that connect to your Nest thermostat.
If you have a dual transformer system, make sure to turn off both switches or remove both fuses to turn off power to your system.
This will prevent any power from running through the wires that connect to your Nest thermostat.
After you have turned off the power to your HVAC system, you can safely remove your Nest thermostat from the wall.
Remember to turn the power back on once you have finished removing your Nest thermostat.
This will ensure that your HVAC system is working properly and that you have heat or air conditioning when you need it.
Troubleshooting Common Issues
If you encounter any issues while removing your Nest thermostat, don’t worry.
Here are some troubleshooting tips to help you avoid these issues:
Resetting the Nest Thermostat
If your Nest thermostat is not working properly, you can try resetting it. Here’s how:
- Go to Settings on your Nest thermostat.
- Select Reset.
- Select Restart.
This will restart your Nest thermostat and maintain all your settings. It’s a useful troubleshooting step if your thermostat is stuck or frozen.
Checking the Compatibility of Your HVAC System
If your Nest thermostat is not turning on or not working properly, it may be due to compatibility issues with your HVAC system. Here’s how to check:
- Check the compatibility of your HVAC system with the Nest thermostat.
- Make sure your HVAC system is compatible with the Nest thermostat.
- If your HVAC system is not compatible, contact a professional for help.
Checking the compatibility of your HVAC system with the Nest thermostat can help you avoid issues like a blinking red light, blinking green light, or no light on your thermostat.
Key Takeaways
Removing a Nest thermostat is a simple process that can be done in just a few steps. Here are the key takeaways to remember:
- Before removing the Nest thermostat, make sure to turn off the power to the thermostat completely by shutting off the circuit breaker that is connected to the thermostat.
- Open the Nest app and select Equipment > Wiring to save your wiring diagram before disconnecting the wires and unscrewing the base.
- If you plan to move, store, or no longer use the thermostat, be sure to remove it from your Nest account using the mobile app and reset the thermostat using the All Settings function.
- Be careful not to damage the wires or the base when removing the Nest thermostat from the wall.
- If you need further assistance or encounter any issues during the removal process, consult the Nest support website or contact customer service for help.
With these key takeaways in mind, you should be able to confidently and safely remove your Nest thermostat from the wall.
Remember to follow all safety precautions and consult the provided instructions or support resources if needed.