


If you’re looking for a smart thermostat that can help you save energy and money while keeping your home comfortable, the Nest thermostat may be just what you need.
With its sleek design and easy-to-use interface, the Nest thermostat is a popular choice for homeowners who want to take control of their HVAC system.
So, what exactly is the Nest thermostat?
It’s a smart thermostat that learns your preferences and adjusts the temperature accordingly.
It can be controlled remotely from your smartphone or tablet, and it can even be integrated with other smart home devices like Amazon Alexa and Google Assistant.
With features like automatic scheduling and energy-saving mode, the Nest thermostat can help you save up to 10-15% on your heating and cooling bills.
In this article, we’ll walk you through the basics on how to use Nest thermostat.
From installing the device to adjusting the temperature, we’ll cover everything you need to know to get the most out of your smart thermostat.
By the end of this article, you’ll be able to use your Nest thermostat with confidence and enjoy all the benefits it has to offer.
Post Contents
How to Use Nest Thermostat
Using a Nest Thermostat is a great way to make your home more energy-efficient. Here’s what you need to know to get started:
Checking Compatibility
Before you start, make sure your current heating and cooling system is compatible with the Nest Thermostat.
You can check compatibility on the Nest website. If your system isn’t compatible, you may need to hire a professional to install a compatible system.
Tools Needed
You’ll need a few tools to install your Nest Thermostat:
- Screwdriver
- Drill
- Level
- Wire stripper
- Masking tape
Mounting the Thermostat
Once you’ve checked compatibility and gathered your tools, it’s time to mount the thermostat:
- Turn off power to your heating and cooling system.
- Remove your old thermostat.
- Use a level to ensure the Nest Thermostat is straight.
- Mark the screw holes with masking tape.
- Drill holes for the screws.
- Attach the Nest Thermostat base to the wall with screws.
Connecting Wires
Now it’s time to connect the wires:
- Remove the wires from your old thermostat.
- Match the wires to the corresponding labels on the Nest Thermostat base.
- Insert the wires into the corresponding connectors on the base.
- Push the Nest Thermostat onto the base until it clicks into place.
- Turn the power back on to your heating and cooling system.
That’s it! Your Nest Thermostat is now installed and ready to use.
Setting Up
Setting up your Nest thermostat is a simple process that can be done in just a few steps.
In this section, we will go through the process of connecting your thermostat to Wi-Fi, registering the thermostat, and setting up schedules.
Connecting to Wi-Fi
The first step to setting up your Nest thermostat is to connect it to your home Wi-Fi network. Here’s how to do it:
- Turn on your thermostat and select your language.
- Select “Connect” on the thermostat’s menu.
- Choose your Wi-Fi network from the list of available networks.
- Enter your Wi-Fi password and select “Connect.”
Your Nest thermostat will now be connected to your Wi-Fi network, allowing you to control it from your phone or computer.
Registering the Thermostat
After connecting your thermostat to Wi-Fi, the next step is to register it with Nest.
This will allow you to receive software updates and take advantage of all the features that Nest has to offer. Here’s how to register your thermostat:
- Download the Nest app on your phone or tablet.
- Open the app and select “Add Product.”
- Select “Thermostat” and follow the on-screen instructions to complete the registration process.
Once your thermostat is registered, you will be able to control it using the Nest app.
Setting up Schedules
One of the most useful features of the Nest thermostat is its ability to learn your schedule and adjust the temperature accordingly. Here’s how to set up schedules:
- Select “Schedule” on the thermostat’s menu.
- Choose the days and times that you want your thermostat to be set to a certain temperature.
- Adjust the temperature for each time period and select “Save.”
Your Nest thermostat will now follow the schedule that you have set, making it easy to keep your home comfortable without having to constantly adjust the temperature.
Using the Thermostat
Once you have installed your Nest thermostat, it’s time to start using it. Here are some tips on how to adjust the temperature, use the app, and use voice commands.
Adjusting the Temperature
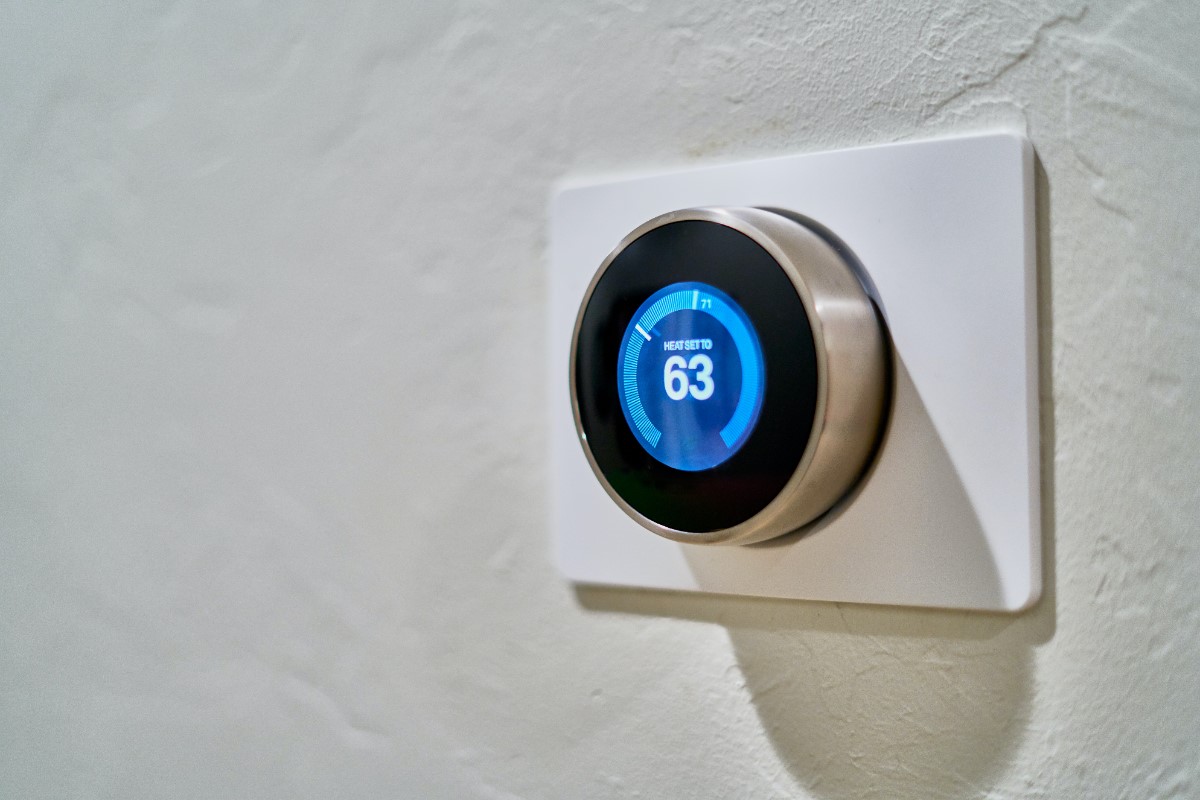
The most basic function of the Nest thermostat is to adjust the temperature in your home.
You can do this manually by turning the outer ring of the thermostat to the left or right to decrease or increase the temperature, respectively. You can also adjust the temperature using the Nest app or through voice commands.
When you adjust the temperature, the Nest thermostat will display the new target temperature on the screen, as well as the current temperature in your home.
The Nest thermostat will also display a small leaf icon if the temperature you’ve set is energy-efficient.
Using the App
The Nest app is a powerful tool that allows you to control your thermostat from anywhere, as long as you have an internet connection.
You can use the app to adjust the temperature, set schedules, view energy usage, and more.
To use the app, you’ll need to download it from the App Store or Google Play and sign in with your Nest account. Once you’re logged in, you’ll see a list of your Nest devices, including your thermostat.
Tap on your thermostat to see its current status and make changes.
Using Voice Commands
If you have a Google Assistant or Amazon Alexa device, you can control your Nest thermostat using voice commands.
To do this, you’ll need to link your Nest account to your assistant account and then enable the Nest skill.
Once you’ve done that, you can say things like “Hey Google, set the temperature to 72 degrees” or “Alexa, turn up the heat.”
Your assistant will then send the command to your Nest thermostat, and it will adjust the temperature accordingly.
Troubleshooting
If you’re experiencing issues with your Nest thermostat, don’t worry – there are several common problems that can be easily fixed. Below, we’ll go over some of the most common issues and how to troubleshoot them.
Common Problems
One of the most common problems with the Nest thermostat is a blank or unresponsive screen. If this happens, try resetting the thermostat by holding down the display for 10 seconds.
If that doesn’t work, check to make sure the thermostat is properly connected to your Wi-Fi network.
Another common issue is the thermostat not turning on. If this happens, check to make sure the thermostat is properly connected to power and that the circuit breaker hasn’t been tripped. If everything seems to be in order, try resetting the thermostat.
If your Nest thermostat is heating or cooling your home too much or too little, check to make sure the temperature sensors are clean and unobstructed.
You can also try adjusting the temperature settings or setting up a temperature schedule.
Resetting the Thermostat
If you need to reset your Nest thermostat, there are a few different methods you can try:
- Restart the thermostat by navigating to Settings > Reset > Restart on the display.
- Reset the network settings by going to Settings > Reset > Network on the display.
- Restart your Wi-Fi network by unplugging the router, waiting 30 seconds, then plugging it back in.
Give each of these fixes a chance to resolve your problem before moving on to the next one. If none of them work, you may need to contact a professional for help.
Key Takeaways
Now that you know the basics of using a Nest thermostat, let’s review some key takeaways:
- Using a Nest thermostat can save you money on your energy bill by automatically adjusting the temperature when you’re away from home.
- You can control your Nest thermostat from your smartphone or tablet using the Nest app.
- The Nest thermostat can learn your temperature preferences and adjust accordingly, but you can also manually adjust the temperature if needed.
- Make sure to install your Nest thermostat properly and follow the manufacturer’s instructions.
- If you have any issues with your Nest thermostat, you can contact customer support for assistance.
By following these tips, you can enjoy the convenience and energy-saving benefits of using a Nest thermostat in your home. Happy Nesting!