

If you’re looking how to connect Nest thermostat to WiFi network, you’re in the right place. The process is straightforward and can be done in a matter of minutes.
Once connected, you’ll be able to control your thermostat remotely using the Nest app or your voice assistant.
Connecting your Nest thermostat to Wi-Fi involves a few simple steps. First, you’ll need to sign in to your Wi-Fi network using the thermostat’s interface.
Then, you’ll need to follow the prompts to connect your thermostat to the internet.
If you run into any issues along the way, there are a few troubleshooting steps you can take to get your thermostat connected.
Post Contents
How to Connect Nest Thermostat to Wifi
If you’re planning to connect your Nest Thermostat to Wi-Fi, the first thing you need to do is check if your thermostat is compatible with your current HVAC system. Here’s how:
- Visit the Nest Thermostat Compatibility page on the Google Nest Help website.
- Select your country and enter your zip code.
- Answer a few questions about your current HVAC system, including the type of system you have, how it’s powered, and how many wires it has.
- Based on your answers, the tool will tell you if your system is compatible with Nest Thermostat and which models will work with your system.
If your system is compatible with Nest Thermostat, you can proceed with the installation process.
If not, you may need to upgrade your HVAC system or choose a different thermostat that is compatible with your system.
Download the Nest App
Now that your Nest thermostat is installed and ready to go, it’s time to download the Nest app to your smartphone or tablet.
The app is available for both iOS and Android devices, and can be downloaded from the App Store or Google Play Store.
Once you’ve downloaded the app, you’ll need to create an account if you don’t already have one.
Simply follow the on-screen prompts to enter your name, email address, and a password of your choice.
Make sure to choose a strong and secure password that you can remember.
After you’ve created your account, you’ll be prompted to enter an entry key to connect your thermostat to the app.
The entry key is a unique code that is displayed on your thermostat’s screen.
To find it, simply tap on the thermostat’s display until you see the code.
Once you’ve entered the entry key into the app, your thermostat should be connected and ready to use.
From the app, you can adjust your thermostat’s temperature, set schedules, and view energy usage data.
You can also connect your thermostat to other smart home devices, such as Google Home or Amazon Echo, for even more control and convenience.
Connect the Nest Thermostat to Wi-Fi
Now that you have installed your Nest Thermostat, it’s time to connect it to your Wi-Fi network.
This will allow you to control the thermostat remotely using your smartphone or tablet.
There are two ways to connect your Nest Thermostat to Wi-Fi: using the Nest app or manually.
Connect with the Nest App
The easiest way to connect your Nest Thermostat to Wi-Fi is by using the Nest app. Follow these steps:
- Download and install the Nest app on your smartphone or tablet.
- Open the Nest app and sign in to your Nest account.
- Select “Add Product” from the app home screen.
- Scan the QR code on the back of your Nest Thermostat or select “Continue without scanning” and choose your thermostat model.
- Follow the on-screen instructions to connect your Nest Thermostat to Wi-Fi.
Connect Manually
If you prefer to connect your Nest Thermostat to Wi-Fi manually, follow these steps:
- Press the thermostat to select it.
- Navigate to and select “Network”.
- Select “Other Wi-Fi Network”.
- Enter your Wi-Fi network name and password.
- If prompted, select the security type.
- Select “Done”.
After a few seconds, your Nest Thermostat should be connected to your Wi-Fi network.
Test the Connection
Now that you have successfully connected your Nest Thermostat to Wi-Fi, it’s time to test the connection.
This will ensure that your thermostat is communicating with the Nest app and that you can control it remotely.
To test the connection, follow these steps:
- Open the Nest app on your smartphone or tablet.
- Select your Nest Thermostat from the list of devices.
- Adjust the temperature setting on your Nest Thermostat using the app.
- Observe whether the temperature on your thermostat changes accordingly.
If the temperature on your Nest Thermostat changes as expected, congratulations!
Your thermostat is now connected to Wi-Fi and you can control it remotely using the Nest app.
If the temperature on your Nest Thermostat does not change, there may be an issue with the connection.
Try resetting your thermostat and repeating the connection process from Step 1. If the problem persists, check your Wi-Fi network to ensure that it is functioning properly.
Remember that your Nest Thermostat needs a stable Wi-Fi connection to function properly.
If you experience connection issues, try moving your router closer to your thermostat or consider upgrading your Wi-Fi network.
Key Takeaways
Connecting your Nest thermostat to Wi-Fi is a simple process that can be completed in just a few steps. Here are the key takeaways to keep in mind:
- Make sure your Wi-Fi network is compatible with the Nest thermostat before attempting to connect.
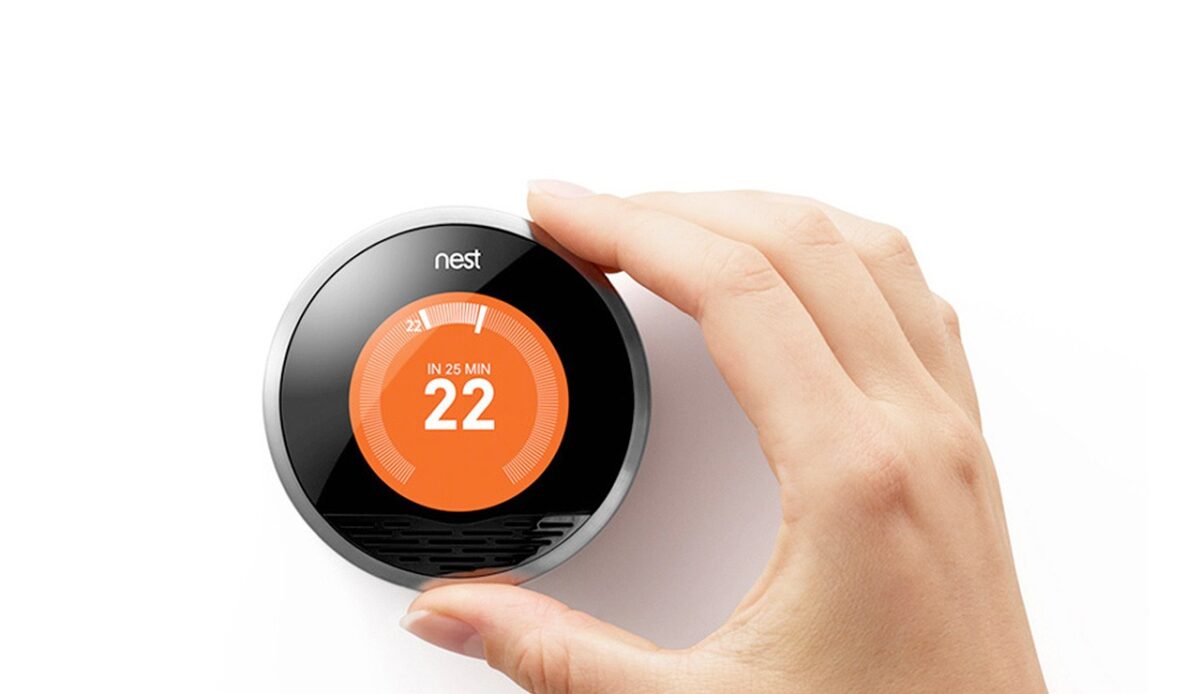
- Press the thermostat ring to bring up the Quick View menu, then select Settings and Network to connect to Wi-Fi.
- If your network is hidden, select Other Wi-Fi Network and enter your network name and password.
- It may take a few minutes for the Nest thermostat to connect to your Wi-Fi network.
- Once connected, you can control your Nest thermostat from your smartphone or tablet using the Nest app.
By following these simple steps, you can enjoy the convenience of controlling your Nest thermostat from anywhere, at any time.
Whether you’re at home or on the go, you can adjust your thermostat settings to suit your needs and preferences.
Remember to keep your Wi-Fi network password secure and update it regularly to ensure the security of your Nest thermostat and other connected devices.