


Are you interested in knowing how to go live on Facebook?
Going live on Facebook is a great way to do just that!
Whether you are using your desktop or mobile device, Facebook makes it easy to start your video streaming and interact with your viewers.
In this article, we will guide you through the steps to go live on Facebook and provide you with some tips to make your live streaming experience successful.
To go live on Facebook, you can use either your desktop or mobile device.
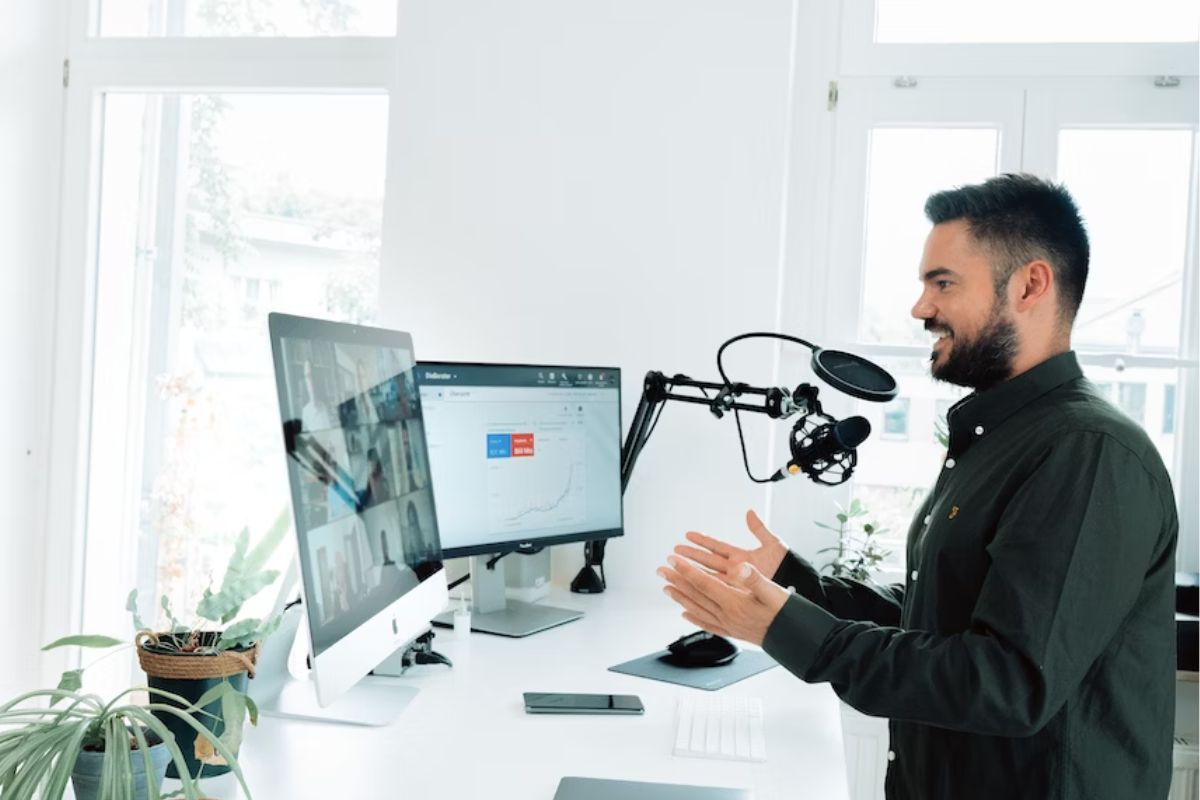
On your desktop, you will need to use the Google Chrome web browser to go live.
Simply click “What’s on your mind, [Name]?” at the top of your Feed, then click the “Live Video” option.
On your mobile device, you can start your live streaming by clicking the “Publish” button and selecting the “Live Video” icon.
Once you have started your live video, you can add a description, tag friends, check in to a location, and add a feeling or activity.
Before you start your live streaming, it is important to keep in mind that your broadcast needs to follow Facebook’s policies.
All live videos are public, which means anyone visiting your Page can see it.
To make your live streaming experience successful, it is also important to prepare beforehand and engage with your viewers during the broadcast.
With these tips in mind, let’s dive into the steps to go live on Facebook!
Post Contents
Understanding Facebook Live

Facebook Live is a feature on Facebook that lets you broadcast live video to your friends, followers, or the public.
This feature has become increasingly popular for individuals and businesses to connect with their audience in real-time.
Here are a few things you need to know about Facebook Live:
How to Go Live on Facebook
To go live on Facebook, you can use your mobile device or computer.
From your News Feed, click on “Live Video” to start broadcasting.
You can also go live from a group, Page, or event.
Once you are live, your audience can interact with you by commenting, reacting, and sharing your video.
Benefits of Using Facebook Live
Facebook Live is a powerful tool for engaging with your audience.
Here are some benefits of using Facebook Live:
- Real-time engagement: Facebook Live allows you to interact with your audience in real-time. You can answer questions, respond to comments, and get immediate feedback.
- Increased reach: Facebook Live videos tend to get more reach and engagement than pre-recorded videos. This is because Facebook prioritizes live videos in the News Feed.
- Authenticity: Live videos are unscripted and unedited, which makes them more authentic and relatable to your audience.
Tips for a Successful Facebook Live Video
Here are some tips to help you create a successful Facebook Live video:
- Plan ahead: Decide on the topic of your video and prepare an outline or script.
- Promote your video: Let your audience know when you will be going live and encourage them to tune in.
- Engage with your audience: Respond to comments and questions during the video to keep your audience engaged.
- Keep it short and sweet: Facebook recommends that live videos be at least 10 minutes long, but no longer than 4 hours.
Getting Started
Going live on Facebook is a great way to connect with your audience in real-time.
Whether you want to share a special moment, host a Q&A session, or promote your brand, Facebook Live is a powerful tool for engaging with your followers.
To get started with Facebook Live, you will need a Facebook account and a device with a camera and microphone.
You can go live from your computer, mobile app, or even your desktop.
Here are the steps to go live on Facebook:
- Open the Facebook app or go to the Facebook website on your computer.
- Click on the “What’s on your mind?” box at the top of your News Feed.
- Click on the “Live Video” option.
- Select the audience you want to share your live video with (Public, Friends, Only Me, etc.).
- Write a compelling description for your live video.
- Click on the “Go Live” button to start broadcasting.
Once you are live, your followers will receive a notification that you are streaming.
They can then tune in to watch your live video and interact with you in real-time by commenting, reacting, and sharing.
It’s important to note that Facebook Live is not just for individuals.
Businesses and organizations can also use this feature to promote their products and services, host webinars, and provide behind-the-scenes glimpses into their operations.
Whether you’re a seasoned pro or a first-time broadcaster, going live on Facebook is a fun and engaging way to connect with your audience.
So why not give it a try and see how it can benefit you and your brand?
How to Go Live on Facebook

Going live on Facebook is a great way to connect with your audience in real-time.
Whether you are a business owner, a content creator, or just someone who wants to share their experiences, Facebook Live is a powerful tool that can help you reach your goals.
In this section, we will walk you through the steps you need to take to go live on Facebook.
Choosing Your Device
To go live on Facebook, you will need a device that can connect to the internet and has a camera and microphone.
You can use a smartphone, tablet, laptop, or desktop computer to go live.
Choose the device that is most convenient for you and that you feel comfortable using.
Using a Webcam
If you are using a desktop computer or laptop, you can use a webcam to go live on Facebook.
Make sure that your webcam is connected to your computer and that it is working properly.
You can test your webcam by going to the Camera app on your computer and taking a photo or recording a video.
Using a Microphone
To ensure that your viewers can hear you clearly, you should use a microphone when you go live on Facebook.
You can use the built-in microphone on your device, but for better sound quality, you may want to invest in an external microphone.
There are many affordable options available online that can help you improve your audio quality.
Setting Up Lighting
Good lighting is essential when you go live on Facebook.
Make sure that you are in a well-lit area, and avoid standing in front of bright lights or windows.
You can also invest in a ring light or other lighting equipment to improve your lighting quality.
Remember to check your internet connection before going live and run a speed test to ensure that your connection is stable enough to support a live stream.
With these steps, you are now ready to go live on Facebook and connect with your audience in real-time.
Creating Your Live Stream
Going live on Facebook is a great way to connect with your audience in real-time and share your experiences.
Here’s how you can create your live stream.
Adding a Description
Before you go live, make sure to add a description of your stream.
This will help your viewers understand what your stream is about and what they can expect to see.
To add a description, simply type it in the “Say something about this live video” field.
Choosing a Location
You can choose where you want to go live from.
You can either go live from your personal profile, a group, or a page.
To choose the location, simply click on the “Live” button on your profile, group, or page.
Inviting Friends
You can invite your friends to watch your live stream.
To do this, simply click on the “Invite Friends” button and select the friends you want to invite.
You can also share your live stream on your timeline or in a group.
Setting Privacy Settings
You can set the privacy settings for your live stream.
You can either make it public, which means anyone can see it, or you can set it to “Only Me,” which means only you can see it.
To set the privacy settings, click on the “Privacy” button and select the option you want.
That’s it! You’re now ready to go live on Facebook.
Remember to engage with your viewers and have fun!
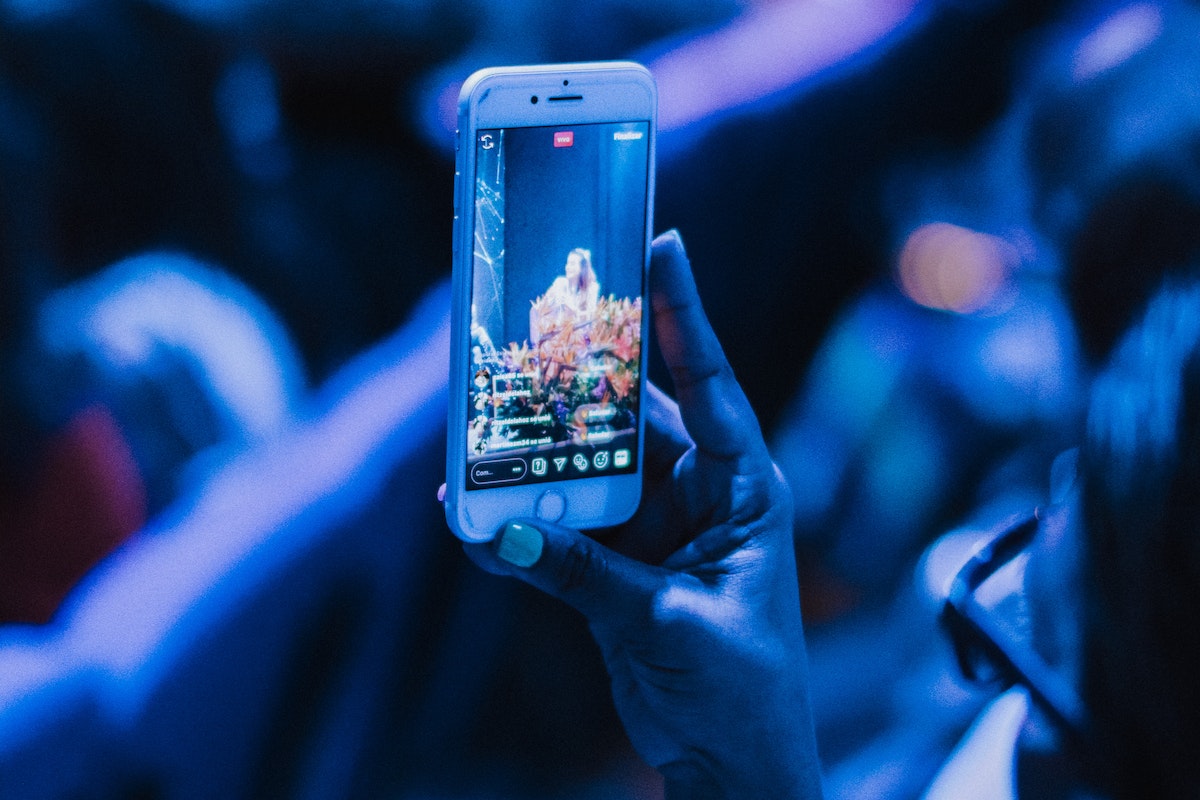
During Your Live Stream
Once you go live on Facebook, it’s important to keep your viewers engaged and entertained.
Here are some tips on how to interact with your viewers, use effects and filters, and manage comments during your live stream.
Interacting with Viewers
Interacting with your viewers is a great way to keep them engaged and make them feel like they’re a part of the stream.
Here are some ways you can interact with your viewers:
- Ask your viewers questions and encourage them to leave comments.
- Respond to comments and questions in real-time.
- Give shoutouts to viewers who are actively engaging with your stream.
- Use Facebook’s “Live Reactions” feature to see how your viewers are feeling about your stream.
Using Effects and Filters
Facebook offers a variety of effects and filters that you can use during your live stream to make it more visually appealing.
Here are some effects and filters you can use:
- Use the “Beauty” filter to enhance your appearance.
- Add frames and masks to your video to make it more fun and engaging.
- Use Facebook’s augmented reality filters to add 3D objects to your video.
Managing Comments
Managing comments is an important part of any live stream.
Here are some tips on how to manage comments during your live stream:
- Assign a moderator to help manage comments and keep the conversation flowing.
- Use Facebook’s moderation tools to hide or delete inappropriate comments.
- Encourage your viewers to report any inappropriate comments they see.
- Respond to comments in a timely manner to keep the conversation going.
By following these tips, you can keep your viewers engaged and entertained during your live stream on Facebook.
After Your Live Stream
Congratulations, you’ve just finished your live stream!
But what should you do next?
Here are some steps to follow:
Ending Your Live Stream
To end your live stream, simply click on the “Finish” button.
This will stop the live broadcast and save the video to your profile, Page, or group.
You can also end the live stream by closing the streaming software you’re using.
Sharing Your Live Stream
After your live stream has ended, you can share it with your audience.
To share your live video, follow these steps:
- Go to the post where your live video was uploaded.
- Click on the “Share” button.
- Select where you want to share the video (e.g. your profile, Page, or group).
- Choose the privacy settings for your post.
- Click on the “Share Now” button.
Deleting Your Live Stream
If you want to delete your live stream, follow these steps:
- Go to the post where your live video was uploaded.
- Click on the three dots in the top right corner of the post.
- Select “Delete” from the dropdown menu.
- Confirm that you want to delete the video.
Keep in mind that once you delete your live stream, it will be permanently removed from Facebook and cannot be recovered.
That’s it!
Now you know what to do after your live stream.
Advanced Features
If you’re serious about streaming professionally, Facebook offers a few advanced features that can help take your live streams to the next level.
Here are some of the features you can use:
Using Live Producer
Live Producer is a desktop web browser tool that allows you to create more advanced live streams with high-end production equipment and streaming software like OBS.
With Live Producer, you can:
- Switch between multiple cameras
- Add graphics and overlays
- Use screen sharing
- Control the audio and video quality
Streaming with Software
If you want to use high-end streaming software, you can use Facebook’s Live API.
This allows you to integrate your software with Facebook Live and create more advanced live streams.
Some popular streaming software that works with Facebook Live include:
- OBS
- Wirecast
- XSplit
Facebook Live with Messenger Rooms and Zoom
Facebook Live now allows you to stream with up to 50 people in Messenger Rooms and Zoom.
This is a great way to host virtual events or panels with multiple guests.
To use this feature, simply start a Messenger Room or Zoom call and select “Live” in the bottom menu.
Earning Stars
If you have a Facebook Page that is eligible for monetization, you can earn money by receiving Stars during your live streams.
Viewers can purchase Stars and send them to you during your live stream as a way to support your content.
You can then convert these Stars into real money.
To be eligible for Stars, you need to meet Facebook’s Partner Monetization Policies and have at least 100,000 followers on your Page.
Tips and Best Practices
When it comes to going live on Facebook, there are a few tips and best practices that you should keep in mind to ensure that your live stream is successful.
In this section, we will cover some of the most important tips and best practices for going live on Facebook.
Engagement
Engagement is key when it comes to going live on Facebook.
You want to make sure that your audience is engaged and interacting with you throughout your live stream.
To encourage engagement, try the following:
- Respond to comments and questions from your audience
- Use prompts to encourage your audience to ask questions or share their thoughts
- Use graphics and captions to make your live stream more visually appealing
Scheduling
Scheduling your live stream in advance can help you reach a larger audience.
When you schedule your live stream, your followers will receive a notification letting them know that you will be going live at a specific time.
This can help you build anticipation and ensure that your audience is ready and waiting for your live stream.
Captions
Adding captions to your live stream can make it more accessible to a wider audience.
Captions can help people who are deaf or hard of hearing understand what you are saying, and they can also be useful for people who are watching your live stream in a noisy environment.
Graphics
Using graphics during your live stream can help you get your message across more effectively.
Graphics can be used to highlight important points, showcase products, or simply add some visual interest to your live stream.
Algorithm
Facebook’s algorithm plays a big role in determining how many people see your live stream.
To increase your chances of reaching a larger audience, try the following:
- Use relevant keywords in your title and description
- Use hashtags to make your live stream more discoverable
- Encourage your followers to share your live stream with their friends
Test Broadcast
Before you go live, it’s a good idea to do a test broadcast to make sure that everything is working properly.
During your test broadcast, you can check your audio and video quality, make sure that your lighting is good, and ensure that your internet connection is strong enough to support your live stream.
By keeping these tips and best practices in mind, you can ensure that your live stream on Facebook is a success.
Troubleshooting Common Issues
Going live on Facebook can be a fun and engaging way to connect with your audience, but sometimes things don’t go as planned.
Here are some common issues that you may encounter and how to troubleshoot them:
Connection Issues
If you’re having trouble connecting to Facebook’s servers, try the following:
- Check your internet connection and make sure it’s stable.
- Restart your computer or device.
- Make sure that you have the latest version of your web browser or the Facebook app.
- Try using a different device or network connection.
Audio or Video Quality Issues
If your audio or video quality is poor, try the following:
- Make sure that your camera and microphone are working properly.
- Check your internet connection and make sure that it’s fast enough to support live streaming.
- Reduce the number of applications running on your device to free up processing power.
- Move closer to your router or access point to improve your signal strength.
Broadcasting Issues
If you’re having trouble broadcasting your live video to Facebook, try the following:
- Make sure that you have the correct server URL and stream key.
- Check your Facebook account settings to make sure that your live video permissions are enabled.
- Try broadcasting to a different Facebook page or group.
- Restart your live video broadcast and try again.
Other Issues
If you’re experiencing other issues with Facebook Live, try the following:
- Clear your web browser’s cache and cookies.
- Disable any ad blockers or browser extensions that may be interfering with Facebook’s functionality.
- Check your Facebook account settings to make sure that your notifications are enabled.
- Contact Facebook support for additional assistance.
By following these troubleshooting tips, you can help ensure that your Facebook Live broadcasts go as smoothly as possible.
Key Takeaways
Going live on Facebook is a great way to connect with your audience in real-time.
Here are some key takeaways to keep in mind when going live on Facebook:
- Prepare your content beforehand: Make sure you have a clear idea of what you want to share with your audience. Write down some notes or even create a script to help you stay on track during the live stream.
- Test your equipment: Before going live, make sure your camera, microphone, and internet connection are working properly. You don’t want to have technical difficulties during your live stream.
- Engage with your audience: Encourage your viewers to comment and ask questions during the live stream. Respond to their comments and make them feel like they are a part of the conversation.
- Promote your live stream: Let your followers know ahead of time when you will be going live. This will help increase your viewership and engagement.
- Be yourself: Show your personality and be authentic during your live stream. Your audience will appreciate seeing the real you.
By following these key takeaways, you can create engaging and successful live streams on Facebook.
Have fun and connect with your audience in a meaningful way.