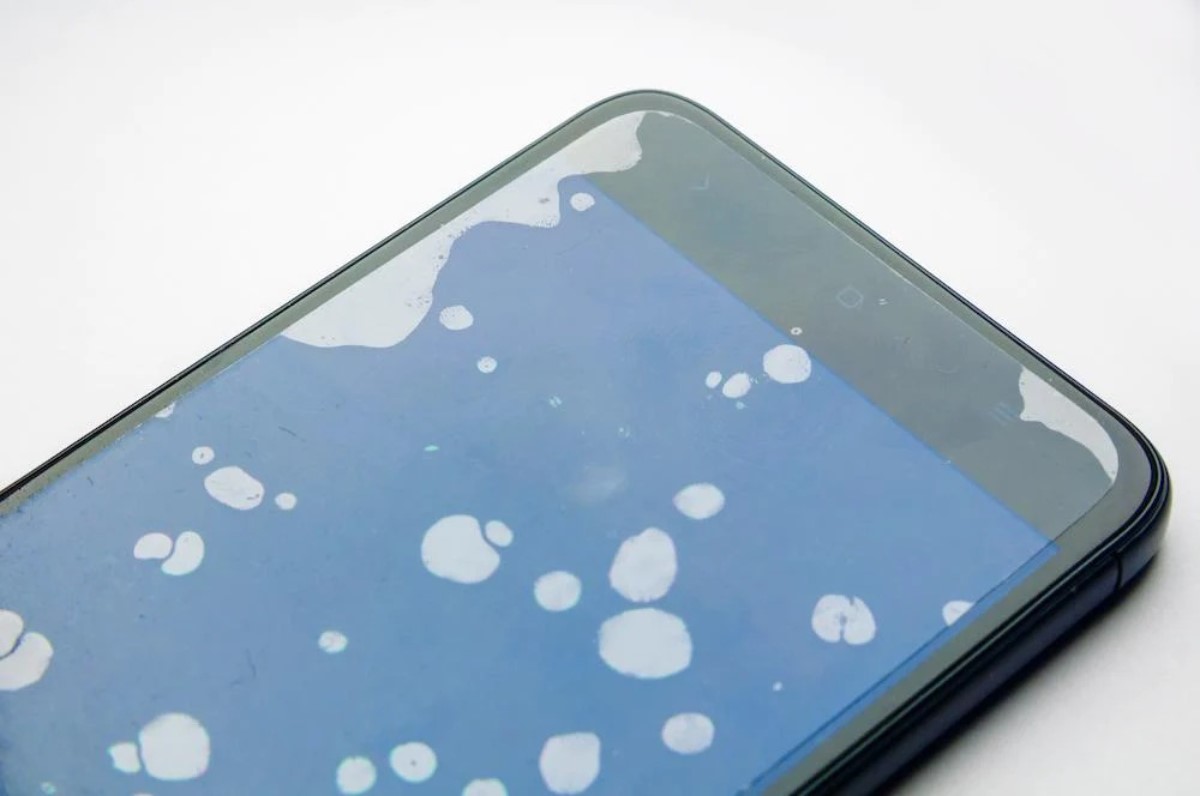


Are you tired of seeing air bubbles on your phone screen protector?
These bubbles can be frustrating and unsightly, but luckily there are several ways to get rid of them.
In this article, we will explore some simple and effective methods on how to get rid of air bubble on screen protector.
One common method to remove air bubbles is to clean your screen thoroughly before applying the protector.
Make sure to use alcohol pads or screen cleaning wipes to remove any oily patches, smudges, or dust particles from your screen.
Once your screen is clean, reapply the protector carefully, making sure to line it up correctly.
Use a credit card or similar object to smooth out any air bubbles from the center to the edges of the screen.
Another method involves using a small amount of oil to eliminate air bubbles.
Apply a thin layer of oil, such as baby oil or coconut oil, to the edges of the protector where the bubbles are located.
This oil will help to smooth out the bubbles and create a tight seal.
Be careful not to use too much oil, as it can cause the protector to slip off the screen.
With these tips, you can easily get rid of air bubbles and enjoy a clear, smooth screen.
Post Contents
Why Air Bubbles Occur
When it comes to screen protectors, air bubbles can be frustrating. They can disrupt the sensitivity of your touch screen and make it difficult to use your device.
Here are some reasons why air bubbles occur:
- Poor application: One of the most common reasons why air bubbles form is due to poor application. If you don’t apply the screen protector correctly, it can create air pockets that cause bubbles.
- Dust and dirt: Even the smallest particle of dust or dirt can cause air bubbles. When you apply the screen protector, you need to make sure that the surface is clean and free from any debris.
- Holes or cavities: Air bubbles can also originate from holes or cavities beneath the adhesive used to stick the screen protector to the phone’s glass. This can happen due to poor quality screen protectors or improper installation.
- Temperature changes: Temperature changes can cause air bubbles to form. If you apply the screen protector in a cold environment and then move to a warmer environment, it can cause the adhesive to expand and create air bubbles.
Now that you know why air bubbles occur, you can take steps to prevent them from forming.
Make sure to apply the screen protector correctly, clean the surface thoroughly, and use a high-quality screen protector to reduce the likelihood of air bubbles forming.
Tools You’ll Need
When it comes to getting rid of air bubbles on your screen protector, you don’t need much.
Here are the few things you’ll need to get started:
1. Screen Cleaning Wipes or Alcohol Pads
Before you can start removing air bubbles, you need to make sure your screen is clean.
Alcohol pads and screen cleaning wipes work best for this task.
Make sure there are no oily patches, smudges, or dust particles on your screen.
2. Translucent Cooking Oil
If the air bubbles are close to the edges of the screen protector, you can try using olive, vegetable, or another translucent cooking oil.
Pour 1-2 tsp (4.9-9.9 ml) of the oil into a small dish so you can easily wet the end of a cotton swab. Coat the cotton swab with a thin layer of the oil but not so much that it’s dripping.
3. Cotton Swabs or Q-Tips
You’ll need a few cotton swabs or Q-tips to apply the oil to the edges of the screen protector. Make sure they are clean and free of any debris.
4. Credit Card or Squeegee
You’ll need a credit card or squeegee to help remove any air bubbles that may appear during the installation process.
These tools help to smooth out the screen protector and push out any air bubbles.
With these tools in hand, you’ll be ready to tackle those pesky air bubbles on your screen protector.
How to Get Rid of Air Bubble on Screen Protector
If you’re struggling with air bubbles on your screen protector, don’t worry!
This step-by-step guide will help you remove those pesky bubbles and get your device looking crystal clear again.
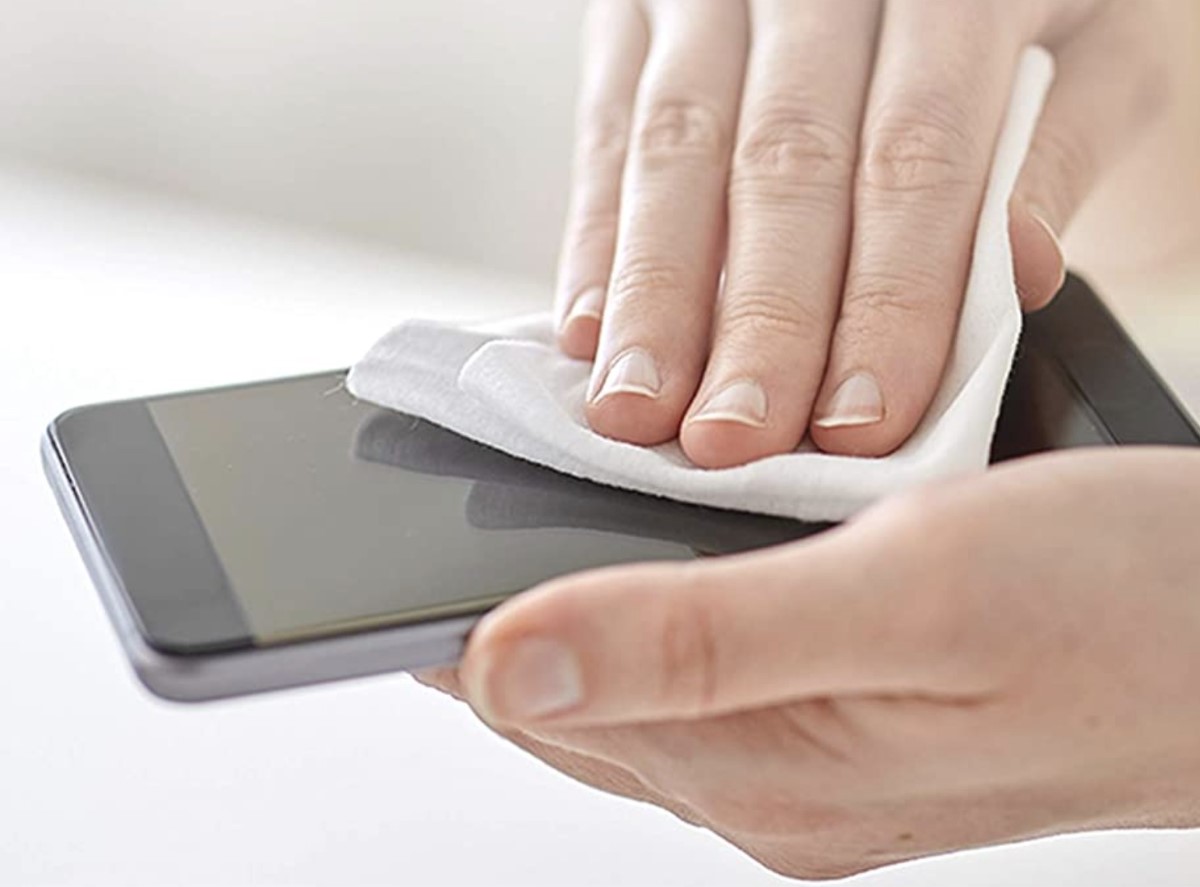
Step 1: Clean the Screen
Before applying your screen protector, it’s important to clean your screen thoroughly to remove any dust or debris.
Use a microfiber cloth to wipe down your screen and ensure that it’s completely clean and free of any smudges or fingerprints.
Step 2: Remove the Dust Particles
Even the smallest dust particles can cause air bubbles to form under your screen protector, so it’s important to remove them before applying the protector.
You can use a piece of tape to gently lift any dust particles from your screen, or use a dust removal sticker that often comes with the screen protector.
Step 3: Apply the Screen Protector
Once your screen is clean and free of dust, it’s time to apply the screen protector.
Align the protector carefully with your device’s screen and use a credit card or squeegee to smooth out any wrinkles or bubbles as you apply the protector.
Step 4: Remove the Air Bubbles
If air bubbles still remain after applying the screen protector, don’t worry – you can still remove them.
One effective method is to use a credit card or squeegee to push the bubbles towards the edge of the screen protector.
Alternatively, you can use a piece of scotch tape to lift the protector slightly and then use your finger to push out any remaining bubbles.
By following these simple steps, you can easily remove air bubbles from your screen protector and get your device looking as good as new.
Tips and Tricks
If you’re having trouble getting rid of air bubbles on your screen protector, don’t worry. There are a few tips and tricks you can try to make the process easier.
Tip 1: Use a Credit Card
One of the easiest ways to remove air bubbles from a screen protector is to use a credit card. Start by cleaning your screen with a microfiber cloth.
Then, peel back a corner of the screen protector and use the credit card to slowly smooth out any air bubbles.
Work your way across the screen, using the credit card to push out any bubbles as you go.
Tip 2: Use a Hair Dryer
Another option is to use a hair dryer to remove air bubbles from your screen protector. First, clean your screen with a microfiber cloth.
Then, turn on your hair dryer to low heat and hold it about 6 inches away from your screen.
Use your other hand to gently smooth out any air bubbles as the heat from the hair dryer softens the adhesive on the screen protector.
Be careful not to hold the hair dryer too close to your screen, as this can cause damage.
Tip 3: Use a Screen Protector Applicator
If you’re having trouble getting your screen protector on straight, a screen protector applicator can help.
These tools are designed to help you apply your screen protector evenly and without air bubbles.
Simply place your screen protector onto the applicator, align it with your screen, and use the included squeegee to smooth out any air bubbles.
By using these tips and tricks, you can easily remove air bubbles from your screen protector and keep your device looking its best.
Key Takeaways
Here are the key takeaways to keep in mind when trying to get rid of air bubbles on your screen protector:
- Clean your screen thoroughly before applying the screen protector. Use alcohol pads or screen cleaning wipes to remove any dust particles, smudges, or oily patches.
- Use a credit card or a similar object to press out any air bubbles. Start from the center and work your way outwards. Try to push in one direction if possible.
- If the air bubbles are close to the edges of the screen protector, try using a cotton swab moistened with cooking oil. Pour a small amount of oil into a dish and dip the cotton swab into it. Then, apply the oil to the edges of the screen protector to remove the air bubbles.
- Be patient and take your time. Don’t rush the process, as this can lead to more air bubbles or misalignment of the screen protector.
- If all else fails, consider replacing the screen protector. Sometimes, the air bubbles are too stubborn to remove, and it’s better to start fresh with a new one.
By following these tips, you can get rid of air bubbles on your screen protector and enjoy a clear, smooth screen.
Remember to take your time and be patient, and don’t hesitate to replace the screen protector if needed.