


Are you looking to connect your Ledger wallet to MetaMask?
If so, you’re in the right place.
By connecting your Ledger to MetaMask, you can access a range of decentralized applications (dApps) and take advantage of all the benefits of Ethereum without compromising on security, but how to connect Ledger to MetaMask?
To get started, you’ll need to download the MetaMask extension for your browser and install it.
Once you’ve done that, you can connect your Ledger to MetaMask and start using it to interact with the Ethereum blockchain.
With MetaMask, you can buy, sell, and trade cryptocurrencies, lend and borrow assets, and even play blockchain-based games.
Connecting your Ledger to MetaMask is a simple process that can be completed in just a few steps.
By doing so, you’ll be able to take advantage of all the features that MetaMask has to offer while keeping your assets safe and secure in your Ledger wallet.
So, let’s dive in and get started!
Post Contents
Understanding Metamask and Ledger

Connecting your Ledger to MetaMask is a great way to improve the security of your cryptocurrency assets.
But before you get started, it’s important to understand how MetaMask and Ledger work together.
MetaMask is a non-custodial cryptocurrency wallet that allows you to store and manage your digital assets.
It’s a browser extension that works with a variety of blockchains, including Ethereum, Binance Smart Chain, and Polygon.
MetaMask also provides a user-friendly interface for interacting with decentralized applications (dApps).
On the other hand, Ledger is a hardware wallet that stores your private keys offline.
This makes it much more difficult for hackers to steal your cryptocurrency.
When you connect your Ledger to MetaMask, you can use your Ledger device to sign transactions and manage your assets in MetaMask.
To connect your Ledger to MetaMask, you’ll need to follow a few simple steps.
First, make sure you have the latest version of both MetaMask and the Ledger Live app installed on your computer.
Then, connect your Ledger device to your computer and open the Ethereum app on your Ledger.
Next, open MetaMask and click on the account icon in the top right corner.
Select “Connect Hardware Wallet” and choose “Ledger” from the list of options.
Follow the on-screen instructions to complete the connection process.
It’s important to note that you should never share your private keys or recovery phrases with anyone, including MetaMask or Ledger.
Your private keys are stored securely on your Ledger device, and you should always keep your device in a safe place.
By connecting your Ledger to MetaMask, you can enjoy the benefits of both a hardware wallet and a non-custodial software wallet.
This provides an extra layer of security for your cryptocurrency assets, making it more difficult for hackers to steal your funds.
Setting Up Your Devices
Connecting your Ledger device to MetaMask is a simple process that requires a few steps.
Before you start, make sure that you have the following:
- A computer with an internet connection
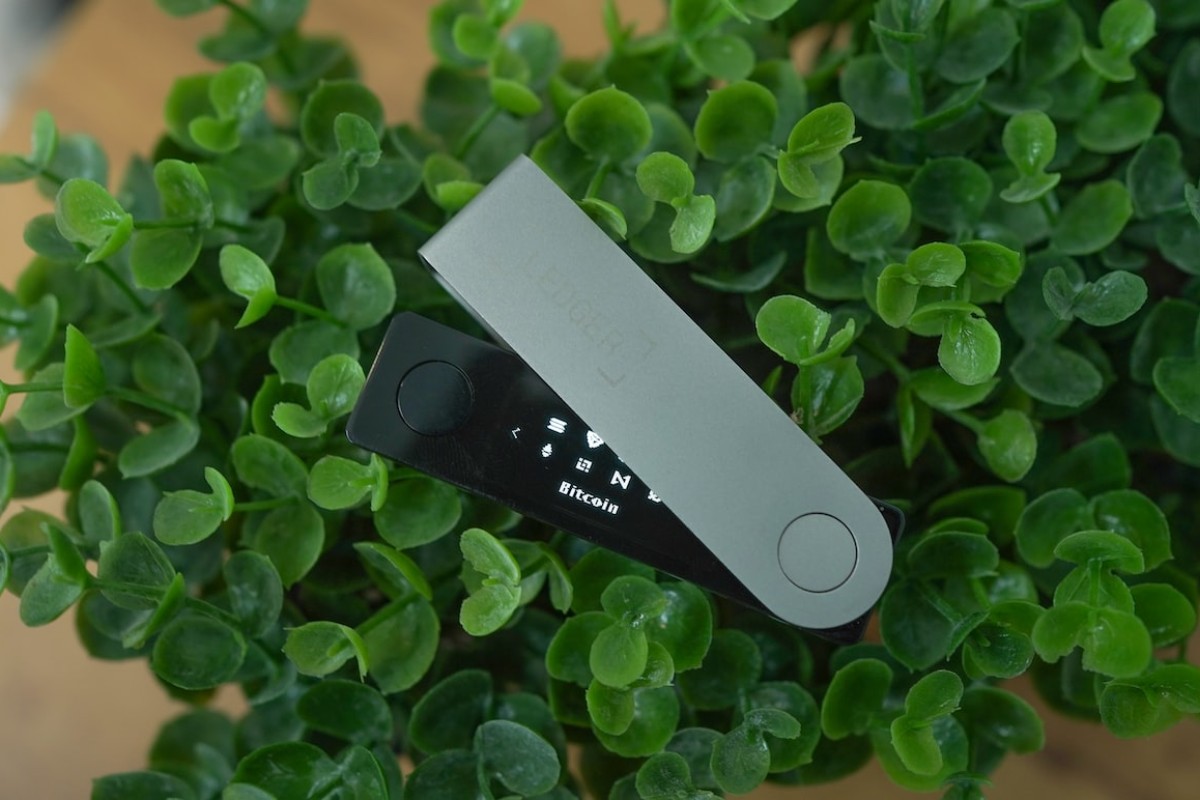
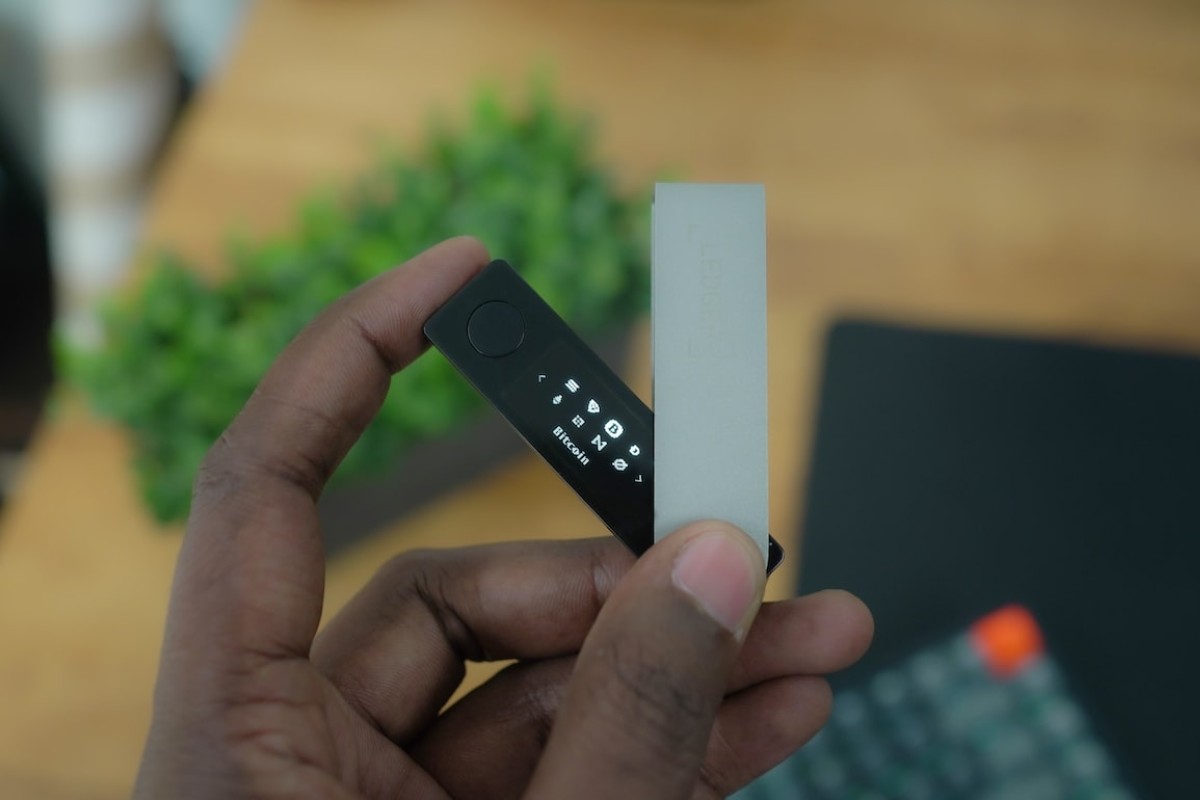
- Your Ledger Nano or Nano X device
- A USB cable to connect your device to your computer
- Your Ledger device PIN
First, make sure that your Ledger device is updated with the latest firmware version.
You can do this by using the Ledger Live app on your computer.
Open the app and connect your device to your computer using the USB cable.
Then, follow the instructions to update your firmware if necessary.
Next, open the Ethereum app on your Ledger device.
You can do this by navigating to the app using the buttons on your device.
Make sure that the Ethereum (ETH) app is selected.
Now, you are ready to connect your Ledger device to MetaMask.
Download and install the MetaMask extension for your browser from the official website.
Once installed, open the extension and select “Connect Hardware Wallet” from the menu.
Choose “Ledger” as your hardware wallet and click “Continue.”
Follow the instructions to connect your device to MetaMask.
You may be prompted to enter your device PIN to confirm the connection.
Make sure that blind signing is enabled in the Ethereum app settings on your Ledger device.
This will allow you to securely sign transactions without exposing your private keys.
Congratulations! You have successfully connected your Ledger device to MetaMask.
Now, you can use MetaMask to interact with Ethereum dApps and manage your assets securely.
How to Connect Ledger to MetaMask

Connecting your Ledger wallet to MetaMask is a straightforward process that allows you to manage your Ethereum and ERC-20 tokens with ease.
Here are the steps you need to take:
- Connect your Ledger wallet to your computer using the USB cable.
- Open the Ethereum app on your Ledger device.
- Go to metamask.io/download/ and download the MetaMask extension for your browser. MetaMask is available for Chrome, Firefox, Edge, and Brave browsers.
- Install the MetaMask extension and pin it to your browser.
- Click on the MetaMask icon in your browser toolbar and select “Create a new wallet.”
- Follow the prompts to set up your MetaMask account. Make sure to choose the “Ledger” option when asked how you want to access your wallet.
- Once your MetaMask account is set up, click on the MetaMask icon again and select “Connect Hardware Wallet.”
- Choose “Ledger” from the list of hardware wallets.
- Follow the prompts to connect your Ledger wallet to MetaMask. Make sure to select the Ethereum app on your Ledger device when prompted.
- Once your Ledger wallet is connected, you’ll be able to see your Ethereum and ERC-20 token balances in MetaMask.
If you’re using Firefox, please note that Firefox 114 broke U2F compatibility, which may disrupt your ability to connect Ledger or any other hardware wallets to MetaMask.
To avoid this issue, use other browsers that support U2F or WebHID connection methods, such as Chrome or Brave.
In summary, connecting your Ledger wallet to MetaMask is a simple process that allows you to manage your Ethereum and ERC-20 tokens with ease.
Just follow the steps outlined above, and you’ll be up and running in no time.
Adding Your Ethereum Account
To add your Ethereum account to MetaMask using your Ledger device, follow these steps:
- Connect your Ledger device to your computer and unlock it.
- Open the MetaMask extension in your browser and click on the account icon in the top right corner.
- Select “Connect Hardware Wallet” and choose “Ledger” from the list of options.
- Follow the prompts to select the Ethereum app on your Ledger device and confirm the connection.
- Once your Ledger device is connected, you will see a list of account addresses associated with it. Select the account you want to add to MetaMask.
- Click “Add Account” to add the selected account to your MetaMask wallet.
By adding your Ethereum account to MetaMask, you can easily manage your ETH balance and access various Ethereum-based applications.
Plus, since your private keys are stored on your Ledger device, your funds remain secure.
Overall, adding your Ethereum account to MetaMask is a straightforward process that can be completed in just a few minutes.
By doing so, you’ll be able to take advantage of all the benefits of using MetaMask, including easy access to DeFi protocols, NFT marketplaces, and more.
Managing Crypto Assets

Once you have connected your Ledger device to MetaMask, you can easily manage your crypto assets.
MetaMask supports a wide range of cryptocurrencies, tokens, ERC20 tokens, and other assets.
Here are a few things you can do to manage your crypto assets on MetaMask:
View Your Crypto Assets
To view all your crypto assets, simply click on the MetaMask icon on your browser and select the wallet you want to view.
You will see a list of all the assets in your wallet.
You can also view your assets on the Ledger Live app.
Send and Receive Crypto Assets
Sending and receiving crypto assets is easy with MetaMask.
Simply select the asset you want to send or receive, enter the recipient’s address, and the amount you want to send.
You can also add a note to the transaction if you want.
Once you have confirmed the transaction, it will be processed on the blockchain network.
Swap Crypto Assets
You can also swap one crypto asset for another on MetaMask.
MetaMask supports various decentralized exchanges, including Uniswap, SushiSwap, and PancakeSwap.
You can easily swap your assets by connecting to these exchanges using MetaMask.
Use Binance Smart Chain and Polygon
MetaMask also supports Binance Smart Chain and Polygon (formerly known as Matic Network).
These are Layer 2 scaling solutions that allow for faster and cheaper transactions.
You can easily switch between Ethereum, Binance Smart Chain, and Polygon on MetaMask.
Keep Your Crypto Assets Safe
Remember to always keep your Ledger device safe and secure.
Never share your Ledger PIN or recovery phrase with anyone.
Also, make sure to keep your MetaMask seed phrase safe and secure.
You can back up your seed phrase on a piece of paper or a hardware wallet like Ledger.
In conclusion, managing your crypto assets on MetaMask is easy and convenient.
With support for a wide range of assets and decentralized exchanges, you can easily send, receive, and swap your assets.
Just make sure to keep your Ledger device and MetaMask seed phrase safe and secure.
Interacting With Dapps and NFTs

When you have connected your Ledger device to MetaMask, you can start interacting with decentralized applications (dapps) and managing your non-fungible tokens (NFTs).
With MetaMask, you can access a wide range of dapps that are built on the Ethereum blockchain.
One of the most popular dapps for managing NFTs is OpenSea.
With OpenSea, you can buy, sell, and trade NFTs from different collections.
To access OpenSea, simply go to their website and connect your MetaMask wallet.
You can then browse through different NFT collections and choose the ones you want to buy or sell.
When you want to manage your NFTs, you can do so through the Collectibles tab in MetaMask.
This tab shows you all the NFTs you own, including their name, image, and collection.
You can also view the details of each NFT, such as its contract address and token ID.
If you want to send or receive NFTs, you can do so through the Send and Receive tabs in MetaMask.
To send an NFT, simply select the token you want to send, enter the recipient’s address, and click Send.
To receive an NFT, simply share your wallet address with the sender, and they can send the NFT to you.
In addition to OpenSea, there are many other dapps that you can use to manage your NFTs.
Some of these dapps include Rarible, SuperRare, and Nifty Gateway.
Each dapp has its own unique features and collections, so feel free to explore and find the ones that suit your needs.
Overall, connecting your Ledger device to MetaMask allows you to easily manage your NFTs and interact with different dapps on the Ethereum blockchain.
With MetaMask, you can securely store your NFTs and access them whenever you want.
Security and Recovery
When it comes to connecting your Ledger wallet to MetaMask, security is always a top priority.
After all, you’re dealing with your hard-earned cryptocurrency assets, and you want to make sure they are safe and secure at all times.
Here are some tips to help you ensure the security and recovery of your assets:
Recovery Phrase
Your Ledger wallet comes with a recovery phrase that you should keep safe and secure.
This phrase is a set of 24 words that can be used to recover your wallet in case you lose your Ledger device or forget your PIN.
Make sure to write down your recovery phrase and store it in a safe place where only you can access it.
Security
To ensure the security of your transactions, you should always verify that you are on the correct website or application before entering any sensitive information.
You should also keep your Ledger device up-to-date with the latest firmware updates to ensure that any security vulnerabilities are patched.
Transactions
When you make a transaction using your Ledger wallet and MetaMask, you should always verify the transaction details on your Ledger device before confirming the transaction.
This ensures that you are approving the correct transaction and that no one else can tamper with it.
Transaction History
MetaMask allows you to view your transaction history, which can be useful for keeping track of your cryptocurrency assets.
However, you should always be careful when sharing your transaction history with others, as it can reveal sensitive information about your assets.
Blind Signing
Blind signing is a feature of the Ethereum app on your Ledger device that allows you to sign transactions without revealing the details of the transaction to the Ledger device.
This can be useful for ensuring the privacy of your transactions, but you should always be careful when using this feature and only use it when necessary.
By following these tips, you can ensure the security and recovery of your cryptocurrency assets when connecting your Ledger wallet to MetaMask.
Remember to always prioritize security and take the necessary precautions to keep your assets safe.
Troubleshooting and Additional Options

Connecting Ledger to MetaMask is usually a straightforward process.
However, if you encounter any issues, there are a few things you can try to troubleshoot the problem.
Ensure Your Ledger Device is Connected and Unlocked
Before connecting your Ledger device to MetaMask, make sure it is connected to your computer and unlocked.
If your device is not connected, MetaMask will not be able to detect it.
Additionally, if your device is locked, you will not be able to sign transactions.
Try Expanding the View
If you’re having trouble seeing the Connect Hardware Wallet option in MetaMask, try expanding the view.
To do this, click on the three dots in the top-right corner of the MetaMask window and select Expand View.
This will give you a larger window to work with and may make it easier to see the option you’re looking for.
Clear Your Cache
If you’re still having trouble connecting your Ledger device to MetaMask, try clearing your cache.
This will remove any stored data that may be causing issues.
To do this, go to your browser’s settings and select Clear Browsing Data.
Make sure to select the option to clear your cache and then try connecting your Ledger device again.
Additional Options
If none of the above troubleshooting steps work, there are a few additional options you can try.
First, make sure you have the most up-to-date firmware on your Ledger device.
You can check for updates using the Ledger Live app.
Additionally, try reinstalling or updating the Ethereum app on your device via Ledger Live.
Finally, make sure your browser is up-to-date and that Ledger Live is closed when using your Ledger with MetaMask.
By following these troubleshooting steps and trying these additional options, you should be able to connect your Ledger device to MetaMask without any issues.
Key Takeaways
Connecting your Ledger to MetaMask can be a secure and straightforward way to manage your cryptocurrencies.
Here are some key takeaways to keep in mind:
- Security is essential when dealing with cryptocurrencies. Storing your assets in a non-custodial wallet like MetaMask and using a hardware wallet like Ledger can help keep your funds safe.
- Connecting your Ledger to MetaMask requires a few steps, but it is relatively easy to do. You will need to download and install the MetaMask extension, create a new wallet, and connect your Ledger to your computer.
- Once you have connected your Ledger to MetaMask, you can manage your cryptocurrencies through the MetaMask interface. You can view your account balances, send and receive funds, and interact with decentralized applications (dApps) on the Ethereum network.
- It is essential to keep your Ledger and MetaMask up to date with the latest firmware and software updates. This can help prevent security vulnerabilities and ensure that your devices are working correctly.
- If you encounter any issues with connecting your Ledger to MetaMask, there are resources available to help. The Ledger Support website and MetaMask Support website both offer helpful guides and troubleshooting tips.
- Finally, it is always a good idea to do your research and be cautious when dealing with cryptocurrencies. Be aware of potential scams and phishing attempts, and never share your private keys or seed phrases with anyone.