


Are you new to using MetaMask and wondering how to add Ether to MetaMask?
Look no further! Adding Ether to MetaMask is a simple process that can be done in just a few steps.
First, make sure you have MetaMask installed as a browser extension or mobile app and have created a wallet.
Once you have logged in to your MetaMask wallet, you can add Ether by clicking on the “Deposit” button. From there, you will be prompted to select the amount of Ether you want to add and the payment method you want to use.
MetaMask supports various payment methods, including debit cards and bank transfers.
Once you have selected your preferred payment method and entered the necessary information, you can complete the transaction and the Ether will be added to your MetaMask wallet. It’s that simple!
Post Contents
Setting Up Metamask
If you want to add ether to Metamask, you’ll need to set up a wallet first.
Here are the steps you need to follow to get started:
Creating a Wallet
- Install the Metamask extension for your browser. You can download it for Chrome, Firefox, Opera, and Brave.
- Once you’ve installed the extension, click on the Metamask icon in your browser toolbar to open the wallet.
- Click on “Create a Wallet” to start the wallet creation process.
- Choose a strong password and confirm it. Make sure to remember this password, as you’ll need it to access your wallet in the future.
- Click on “Create” to finish creating your wallet.
Installing Metamask Extension
If you haven’t already installed the Metamask extension, here’s how to do it:
Chrome
- Open Google Chrome and go to the Chrome Web Store.
- Search for “Metamask” in the search bar.
- Click on the “Add to Chrome” button next to the Metamask extension.
- Click on “Add extension” in the pop-up window to confirm the installation.
Firefox
- Open Firefox and go to the Firefox Add-ons page.
- Search for “Metamask” in the search bar.
- Click on the “Add to Firefox” button next to the Metamask extension.
- Click on “Add” in the pop-up window to confirm the installation.
Opera
- Open Opera and go to the Opera Add-ons page.
- Search for “Metamask” in the search bar.
- Click on the “Add to Opera” button next to the Metamask extension.
- Click on “Add to Opera” in the pop-up window to confirm the installation.
Brave
- Open Brave and go to the Chrome Web Store.
- Search for “Metamask” in the search bar.
- Click on the “Add to Brave” button next to the Metamask extension.
- Click on “Add extension” in the pop-up window to confirm the installation.
That’s it! You’ve now set up your Metamask wallet and installed the Metamask extension. Now you can add ether to your wallet and start using it for transactions.
Understanding Ethereum and Ether
If you are new to the world of cryptocurrencies, it is important to understand the fundamentals of Ethereum and Ether.
Ethereum is a blockchain platform that enables developers to build decentralized applications (dApps) on top of it. It is a decentralized, open-source blockchain that allows developers to create smart contracts and execute them automatically.
Ether (ETH) is the native cryptocurrency of the Ethereum blockchain.
It is used to pay for transaction fees and computational services on the network.
It is also used as a store of value and as a means of exchange. Ether is a digital asset that is created through a process called mining, which involves solving complex mathematical problems.
The Ethereum blockchain is different from the Bitcoin blockchain in a few ways.
While Bitcoin is primarily used as a digital currency, Ethereum is designed to be a platform for building decentralized applications.
Ethereum also has its own programming language, Solidity, which is used to write smart contracts that run on the network.
When you use a cryptocurrency wallet like MetaMask, you are able to store, send, and receive Ether.
MetaMask is a popular wallet that allows you to interact with the Ethereum blockchain and access dApps built on top of it.
It is a browser extension that provides a user-friendly interface for managing your Ether and interacting with the Ethereum network.
To add Ether to your MetaMask wallet, you will need to connect it to the Ethereum mainnet, which is the standard and most widely used EVM-compatible blockchain.
Once you have connected your wallet to the Ethereum mainnet, you can easily add Ether to your wallet by purchasing it from a cryptocurrency exchange or receiving it from another Ethereum address.
In summary, Ethereum is a blockchain platform that enables developers to build decentralized applications, while Ether is the native cryptocurrency of the Ethereum blockchain.
MetaMask is a popular wallet that allows you to store, send, and receive Ether and interact with the Ethereum network.
To add Ether to your MetaMask wallet, you will need to connect it to the Ethereum mainnet and purchase or receive Ether from another Ethereum address.
How to Add Ether to Metamask
If you’re new to the world of cryptocurrency, you may be wondering how to add Ether to your Metamask wallet.
Luckily, there are a few different ways to do this. In this section, we’ll go over two of the most common methods: using an exchange and making a direct transfer.
Using an Exchange
One of the easiest ways to add Ether to your Metamask wallet is by using an exchange.
Here’s how to do it:
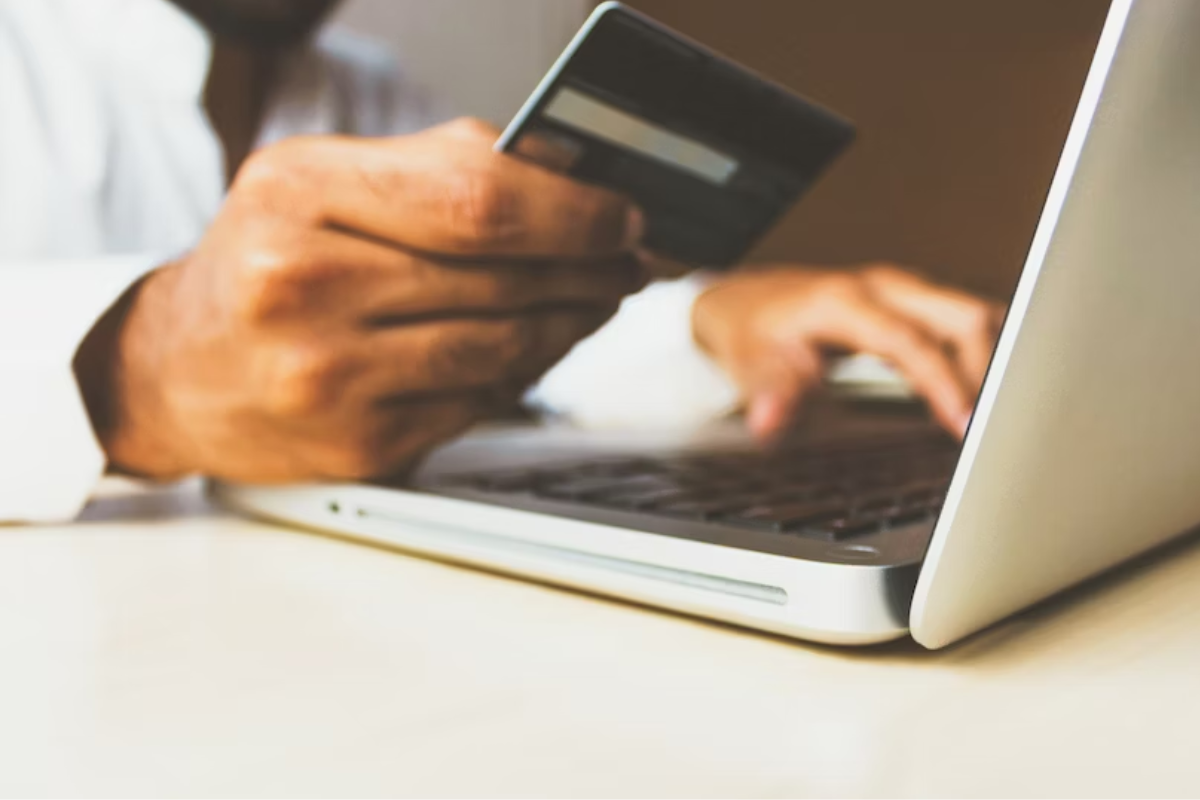
- First, you’ll need to create an account with an exchange that supports Ether.
- Coinbase and Binance are two popular options.
- Once you’ve created an account, you’ll need to link your bank account or credit/debit card. Follow the prompts given by the exchange to complete this process.
- Once your account is set up and linked, you can purchase Ether. Choose the amount you want to buy and complete the transaction.
- After the transaction is complete, you’ll need to withdraw the Ether to your Metamask wallet. To do this, go to your Metamask wallet and copy your wallet address.
- Go back to the exchange and navigate to the withdrawal section. Paste your Metamask wallet address and confirm the withdrawal.
- The Ether should now be in your Metamask wallet!
Direct Transfer
Another way to add Ether to your Metamask wallet is by making a direct transfer from another wallet or exchange.
Here’s how to do it:
- First, you’ll need to have some Ether in another wallet or exchange. If you don’t have any yet, you’ll need to purchase it using one of the methods described above.
- Once you have some Ether, go to your Metamask wallet and copy your wallet address.
- Go to the wallet or exchange where your Ether is stored and navigate to the send or transfer section.
- Paste your Metamask wallet address and choose the amount of Ether you want to transfer.
- Confirm the transaction and wait for it to be processed. The Ether should now be in your Metamask wallet!
That’s it! Adding Ether to your Metamask wallet is easy and straightforward, whether you’re using an exchange or making a direct transfer.
Working with Dapps and Smart Contracts

Interacting with Dapps
MetaMask allows you to easily connect to decentralized applications (dapps) that are built on the Ethereum blockchain.
To get started, make sure you have MetaMask installed and set up on your browser. When you visit a dapp, you will be prompted to connect your MetaMask wallet.
Once connected, you can interact with the dapp just like you would with a traditional website.
To interact with a dapp, you may need to read, write, or approve transactions on the blockchain.
MetaMask will prompt you to confirm any transaction before it is sent, so make sure to review the details carefully before approving.
If a dapp requires additional permission to access certain features, such as your wallet balance or transaction history, MetaMask will also prompt you to grant permission before proceeding.
Understanding Smart Contracts
Smart contracts are self-executing contracts with the terms of the agreement between buyer and seller being directly written into lines of code.
These contracts are stored on the Ethereum blockchain and can be executed automatically when certain conditions are met.
To interact with a smart contract, you will need to know its address and the functions it exposes.
MetaMask provides a web3 provider that allows you to interact with smart contracts directly from your browser.
To get started, you will need to install the web3 library using npm and include it in your app.js file.
Once installed, you can use the web3 provider to connect to the Ethereum blockchain and interact with smart contracts.
When interacting with a smart contract, make sure to review the details carefully before sending any transactions.
Some smart contracts may require additional permissions or approvals before executing certain functions.
MetaMask will prompt you to confirm any transaction before it is sent, so make sure to review the details carefully before approving.
That’s it for working with dapps and smart contracts in MetaMask. With these tools, you can easily connect to decentralized applications and interact with smart contracts on the Ethereum blockchain.
Managing Tokens and NFTs
If you have added Ether to your MetaMask wallet, you might be interested in managing your tokens and NFTs as well. Here’s how you can do it:
Adding Custom Tokens
MetaMask supports ERC-20 tokens, and you can add custom tokens to your wallet by following a few simple steps:
- Click on the MetaMask icon in your browser and select the wallet you want to add the token to.
- Click on the three dots in the top-right corner of the wallet and select “Add Token”.
- Enter the Token Contract Address, Token Symbol, and Decimals of Precision for the token you want to add.
- Click on “Add Token” to complete the process.
Now, you should be able to see your custom token in your MetaMask wallet.
Dealing with NFTs
NFTs, or Non-Fungible Tokens, are unique digital assets that cannot be exchanged for other tokens or assets. If you have NFTs in your MetaMask wallet, you can manage them by following these steps:
- Click on the MetaMask icon in your browser and select the wallet that contains your NFTs.
- Click on the “Assets” tab to see all the tokens and NFTs in your wallet.
- Find the NFT you want to manage and click on it.
- You can now see the details of your NFT, including the Token Contract Address, Token ID, and other relevant information.
- You can also transfer your NFT to another wallet or address by clicking on the “Send” button.
Note that not all blockchains support NFTs. Currently, MetaMask supports NFTs on Ethereum, Binance Smart Chain (BSC), Fantom, and BEP-2 blockchains.
That’s it! You can now manage your tokens and NFTs with ease using MetaMask.
Understanding and Managing Gas Fees
When using MetaMask to send or receive Ether, you will encounter gas fees. Gas fees are the fees paid to miners on the Ethereum network to process transactions and execute smart contracts.
In this section, we will explain how gas fees work and how you can manage them to save money.
Gas fees are calculated based on the amount of computational resources needed to execute a transaction or smart contract.
The more complex the transaction or contract, the higher the gas fee will be.
Gas fees are paid in Ether, and the amount of gas used is measured in units of gas called gwei.
To manage gas fees, you can adjust the gas price and gas limit.
The gas price is the amount of Ether you are willing to pay per unit of gas.
The gas limit is the maximum amount of gas you are willing to use for a transaction.
When you set a higher gas price, your transaction will be processed faster, but you will pay a higher fee.
Conversely, if you set a lower gas price, your transaction will take longer to process, but you will pay a lower fee.
To estimate the gas fee for your transaction, you can use a gas fee calculator.
MetaMask provides a built-in gas fee calculator that shows you the current gas prices and estimates the total gas fee for your transaction.
In addition to adjusting the gas price and gas limit, you can also save money on gas fees by using a gas-efficient contract.
Gas-efficient contracts are designed to use fewer computational resources, which reduces the gas fee required to execute them.
In summary, gas fees are an essential part of using the Ethereum network, and understanding how to manage them can save you money.
By adjusting the gas price and gas limit and using gas-efficient contracts, you can optimize your gas fees and ensure that your transactions are processed quickly and efficiently.
Exploring Additional Features

Metamask is a versatile wallet that offers many additional features beyond just storing your Ether.
In this section, we’ll explore some of these features and how you can use them to enhance your experience with Metamask.
Using Metamask Mobile
If you prefer to manage your wallet on the go, you can download the Metamask mobile app for Android or iOS.
The mobile app offers all the same features as the browser extension, including the ability to send and receive Ether, view your transaction history, and manage your tokens.
To get started with Metamask mobile, simply download the app from your device’s app store and log in with your existing Metamask account.
You can then use the app to manage your wallet from anywhere, anytime.
Adding New Networks
In addition to the Ethereum mainnet, Metamask also supports a variety of other networks, including testnets and custom networks.
To add a new network, simply follow these steps:
- Click on the network selector button in the top right corner of the Metamask window.
- Click “Custom RPC” at the bottom of the network list.
- Enter the RPC URL and network name for the network you want to add. You may also need to enter a chain ID.
- Click “Save” to add the network to your list.
Once you’ve added a new network, you can switch to it at any time using the network selector button.
Conclusion
Metamask is a powerful wallet with many additional features that can enhance your experience.
Whether you’re using the mobile app or adding new networks,
Metamask makes it easy to manage your Ether and tokens.
Troubleshooting and Safety
Recovering Your Wallet
If you ever lose access to your MetaMask wallet, don’t panic! Your wallet can be recovered using your seed phrase.
Your seed phrase is a series of 12 or 24 words that were generated when you first set up your MetaMask wallet.
It is the key to your wallet, so make sure to keep it safe and secure.
To recover your wallet using your seed phrase, follow these steps:
- Click on the MetaMask icon in your browser or mobile app.
- Click on the three dots in the top right corner and select “Settings”.
- Click on “Security & Privacy”.
- Scroll down to “Reveal Seed Phrase” and click on it.
- Enter your password to reveal your seed phrase.
- Write down your seed phrase on a piece of paper and store it in a safe place.
- Click on “Confirm Seed Phrase” and enter your seed phrase in the correct order.
- Create a new password for your wallet and confirm it.
Remember, never share your seed phrase with anyone.
Anyone who has access to your seed phrase can access your wallet and steal your funds.
Ensuring Safe Transactions
When making transactions with MetaMask, it’s important to take certain precautions to ensure the safety of your funds.
Here are some tips to help you stay safe:
- Always review your transactions carefully before confirming them. Make sure the transaction details are correct, including the recipient address and the amount of Ether being sent.
- Use a trusted block explorer to verify the status of your transactions. You can find the block explorer URL for the network you’re using in the MetaMask UI.
- Make sure you have enough funds in your wallet to cover the transaction fees. If you don’t have enough funds, your transaction may fail or be delayed.
- Use a strong password for your MetaMask wallet and never share it with anyone. You can also enable two-factor authentication for added security.
- Be wary of phishing scams and fake websites. Always double-check the URL of the website you’re using to make sure it’s the real one.
Key Takeaways
Adding Ether to your MetaMask wallet is a simple process that can be done in a few easy steps.
Here are some key takeaways to keep in mind:
- MetaMask is a popular Ethereum wallet that allows you to store, manage, and interact with Ethereum-based assets.
- Before adding Ether to your MetaMask wallet, you will need to have some Ether in a different wallet or exchange.
- You can add Ether to your MetaMask wallet by sending it to your wallet address or by using a third-party service that allows you to buy Ether with a credit card or bank transfer.
- When adding Ether to your MetaMask wallet, make sure to double-check the wallet address to avoid sending Ether to the wrong address.
- It is important to keep your MetaMask seed phrase secure and never share it with anyone. This phrase is the only way to restore your wallet if you lose access to it.
By following these key takeaways, you can easily add Ether to your MetaMask wallet and start interacting with the Ethereum network.
Remember to always exercise caution and do your own research before making any financial transactions.