Are you trying to learn how to make a contact sheet on Photoshop?
A contact sheet is a useful tool for photographers to organize and preview a large number of images at once.
Fortunately, Photoshop provides an easy way to create contact sheets automatically.
In this article, we will guide you through the steps to create a contact sheet in Photoshop.
First, you need to select the photos that you want to include in your contact sheet and move them into a separate folder.
Once you have done that, open Photoshop and go to File > Automate > Contact Sheet II.
This will bring up the Contact Sheet II dialog box, where you can adjust the settings to fit your needs.
You can choose the number of rows and columns, add captions and metadata, and customize the background color and font.
Once you are satisfied with the settings, click OK to generate the contact sheet.
Post Contents
Setting Up Your Photoshop Workspace

When creating a contact sheet in Photoshop, it’s important to have your workspace set up in a way that is conducive to the task at hand.
Here are a few steps to help you get started:
Creating a New Document
The first thing you’ll need to do is create a new document in Photoshop.
To do this, simply go to File > New. You’ll then be prompted to enter the dimensions of your document.
For a contact sheet, you’ll want to make sure that your document is set to the appropriate size for your images.
Setting Up Your Workspace
Once you’ve created your new document, it’s time to set up your workspace.
This will help you work more efficiently and effectively as you create your contact sheet.
Here are a few tips for setting up your workspace:
- Choose a Color Theme: You can choose a color theme for your workspace by going to Edit > Preferences > Interface. This will allow you to customize the look of your workspace to your liking.
- Create a New Workspace: If you plan on making contact sheets frequently, it may be helpful to create a new workspace specifically for this task. To do this, go to the rectangular menu for workspaces and click “New Workspace.” Give it a name (such as “Contact Sheets”) and include any custom keyboard shortcuts or other settings that you prefer.
- Customize Your Toolbar: The toolbar in Photoshop can be customized to include only the tools that you use most frequently. To do this, simply right-click on the toolbar and select “Customize Toolbar.” From here, you can drag and drop tools to create a custom toolbar that works best for you.
By taking the time to set up your workspace, you’ll be able to work more efficiently and effectively as you create your contact sheet.
How to Make a Contact Sheet on Photoshop
Creating a contact sheet in Photoshop can be done easily and efficiently. Follow these simple steps to create your own contact sheet.
Arranging Your Images
To begin, select the images you want to include in your contact sheet. You can select individual images or an entire folder of images.
Once you have your images selected, go to File > Automate > Contact Sheet II.
This will bring up the Contact Sheet II dialog box.
In the Contact Sheet II dialog box, you can adjust the settings to fit your needs.
You can choose the number of rows and columns, the size of the images, and the spacing between them.
You can also choose to include file names and other metadata.
Adding Captions and Metadata
If you want to add captions to your images, you can do so in the Contact Sheet II dialog box.
Simply check the box next to “Caption” and choose the metadata you want to include.
You can choose to include file names, image dimensions, and other metadata.
Customizing Your Contact Sheet
Once you have arranged your images and added captions and metadata, you can customize your contact sheet even further.
You can change the background color, the font size and style, and the caption color. You can also choose to include a header and footer with your contact sheet.
To customize your contact sheet, go to the “Output” section of the Contact Sheet II dialog box. Here, you can choose the font, font size, and font color for your captions.
You can also choose the background color and caption color.
In conclusion, creating a contact sheet in Photoshop is a simple and efficient way to organize your images.
By following these steps, you can create a customized contact sheet that fits your needs.
Importing Your Images
When creating a contact sheet in Photoshop, the first step is to import your images.
Here are the steps to follow:
Selecting Your Images
The first thing you need to do is select the images you want to include in your contact sheet.
You can select individual images or an entire folder of images.
To select multiple images, hold down the Ctrl key on your keyboard and click on each image you want to include.
Placing Your Images in Photoshop
Once you have selected your images, you need to place them in Photoshop. Here are the steps to follow:
- Open Photoshop and go to File > Automate > Contact Sheet II.
- In the Contact Sheet II window that appears, click on the “Choose” button next to “Source Images” and select the folder containing your images.
- In the “Document” section, select the size and resolution you want for your contact sheet.
- In the “Thumbnail” section, select the number of rows and columns you want for your contact sheet.
- In the “Font” section, select the font, size, and color you want for your captions.
- Click “OK” to generate your contact sheet.
Once your contact sheet is generated, you can adjust the layout, captions, and background colors as needed.
Saving and Exporting Your Contact Sheet
Once you have created your contact sheet in Photoshop, it’s important to save and export it properly to ensure that it looks great and is ready to use.
Here are some steps to follow when saving and exporting your contact sheet:
Saving Your Photoshop File
Before you export your contact sheet, it’s a good idea to save your Photoshop file. This way, you can make any necessary changes in the future without having to start from scratch.
To save your file, follow these steps:
- Go to File > Save As.
- Choose where you want to save your file and give it a name.
- Select Photoshop as the file format.
- Click Save.
Exporting Your Contact Sheet
Once you have saved your Photoshop file, you can export your contact sheet as a JPEG or PDF file.
Here’s how to do it:
- Go to File > Export > Export As.
- Choose where you want to save your file and give it a name.
- Select JPEG or PDF as the file format.
- If you selected JPEG, adjust the quality settings to your liking.
- If you selected PDF, choose the quality and compression settings you want to use.
- Click Export.
When exporting your contact sheet, it’s important to consider the intended use.
For example, if you plan to print your contact sheet, you may want to use a higher quality setting to ensure that it looks great on paper.
If you plan to share your contact sheet online, you may want to use a lower quality setting to keep the file size small.
In conclusion, saving and exporting your contact sheet correctly is crucial to ensure that it looks great and is ready to use.
By following these steps, you can create a professional-looking contact sheet that is perfect for sharing with others.
Key Takeaways
Now that you know how to create a contact sheet in Photoshop, here are some key takeaways to keep in mind:
- Photoshop’s Automate function makes creating a contact sheet a breeze.
- You can adjust the settings in the Contact Sheet II menu to fit your specific needs.
- You can distribute rows evenly and change caption names if required.
- You can change the background and caption colors to match your preferences.
- Remember to select the pictures you want to include in your contact sheet under Source Images.
- If you have large files, creating the contact sheet may take a few minutes.
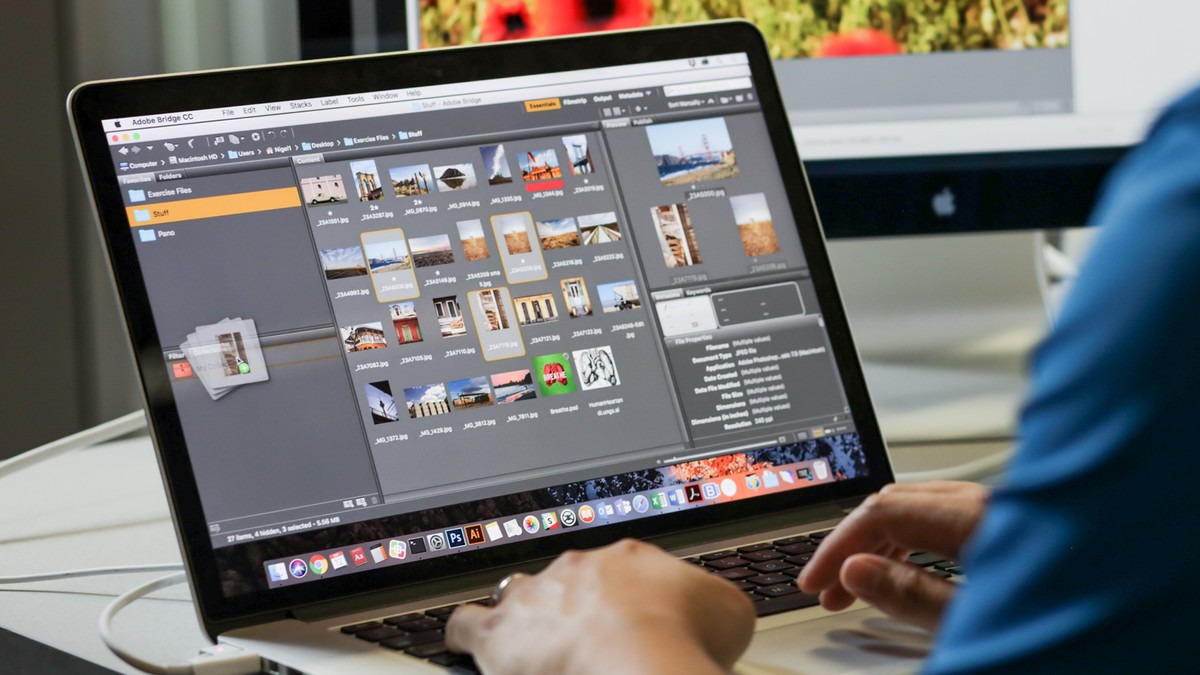
- The completed contact sheet will include all the images currently displayed in Adobe Bridge, unless you select specific images.
- The most common file types that work with Contact Sheet II are JPEG and CR2.
- If you want to include other file types, you may need to convert them to a compatible format first.
By following these tips, you can create a professional-looking contact sheet in just a few clicks.
Whether you’re a photographer, graphic designer, or just someone who wants to organize their images, Photoshop’s contact sheet feature is a valuable tool to have in your arsenal.


