


Taking a screenshot on your Dell laptop is a simple and useful skill to have.
Whether you need to capture an important image, save a funny meme, or share a work-related document, knowing how to screenshot on Dell laptop can be a real time-saver.
In this article, we will show you a few different ways to take a screenshot on your Dell laptop, so you can choose the method that works best for you.
One of the most common ways to take a screenshot on a Dell laptop is to use the Print Screen key.
This key is usually located in the top-right corner of your keyboard, next to the Function keys.
If you can’t find it there, check the Function keys, as it might be located on the F10 key.
Once you locate the Print Screen key, simply press it to capture the entire screen.
You can then paste the screenshot into another document, email, or social media message using the Ctrl + V command.
If you only want to capture a specific window or application, you can use the Alt + PrtScr key combination.
This will capture only the active window, rather than the entire screen.
Once you have captured the screenshot, you can paste it into another document or application using Ctrl + V.
With these simple tips, you can easily take screenshots on your Dell laptop and save time and effort in your daily tasks.
Post Contents
Understanding the Basics

Taking a screenshot is a useful skill that can come in handy for a variety of reasons.
Whether you want to capture an important message, an interesting article, or a hilarious meme, knowing how to take a screenshot on your Dell computer can save you time and effort.
To take a screenshot on a Dell laptop or desktop, you can use the Print Screen key, which is usually abbreviated as “PrtScn” or “prt”.
This key is located in the top row of keys at the right, close to the Del key.
On some Dell laptops, you may need to press the Function (Fn) key along with the Print Screen button to take a screenshot.
When you press the Print Screen key, your computer captures an image of your entire screen and saves it to the clipboard.
You can then paste the screenshot into an image editor, email, or social media message by pressing Ctrl + V.
If you want to capture only the active window, you can press Alt + Print Screen instead.
This will capture the window that is currently in focus and save it to the clipboard.
On Windows computers, you can also use the Windows logo button + PrtScn key to take a screenshot.
This will capture the entire screen and save it to the Screenshots folder in the Pictures folder.
It’s important to note that the Print Screen key may be labeled differently on some Dell keyboards, such as “PrtSc” or “PrtScn”.
Additionally, some Dell laptops may require you to press the Fn key along with the Print Screen button to take a screenshot.
How to Screenshot on Dell
Taking a screenshot on your Dell computer is a simple and useful feature that can help you capture important information or share something interesting with others.
There are several ways to take a screenshot on a Dell computer, including using the Print Screen key, Alt + Print Screen key, Windows + Print Screen key, and Windows + Shift + S.
Using Print Screen Key
The Print Screen key, also known as “PrtSc” or “PrtScn,” is a commonly used method to take a screenshot on a Dell computer.
Here’s how to do it:
- Locate the Print Screen key on your keyboard. It’s usually located in the top row of keys at the right, close to the Del key.
- Press the Print Screen key to capture the entire screen. If you only want to capture a specific window, click on the window to make it active and then press Alt + Print Screen.
- Open an image editor such as Microsoft Paint or Photoshop and press Ctrl + V to paste the screenshot. You can then edit or save the screenshot as needed.
Using Alt + Print Screen Key
The Alt + Print Screen key combination allows you to capture a screenshot of the active window only.
Here’s how to do it:
- Click on the window that you want to capture.
- Press Alt + Print Screen to capture the active window.
- Open an image editor such as Microsoft Paint or Photoshop and press Ctrl + V to paste the screenshot. You can then edit or save the screenshot as needed.
Using Windows + Print Screen Key
The Windows + Print Screen key combination allows you to capture the entire screen and save it automatically to your computer’s Pictures folder.
Here’s how to do it:
- Press the Windows + Print Screen keys at the same time.
- The screen will briefly dim to indicate that the screenshot has been taken.
- Open the Pictures folder on your computer to find the screenshot.
Using Windows + Shift + S
The Windows + Shift + S key combination allows you to capture a specific area of the screen.
Here’s how to do it:
- Press the Windows + Shift + S keys at the same time.
- The screen will dim and a toolbar will appear at the top of the screen.
- Use your mouse to select the area of the screen that you want to capture.
- The screenshot will be saved to your clipboard, and you can paste it into an image editor such as Microsoft Paint or Photoshop to edit or save it.
Taking Screenshots with Snipping Tool
If you’re using a Dell computer, the Snipping Tool is a built-in application that allows you to take screenshots with ease.
Here’s how to use it:
Rectangular Snip
The rectangular snip is the default mode of the Snipping Tool.
To take a rectangular snip:
- Open the Snipping Tool by searching for it in the Start menu.
- Click the “New” button to start a new snip.
- Drag the cursor to select the area you want to capture.
- Release the cursor to take the screenshot.
Window Snip
The window snip allows you to capture a specific window or dialog box.
Here’s how to take a window snip:
- Open the Snipping Tool.
- Click the “New” button to start a new snip.
- Click the “Window Snip” button.
- Click the window or dialog box you want to capture.
- Release the cursor to take the screenshot.
Full-Screen Snip
The full-screen snip captures the entire screen.
Here’s how to take a full-screen snip:
- Open the Snipping Tool.
- Click the “New” button to start a new snip.
- Click the “Full-Screen Snip” button.
- Release the cursor to take the screenshot.
Freeform Snip
The freeform snip allows you to capture a specific area of the screen in any shape you want.
Here’s how to take a freeform snip:
- Open the Snipping Tool.
- Click the “New” button to start a new snip.
- Click the “Freeform Snip” button.
- Drag the cursor to select the area you want to capture.
- Release the cursor to take the screenshot.
The Snipping Tool is a handy tool for taking screenshots on your Dell computer.
Whether you want to capture a specific window or the entire screen, the Snipping Tool has you covered.
Editing and Saving the Screenshot
Once you have taken a screenshot on your Dell laptop, you may want to edit it or save it for future use.
Here’s how you can do that:
Editing the Screenshot
- Open an image editor like Microsoft Paint or Adobe Photoshop.
- Press “Ctrl + V” or right-click and select “Paste” to paste the screenshot from your clipboard onto the canvas.
- Use the editing tools to crop, resize, or add annotations to the screenshot.
- Save the edited image as a PNG file or any other desired format.
Saving the Screenshot
- Open the screenshot in an image editor like Microsoft Paint or Adobe Photoshop.
- Click “File” and select “Save As”.
- Choose a file name and select PNG as the file type.
- Choose a location to save the file and click “Save”.
Alternatively, you can simply paste the screenshot from your clipboard into a document or email and save it from there.
Remember to always save your screenshots in a safe and accessible location for future use.
With these simple steps, you can easily edit and save your Dell laptop screenshots.
How to Locate Your Screenshots
After taking a screenshot on your Dell laptop or desktop, you might be wondering where it went.
Don’t worry; it’s easy to find your screenshots.
Here’s how:
Check the Screenshots Folder
By default, Windows saves your screenshots in the Screenshots folder, which is located in the Pictures folder.
To access it, follow these steps:
- Open File Explorer.
- Navigate to This PC > Pictures > Screenshots.
You should see all of your screenshots in this folder.
If you can’t find your screenshots here, keep reading for other possible locations.
Check Other Folders
If you’ve changed the default location for your screenshots, they might be in a different folder.
Here are some other locations to check:
- Documents folder: Look for a Screenshots folder here.
- Desktop: Sometimes, Windows saves screenshots directly to the desktop.
- Downloads folder: If you’ve downloaded a screenshot from the internet, it might be in your Downloads folder.
Use the Search Bar
If you still can’t find your screenshots, you can use the search bar in File Explorer to look for them.
Here’s how:
- Open File Explorer.
- Click on the search bar at the top right.
- Type in “screenshot” and hit Enter.
Windows will search your computer for any files with “screenshot” in the name.
This should help you locate your missing screenshots.
Using Third-Party Tools for Screenshots
If you’re not satisfied with the built-in Windows screenshot tools, you can always opt for third-party software to take screenshots on your Dell laptop.
Here are some popular third-party tools that you can use:
Snagit
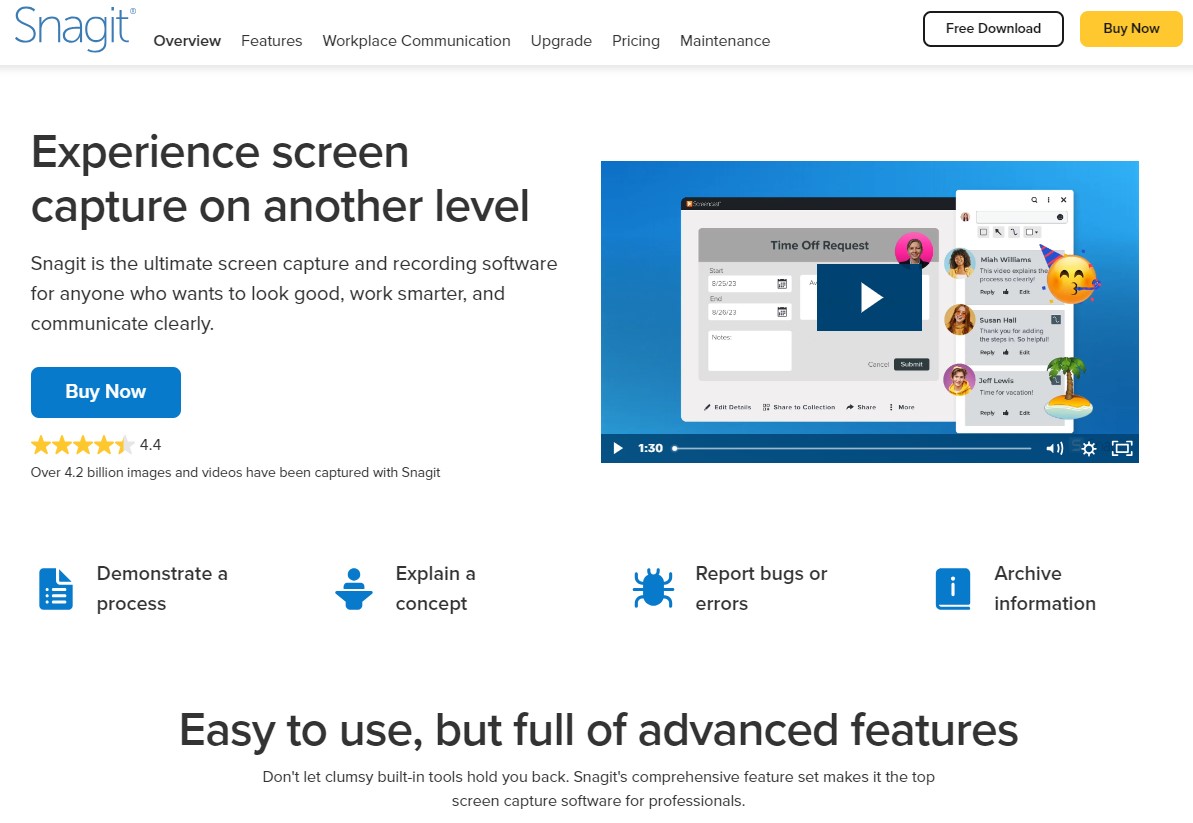
Snagit is a powerful screen capture and editing tool that allows you to capture screenshots, record videos, and create GIFs.
It has advanced features like scrolling capture, which lets you capture an entire webpage or document that doesn’t fit on a single screen.
Snagit also has a built-in editor that lets you annotate, highlight, and crop your screenshots.
Lightshot
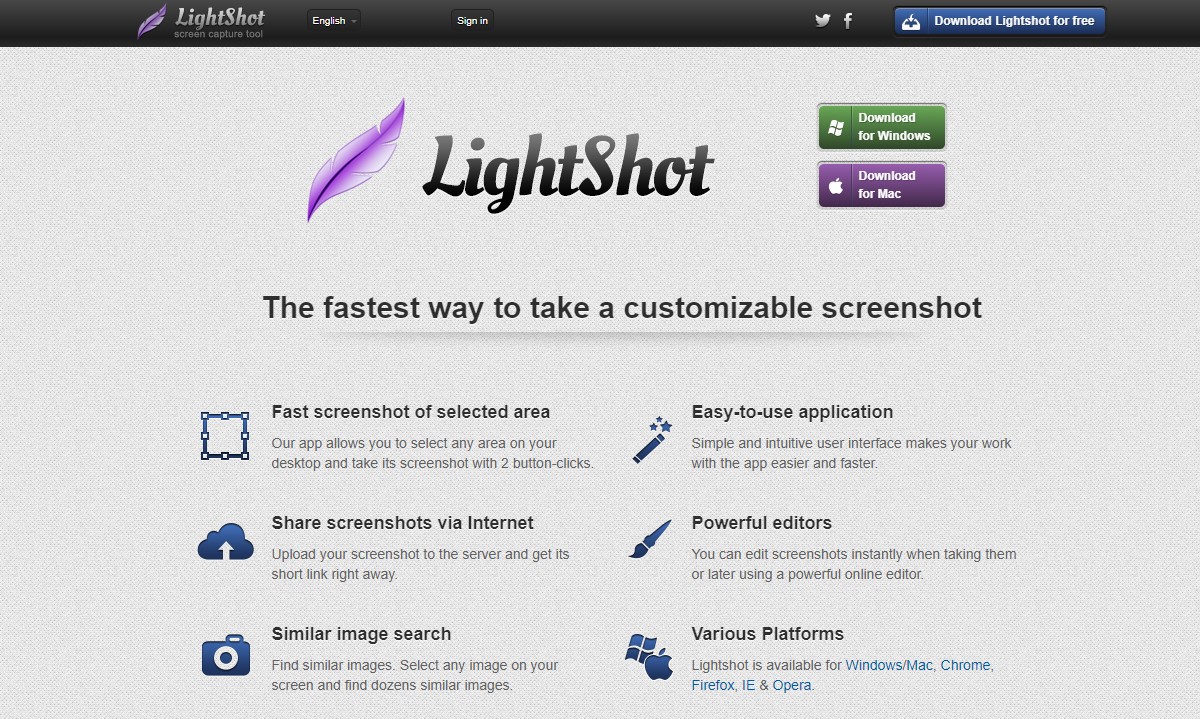
Lightshot is a simple and lightweight screenshot tool that lets you capture a selected area or the entire screen.
It has basic editing features like adding text, arrows, and shapes to your screenshots.
Lightshot also has a built-in image hosting service that lets you share your screenshots with others.
Greenshot
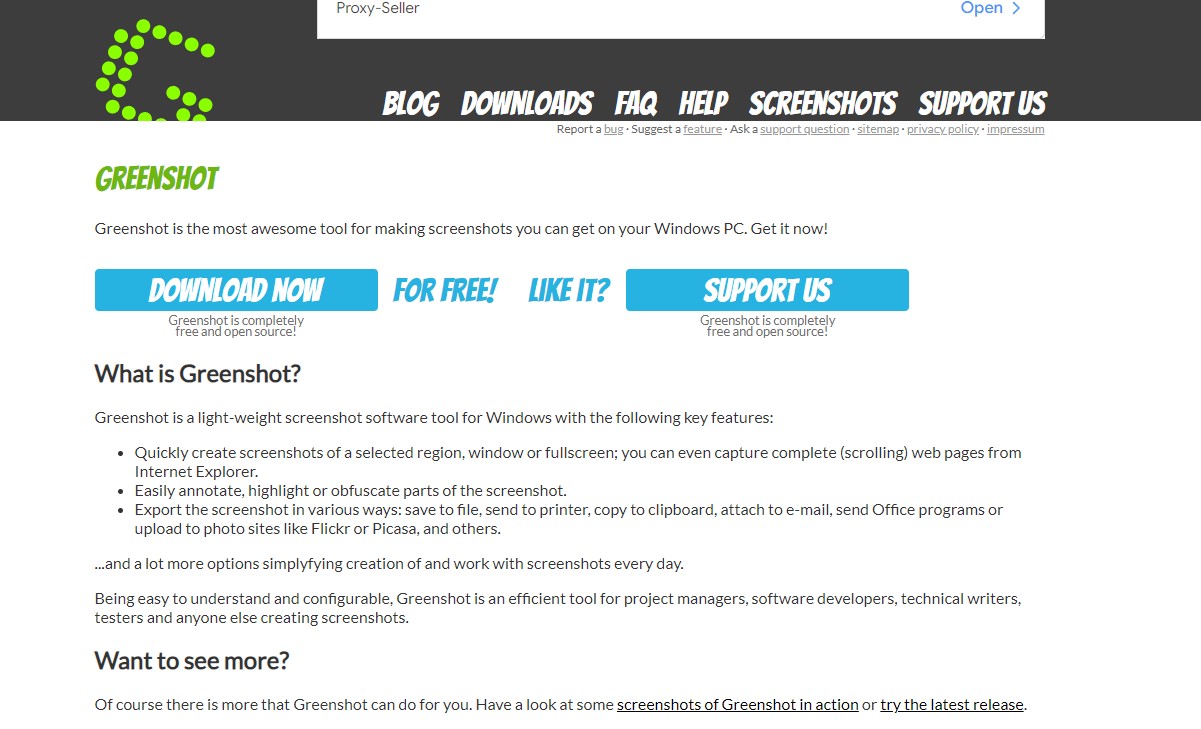
Greenshot is a free and open-source screenshot tool that lets you capture a selected area, window, or the entire screen.
It has a built-in editor that lets you annotate, highlight, and blur parts of your screenshots.
Greenshot also has advanced features like capturing a full webpage and sending screenshots to external applications like email or image editors.
PicPick

PicPick is a versatile screenshot tool that lets you capture a selected area, window, or the entire screen.
It has a built-in editor that lets you annotate, highlight, and blur parts of your screenshots.
PicPick also has advanced features like a color picker, a protractor, and a pixel ruler that can be useful for designers and developers.
Overall, using third-party tools for screenshots can provide you with more advanced features and customization options.
However, keep in mind that some of these tools may come with a price tag or may not be as user-friendly as the built-in Windows tools.
Troubleshooting Common Issues
Taking a screenshot on a Dell laptop is usually a straightforward process.
However, there are times when things might not go as expected.
Here are some common issues you might encounter when taking screenshots on a Dell laptop and how to troubleshoot them.
1. Print Screen Key Not Working
If pressing the Print Screen key doesn’t capture the screen, you should try the following:
- Ensure that you are pressing the correct key. On some Dell keyboards, the Print Screen key may be labeled as “PrtSc” or “prt sc.”
- Check if the function keys are disabled. Some Dell laptops have a Function Lock (Fn Lock) key that, when enabled, disables the function keys, including the Print Screen key. Press the Fn Lock key to enable the function keys.
- Restart your computer. Sometimes, a simple restart can fix issues with the Print Screen key not working.
2. Screenshot Not Saving to Clipboard
If you can’t find your screenshot on the clipboard, try the following:
- Open an image editor like Paint and press Ctrl+V to paste the screenshot.
- Check if another program is using the clipboard. If another program is using the clipboard, your screenshot might not have been saved. Close the program or copy its content to another location before taking the screenshot.
- Clear the clipboard. Press Windows+V and select “Clear all” to delete all the current saved clipboard data.
3. Screenshot Not Saving to File
If your screenshot is not saving to a file, try the following:
- Check the default save location. By default, Windows saves screenshots to the Pictures folder. Check if your screenshot is there.
- Change the default save location. If the default save location is not working, you can change it to another folder or location.
- Check if you have enough disk space. If your hard drive is full, your screenshot might not be saved. Free up some space and try again.
4. Game Overlay Not Working
If you are trying to take a screenshot while playing a game and the game overlay is not working, try the following:
- Ensure that the game overlay is enabled. Press Windows+G to open the game bar, click on “Settings,” and make sure that “Record game clips, screenshots, and broadcast using Game bar” is turned on.
- Check if your game is compatible with the game overlay. Some games might not be compatible with the game overlay. Check the game’s documentation or support website for more information.
- Use a third-party software. If the game overlay is not working, you can use a third-party software like OBS or Fraps to capture your gameplay and take screenshots.
By following these troubleshooting tips, you should be able to take screenshots on your Dell laptop without any issues.
Tips and Tricks for Better Screenshots
Taking screenshots can be a useful way to share information or capture a moment on your Dell laptop or desktop.
Here are some tips and tricks to help you take better screenshots:
Once you have taken a screenshot, you can easily share it with others by copying it to the clipboard and pasting it into an email or document.
You can also display the screenshot on your screen by opening it in an image viewer or editor.
Annotate and Add Annotations
If you need to add annotations or highlight specific areas of the screenshot, you can use an image editor to do so.
This can be helpful when you are trying to explain something to someone or when you need to draw attention to a particular detail.
Specific Window or Region
If you only need to capture a specific window or region of your screen, you can use the built-in Snipping Tool on Windows or a third-party app like Greenshot.
This can save you time and make it easier to focus on the information you need.
Delay and Overlay
Some screenshot tools allow you to set a delay before taking the screenshot, which can be helpful if you need to prepare the screen or move your mouse out of the way.
You can also use an overlay to show the mouse cursor or add a watermark to the screenshot.
By following these tips and tricks, you can take better screenshots on your Dell laptop or desktop and share or display them with ease.
Key Takeaways
Taking a screenshot on your Dell laptop is a simple process that can come in handy in many different situations.
Here are some key takeaways to keep in mind when taking a screenshot on your Dell:
- There are several ways to take a screenshot on your Dell laptop, including using the Print Screen key, the Windows+Print Screen keys, or the Alt+Print Screen keys.
- The Print Screen key is typically located in the top row of keys on your Dell keyboard, close to the Del key.
- To take a screenshot of the entire screen, simply press the PrtScr key. To take a screenshot of a specific window, press the Alt+PrtScr keys.
- Your screenshot will be saved as a PNG file, which you can then paste into another document, email, or image editing software.
- If you’re using a tablet, you can take a screenshot by pressing the Windows logo button and the volume down button at the same time.
Now that you know how to take a screenshot on your Dell laptop, you can easily capture images of your screen to save and share with others.
Whether you’re creating a tutorial, troubleshooting an issue, or simply capturing a moment, taking a screenshot on your Dell is a quick and easy way to get the job done.