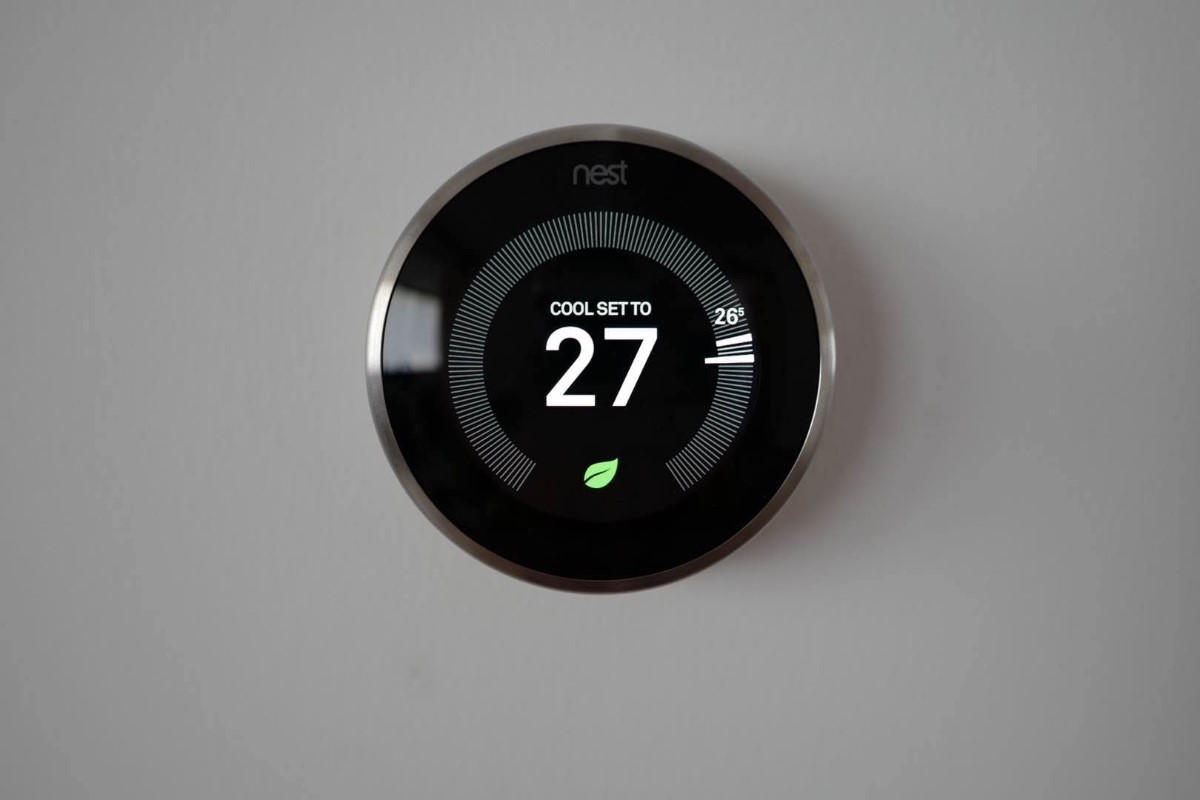
If you’re looking to save energy and money on your heating and cooling bills, setting a schedule on your Nest thermostat is a great place to start.
With just a few taps on your phone or clicks on the thermostat, you can create a personalized temperature schedule that fits your lifestyle and preferences.
Not only will this help you save money, but it will also make your home more comfortable and convenient.
How to set schedule on Nest Thermostat is easy and straightforward.
Whether you prefer to use the app or the thermostat itself, you can create a custom schedule that adjusts the temperature based on your daily routine.
For example, you can set the temperature to be cooler at night when you’re sleeping and warmer during the day when you’re awake and active.
You can also adjust the temperature based on when you’re away from home or when you’re expecting guests.
By setting a schedule on your Nest thermostat, you can take control of your home’s heating and cooling system and make it work for you.
With just a little bit of effort, you can create a comfortable and energy-efficient home that saves you money and reduces your carbon footprint.
So why wait? Start setting your schedule today and enjoy the benefits of a smart and sustainable home.
Post Contents
Understanding Nest Thermostat
What is Nest Thermostat?
The Nest Thermostat is a smart thermostat that can be programmed to automatically adjust the temperature in your home based on your preferences and schedule. It is designed to learn your habits and preferences over time, and adjust the temperature accordingly to save energy and maximize comfort.
Features of Nest Thermostat
The Nest Thermostat comes with a variety of features that make it easy to use and customize. Some of the key features include:
- Auto-Schedule: The Nest Thermostat can use Auto-Schedule to create a dynamic, comfortable schedule that’s personalized to you and your home.
- Remote Control: You can control your Nest Thermostat from anywhere using your phone, tablet, or computer.
- Energy History: The Nest Thermostat tracks your energy usage and provides you with detailed reports to help you save money on your energy bills.
- Compatibility: The Nest Thermostat is compatible with a wide range of heating and cooling systems, making it easy to install and use in most homes.
The Nest Thermostat is designed to be easy to use and customize, with a simple interface that allows you to adjust the temperature, set schedules, and view energy reports with just a few taps on your phone or tablet. Whether you’re looking to save money on your energy bills or simply want to stay comfortable throughout the day, the Nest Thermostat is a great choice for any home.
Setting up Nest Thermostat
If you are looking to set up your Nest thermostat, you have come to the right place. Here we will guide you through the process of connecting your thermostat to WiFi, setting up your Nest account, and installing the thermostat.
Connecting Nest Thermostat to WiFi
The first step in setting up your Nest thermostat is to connect it to your WiFi network. This will allow you to control your thermostat from anywhere using the Nest app. Follow these steps to connect your thermostat to WiFi:
- On your thermostat, select Settings > Network > Connect.
- Select your WiFi network from the list of available networks.
- Enter your network password and select Connect.
Setting up Nest Account
Once your thermostat is connected to WiFi, you will need to set up a Nest account to control your thermostat from the Nest app. Follow these steps to set up your Nest account:
- Download the Nest app on your smartphone or tablet.
- Open the Nest app and select Sign up.
- Enter your email address and create a password.
- Follow the on-screen instructions to complete the account setup process.
Installing Nest Thermostat
Now that your thermostat is connected to WiFi and you have set up your Nest account, it’s time to install the thermostat. Follow these steps to install your Nest thermostat:
- Turn off power to your HVAC system at the breaker box.
- Remove your old thermostat and label the wires.
- Attach the Nest base plate to the wall and connect the wires.
- Attach the Nest display to the base plate.
- Turn the power back on at the breaker box.
- Follow the on-screen instructions to complete the thermostat setup process.
That’s it! You have successfully set up your Nest thermostat and can now control it from anywhere using the Nest app.
How to Set Schedule on Nest Thermostat
Setting a schedule on your Nest Thermostat is an easy way to save energy and money. By creating a schedule, your thermostat will automatically adjust the temperature based on your preferences and daily routine. Here’s how you can set a schedule on your Nest Thermostat:
Creating a Schedule
To create a schedule on your Nest Thermostat, follow these steps:
- Press the thermostat ring to open the Quick View menu.
- Choose “Schedule”.
- Select “New”.
- Use the ring to scroll to the time of the day you want to adjust.
- Press the ring to select the time.
- Adjust the temperature to your desired setting.
- Repeat steps 4-6 for each time slot you want to adjust.
- Save your changes.
Adjusting Schedule
If you need to adjust your schedule, follow these steps:
- Press the thermostat ring to open the Quick View menu.
- Choose “Schedule”.
- Select the day you want to adjust.
- Use the ring to scroll to the time of the day you want to adjust.
- Press the ring to select the time.
- Adjust the temperature to your desired setting.
- Save your changes.
Using the Nest App
You can also set and adjust your schedule using the Nest app on your smartphone or tablet. Here’s how:
- Open the Nest app.
- Select your thermostat.
- Tap “Schedule”.
- Choose the day you want to adjust.
- Select the time slot you want to adjust.
- Adjust the temperature to your desired setting.
- Save your changes.
With these simple steps, you can easily set and adjust a schedule on your Nest Thermostat. By doing so, you can save energy and money while keeping your home comfortable.
Troubleshooting Nest Thermostat
If you are experiencing issues with your Nest Thermostat, don’t worry, there are some common problems that you can try to solve on your own. Below are some common issues and their solutions:
Common Issues
- The thermostat won’t turn on
- The thermostat is unresponsive
- The thermostat is not connected to Wi-Fi
- The thermostat is not heating or cooling properly
- The thermostat is displaying an error message
Solutions
If your thermostat is not turning on or is unresponsive, try restarting it by navigating to Settings -> Reset -> Restart. If the thermostat is not connected to Wi-Fi, try resetting the network settings by going to Settings -> Reset -> Network. If the problem persists, try restarting your Wi-Fi network by unplugging the router, waiting 30 seconds, and then plugging it back in.
If your thermostat is not heating or cooling properly, check to make sure that the temperature settings are correct and that the thermostat is set to the right mode (heating or cooling). You should also check to make sure that the thermostat is installed correctly and that the wiring is secure.
If your thermostat is displaying an error message, check the Nest app for more information about what the message means and what you can do to fix it. If you are still having issues, you can contact Nest customer support for further assistance.
Key Takeaways
Setting a schedule on your Nest thermostat can help you save energy and money while keeping your home comfortable. Here are the key takeaways from this article:
- You can create a schedule for your Nest thermostat using the Nest app or the thermostat itself.
- The Nest thermostat can learn your schedule and preferences over time using its Auto-Schedule feature.
- You can adjust your schedule at any time using the Nest app or the thermostat.
- When setting a schedule, consider your daily routine, when you are typically home and away, and your desired temperature settings.
- You can also create custom schedules for specific days or times, such as vacations or weekends.
- Regularly reviewing and adjusting your schedule can help you optimize your energy usage and save money on your utility bills.
By following these key takeaways, you can easily set a schedule on your Nest thermostat and enjoy a more comfortable and energy-efficient home.


